Why Equipment Matters for Beginners
Equipment is the infrastructure for learning. Poor tools discourage experimentation and mask technique improvement—if your grinder produces uneven particles, you'll never master consistency regardless of skill. Conversely, simple-but-solid equipment ($150-200 investment) accelerates learning faster than either ultra-cheap gear (which frustrates) or premium equipment (which hides your mistakes).
The goal is equipment that:
- Teaches through feedback: Shows clearly when you adjust variables (grind, temperature, timing)
- Doesn't fail mysteriously: Reliable mechanics, no weird breakdowns
- Rewards practice: Improves noticeably as your technique improves
- Scales with you: Still useful as you advance toward more specialized methods
This guide prioritizes beginner-friendly gear that meets these criteria over sexy, complicated equipment that looks impressive but masks learning.
Essential Category #1: The Brewer (Your Core Tool)
Your brewer is where water meets coffee. For beginners, aim for simplicity—manual methods teach more than fully automated machines.
Pour-Over Dripper ($8-50)
Pour-over is the entry point for understanding extraction. Water flows through grounds over 3-4 minutes; you control the pour, pace, and saturation. This active involvement teaches extraction mechanics immediately.
Budget option: Melitta ($8-15)
- Plastic cone dripper, fits standard mugs
- No learning curve: grounds go in filter, water goes in, coffee comes out
- Produces excellent, clean coffee
- Incredibly durable; lasts decades
- Limitation: plastic isn't as elegant, doesn't retain heat as well as ceramic
Mid-range option: Hario V60 ($10-25)
- Plastic or ceramic, spiral ridges on interior
- Slightly more technique-sensitive than Melitta but teaches proportionally more
- Ceramic version ($18-25) is durable and beautiful
- Community: vast V60 community online, many brewing guides
Premium option: Chemex ($40-50)
- Hourglass glass brewer, iconic design
- Takes 4-5 minutes (slower than cone)
- Glass is beautiful but fragile
- All-in-one brewer (no separate carafe needed)
- If you want to commit to pour-over, Chemex is a lifetime tool
Beginner recommendation: Start with Melitta ($12) to test interest. If you love pour-over after 2-3 weeks, upgrade to ceramic V60 ($20) or Chemex ($45). You'll have spent $30-55 total—reasonable for finding your preferred method.
French Press ($20-50)
French press (also called press pot) is immersion brewing: grounds steep in hot water for 4-5 minutes, then you press a plunger downward to separate liquid from solids. This method is forgiving and produces rich, full-bodied coffee.
Best beginner option: Bodum Chambord 8-cup ($35-45)
- Classic French press, proven design since 1958
- 34oz (1 liter) brews 3-4 cups
- Glass carafe with stainless steel frame and plunger
- Durable (replacements available if glass breaks)
- Teaches immersion brewing principles
Alternative: Generic 8-cup French press ($20-30)
- Functionally identical to Bodum
- Often unavailable or lower quality
- If you find a solid one, saves $15
Why French press for beginners?
- Forgiving: 4-5 minute window means you're not racing the clock
- Full-bodied flavor appeals to most new coffee drinkers
- Simple mechanics (no filters, just grounds and water)
- Teaches immersion brewing (different technique than pour-over)
Limitation: Oils and fine particles pass through the metal filter. Some view this as full body and richness; others find it "gritty" or "heavy." This is personal preference, discoverable through trying it.
Aeropress ($30-35)
Aeropress is a hybrid: immersion + pressure + filtration. Hot water steeps grounds in a plunger tube for 1-2 minutes, then you press down, forcing liquid through a paper filter into a cup below. The paper filter traps oils and fines while pressure increases extraction.
Why for beginners:
- Produces smooth, clean coffee (paper filter removes oils)
- Pressure step teaches a new variable
- Forgiving: works well across a wide temperature range
- Inexpensive ($30-35)
- Durable plastic, lasts years
- Portable (popular for travel, camping)
- Social: Aeropress competitions exist; you can experiment with "competition" recipes online
Limitation: Small capacity (1 cup at a time, though you can brew double shots). If you need 2-3 cups daily, you'll brew twice.
What to Skip Initially
Automatic drip machines ($50-200+): Seem convenient, but remove learning. Water temperature and dispersion are "automatic" and often inconsistent. Professional baristas avoid them because they can't control variables. Save this for later if you want convenience on busy mornings.
Espresso machines ($150-500): Require grinder capable of ultra-fine consistency (expensive), and technique takes months to master. Don't start here—master pour-over or French press first, then move to espresso if interested.
Super-automatic machines ($300+): Marketing-driven. "One-button barista coffee" is marketing. Skip entirely until you understand what you're actually trying to accomplish.
Essential Category #2: The Grinder
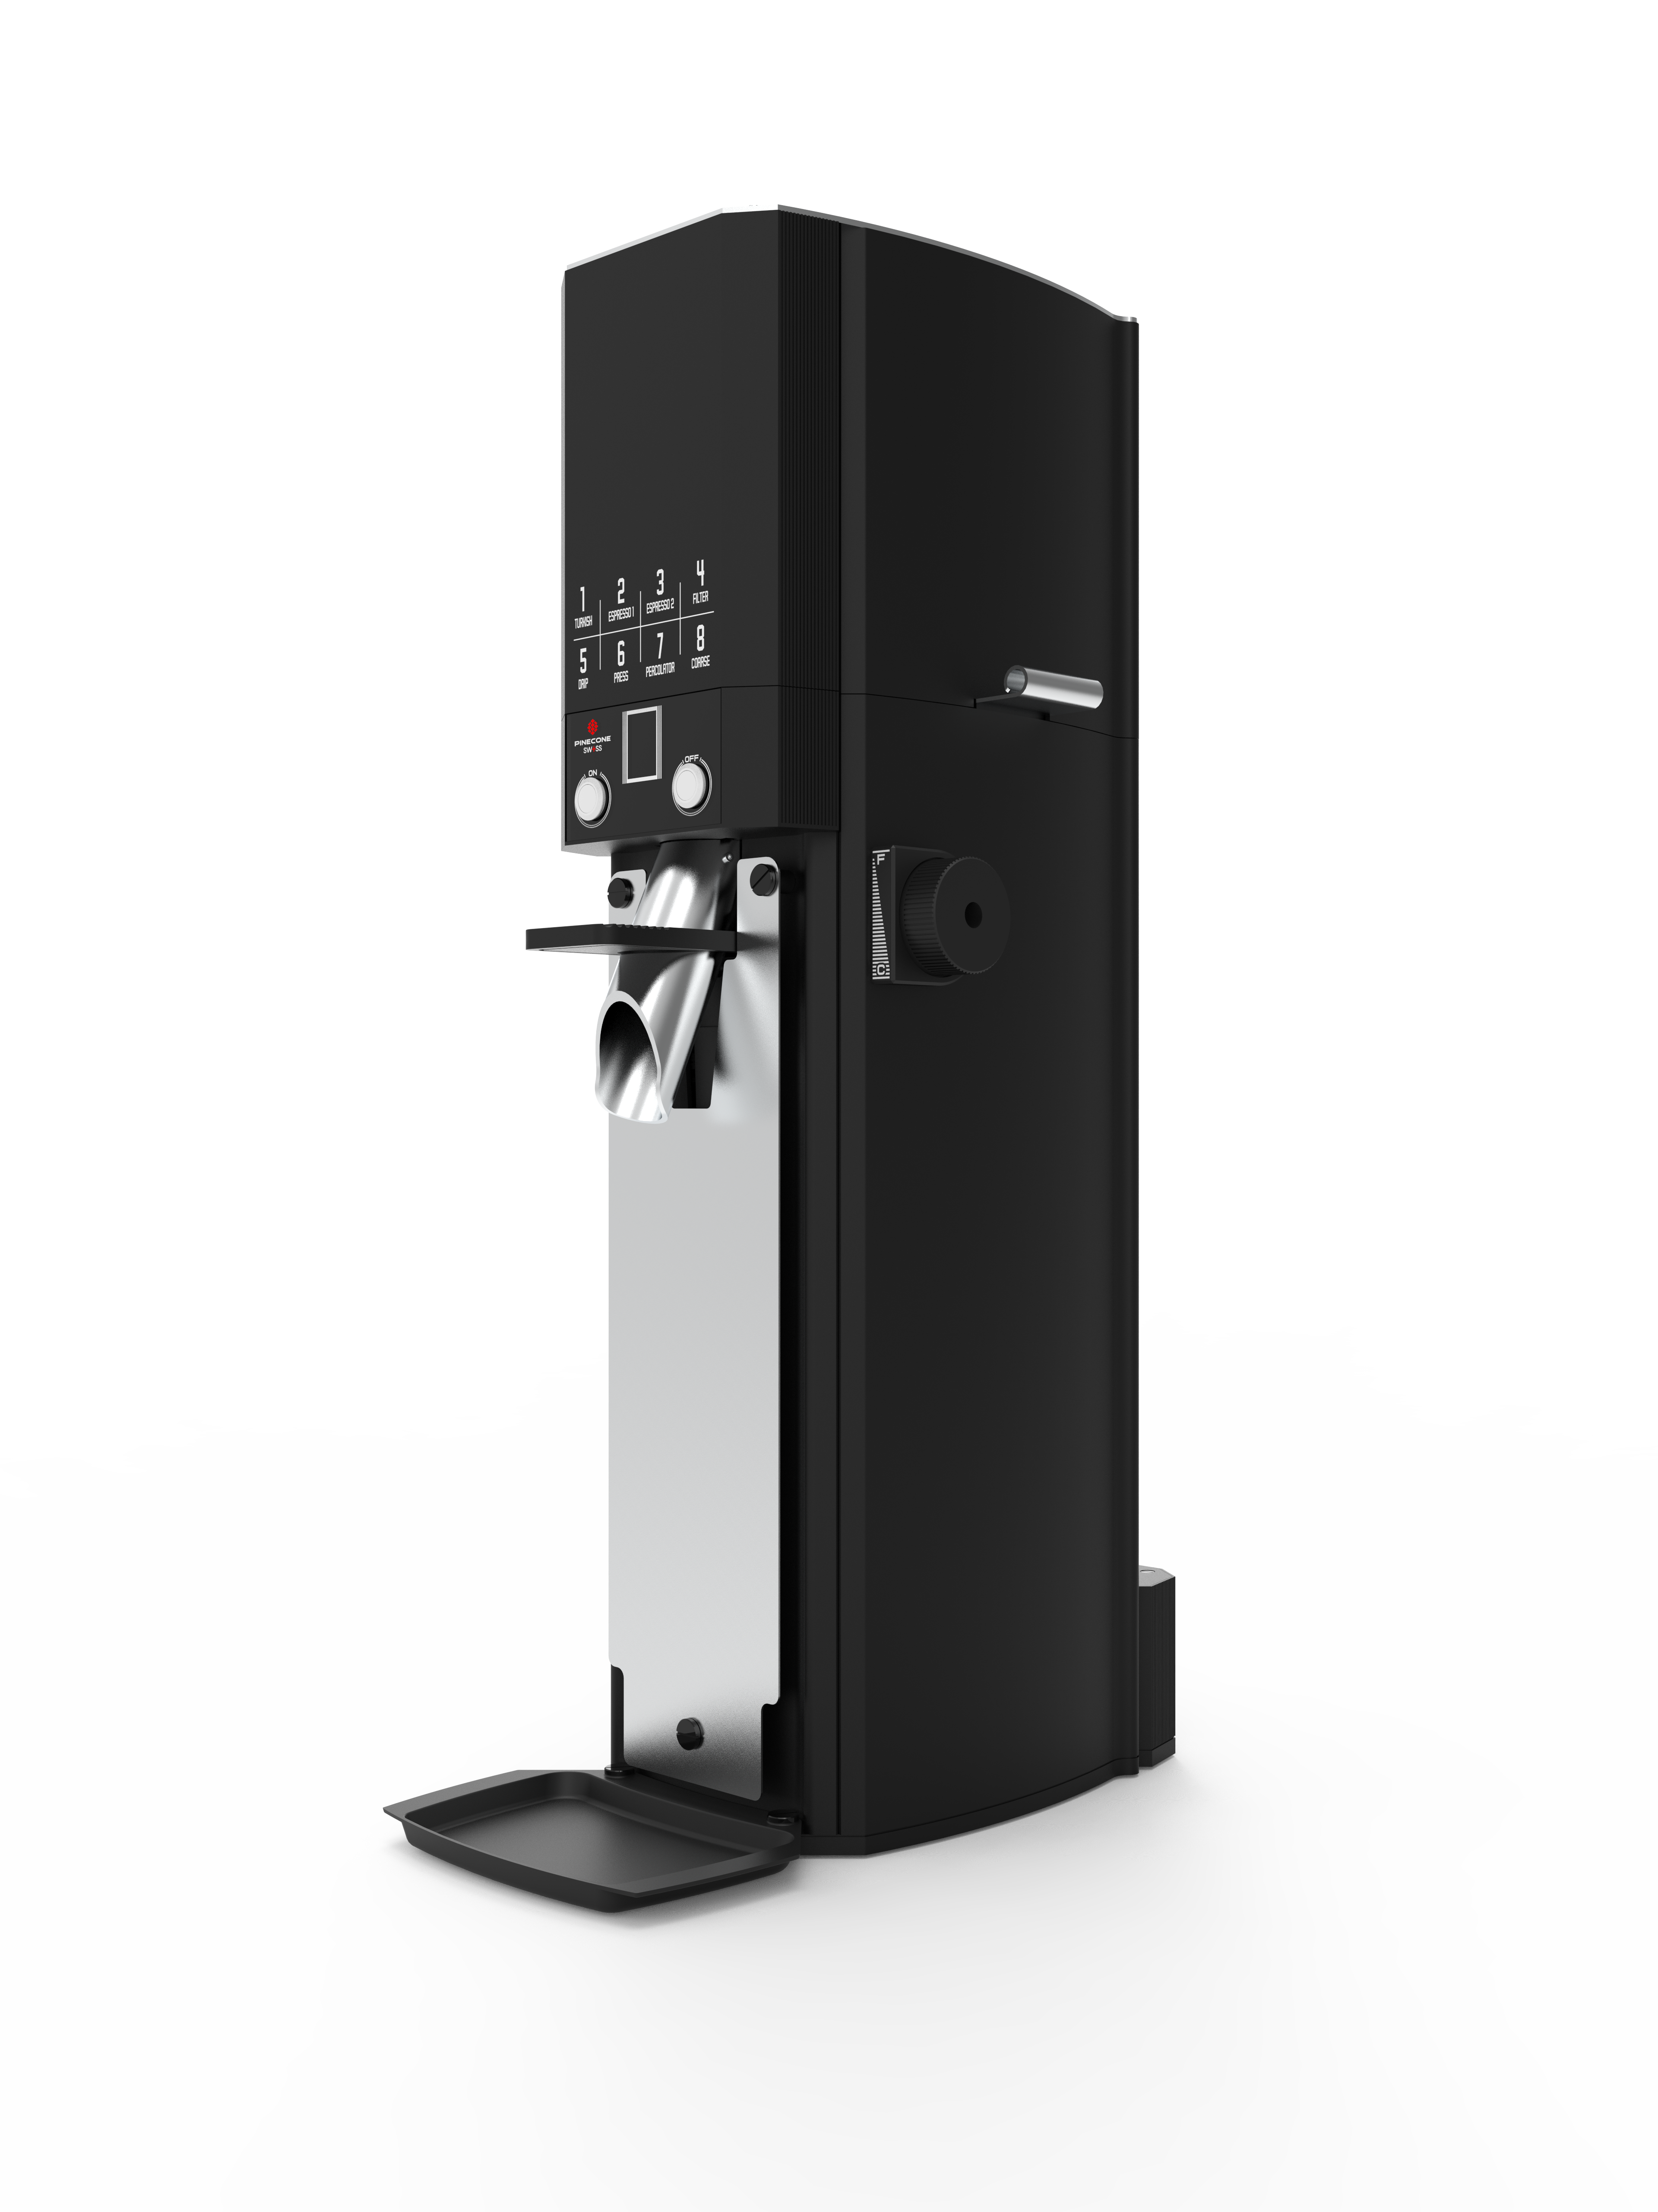
Your grinder is the second-most important tool (after understanding extraction). Cheap grinders produce uneven grinds, which sabotage all brewing method. Quality grinders are non-negotiable.
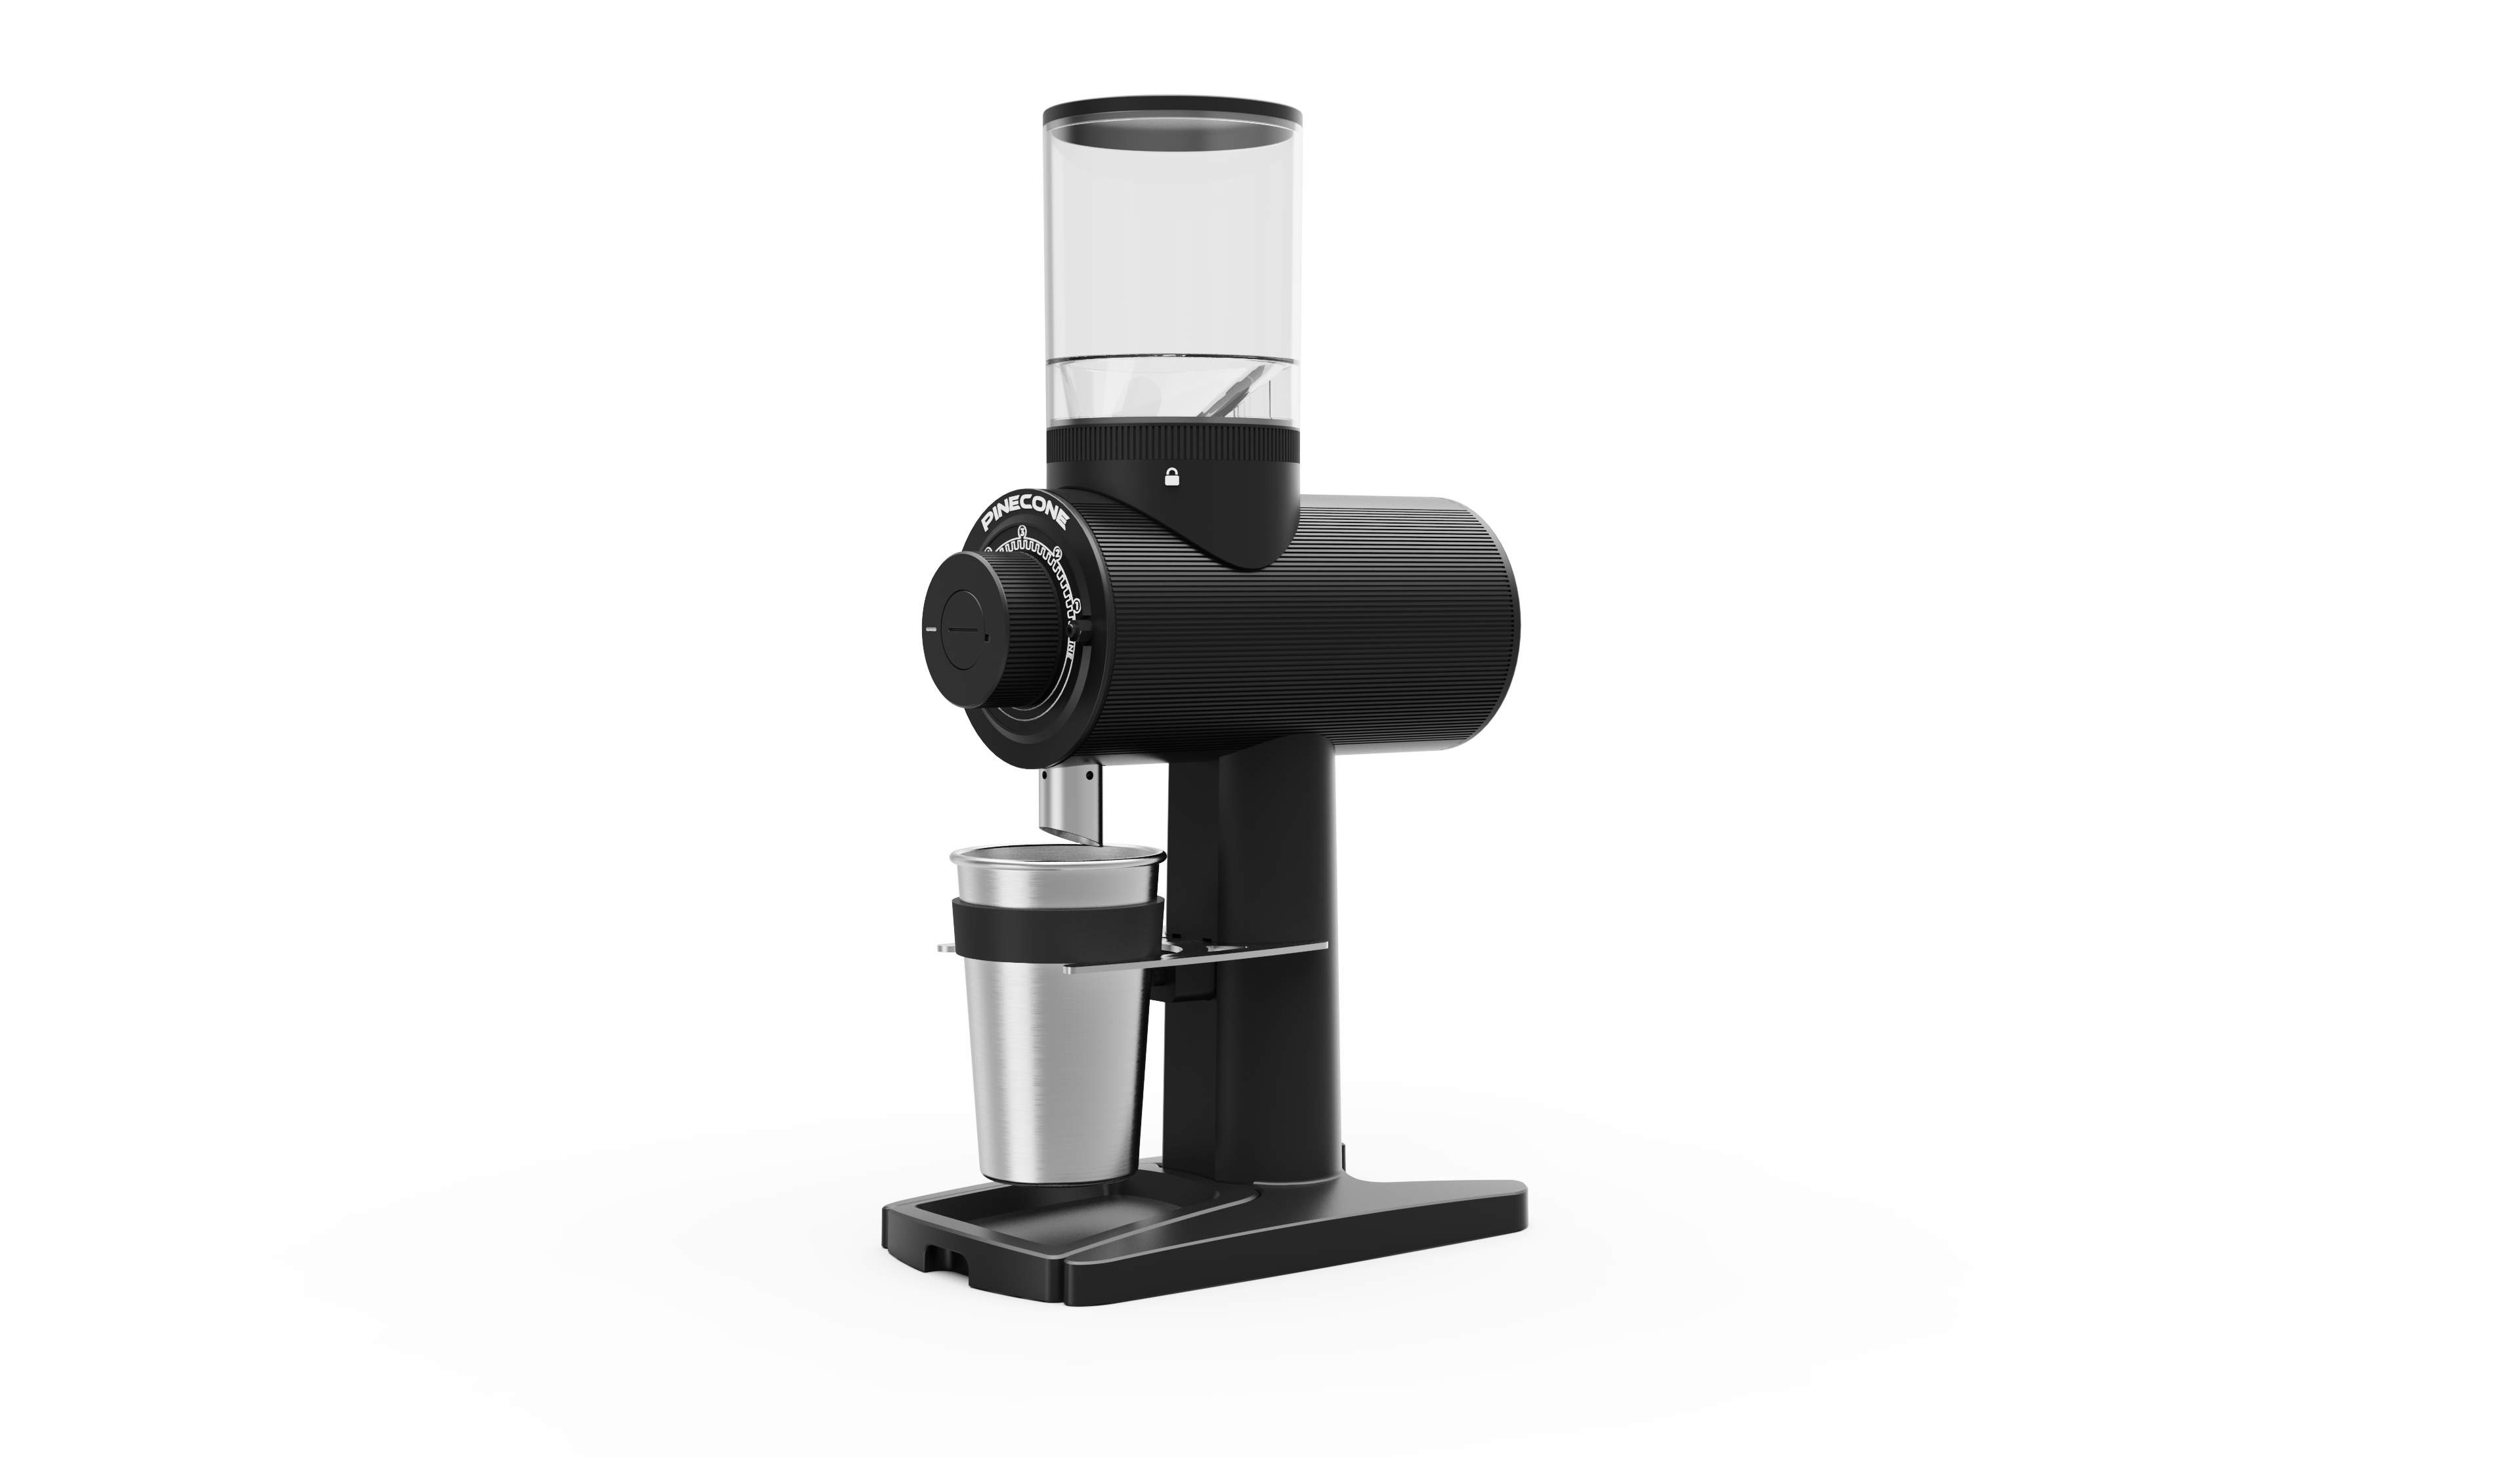
Burr Grinder: Electric ($60-100)
Electric burr grinders cost more upfront but produce consistent results with zero effort (important for daily brewing).
Best beginner option: Baratza Encore ($40-50 on sale, $60 retail)
- Conical burrs (quieter, less heat than flat burrs)
- 40 grind settings (coarse to espresso-fine)
- Durable plastic body, professional reputation
- Weighs 1 pound, compact
- Grinds 20g in ~15-20 seconds
- Lives up to hype; widely used in specialty coffee
Alternative: Capresso Infinity ($40-60)
- Simpler (no grind settings, just on/off until desired fineness)
- Good for beginners who don't want to think about grind numbers
- Produces acceptable consistency
Advantage of electric: Grinding becomes so easy (1-minute daily task) that you'll actually do it daily, ensuring freshness.
Burr Grinder: Manual ($30-60)
Manual grinders require arm effort (60-90 seconds for 20g) but are cheaper and portable.
Best beginner option: Hario Skerton Plus ($50-60)
- Ceramic conical burrs, very consistent
- Adjustable grind settings
- Portable, no electricity
- Manual grinding becomes meditative; many users embrace it
- Lasts indefinitely
Alternative: Baratza Encore Manual ($40-50)
- Electric Encore's manual equivalent
- Fewer grind settings but consistent results
- Lighter (less tiring) than some manuals
When manual makes sense:
- Budget is very tight ($200 total gear budget)
- You only brew 1-2 cups daily (tolerable arm effort)
- You like the ritual
When electric is worth the $15-20 premium:
- You brew daily (eliminates friction)
- Your household has multiple coffee drinkers
- You value simplicity and consistency
Essential Category #3: Measuring Tools
Coffee Scale ($15-30)
Weighing coffee and water is the fastest path to consistency. Professional baristas measure by weight, not volume.
Best beginner option: Hario V60 Coffee Scale ($25-30)
- Dedicated coffee scale with built-in timer
- Displays weight in 0.1g increments
- Tare (zero) button for easy measuring
- Water-resistant (splash-proof, important near brewers)
- Lasts years
Budget alternative: Basic digital kitchen scale ($12-18)
- Any digital scale with 0.1g precision works
- Not waterproof, but tolerable
- No built-in timer (use phone)
- Functionally equivalent if protected from splashes
Impact: Using a scale vs. eyeballing literally doubles consistency. This is measurable in your cup.
Thermometer ($15-30)
Water temperature (195-205°F) directly impacts extraction. A simple thermometer removes guesswork.
Best beginner option: ThermoPro TP03 ($12-15)
- Instant-read digital thermometer, marketed for meat but perfect for coffee
- Fast response (2-3 seconds)
- Waterproof
- Very durable
Alternative: Gooseneck Kettle with Built-in Thermometer ($30-50)
- Electric kettle with dial thermometer and gooseneck spout
- Combines temperature control with pouring precision (gentle pour-over)
- All-in-one tool, worth the investment if you love pour-over
Optional if budget tight: Boil water, wait 30 seconds for cooling (gets close to 195°F). Use thermometer later.
Supporting Equipment (Buy Later)
Gooseneck Kettle ($25-50)
A gooseneck (thin, curved spout) kettle gives pour-over drinkers precise water flow control. Not essential initially, but transforms pour-over technique once you're comfortable.
Basic version: Non-electric gooseneck kettle ($20-30). You boil water in regular kettle, transfer to gooseneck for pouring.
Premium version: Electric gooseneck with temperature control ($50-100). Heats water to exact temperature and keeps it there. Luxury, but useful if pour-over becomes your primary method.
When to buy: After 3-4 weeks when you know if pour-over is "your method."
Reusable Filters ($10-25)
Paper filters work great, but reusable filters reduce waste and save money long-term.
Metal mesh filters: Allow slight oil and fine particle pass-through (fuller body, like French press). Cost $10-15.
Cloth filters: Produce extremely clean, bright cups (trap oils). Cost $12-20. Require periodic boiling to remove old coffee oils.
When to buy: Once you're brewing daily and notice paper filter costs or environmental concern.
Building Your First Kit: Three Budget Tiers
Tier 1: Minimal Beginner ($100-130)
- Melitta pour-over dripper: $12
- Baratza Encore Electric burr grinder: $50
- Basic digital scale: $15
- Gooseneck or regular kettle (may already own): $20-30
- Paper filters: $5
- Total: $100-130
What you get: Solid pour-over experience, teaches extraction, quality equipment that lasts.
Limitation: Single brewing method. If you don't love pour-over, you've invested in technique you may not use.
Tier 2: Balanced Beginner ($200-250)
- Hario V60 ceramic dripper: $20
- French press (Bodum): $40
- Baratza Encore burr grinder: $50
- Hario V60 scale: $25
- Gooseneck kettle: $40
- Filters (paper + reusable): $10
- Total: $185-225
What you get: Two brewing methods (pour-over + immersion), learn which resonates, scale and proper temperature control included.
Why balanced: Explores styles without overcommitting. If you hate French press, you've only spent $40 and still have pour-over infrastructure.
Tier 3: Confident Beginner ($250-350)
- Aeropress: $35
- French press: $40
- Hario V60 ceramic: $20
- Electric burr grinder (Baratza Encore): $50
- Manual burr grinder (Hario Skerton): $50
- Hario scale: $25
- Electric gooseneck kettle: $60
- Filters: $15
- Total: $295-360
What you get: Three brewing methods, electric + manual grinder for versatility, proper temperature control, all-in-one electric kettle.
Best if: You're genuinely excited about coffee and want flexibility for travel, hosting, or experimentation.
Maintenance and Care
Proper care extends equipment life and maintains quality.
Grinder Maintenance
Weekly: Brush dry grounds from hopper and burr chamber (dry cloth, no water).
Monthly: Disassemble (per manufacturer instructions), vacuum or brush burr chamber thoroughly. Coffee oils go rancid; clean thoroughly prevents stale taste. Some users grind 10-15g uncooked rice to absorb oils (rice is then discarded).
Annually: Order replacement burr set ($15-25) if grinding becomes inconsistent. Burrs dull slowly; fresh burrs restore consistency.
Dripper/Brewer Maintenance
After each use: Rinse immediately with hot water. If you wait hours, coffee oils dry and adhere to surfaces.
Weekly deep clean: Soak in hot water with 1 tablespoon baking soda for 30 minutes. Scrub with brush. Rinse thoroughly.
French press: Mandatory immediate rinse. Coffee oils in immersion brewing go rancid quickly if left sitting. Daily use + daily rinse = no problem. Occasional use + lazy rinsing = rancid funk.
Scale Care
After each use: Wipe with dry cloth. Scales hate moisture.
Monthly: Clean with damp cloth, dry immediately.
Where to Buy
Amazon: Widest selection, user reviews helpful, often matches retail prices.
Specialty coffee retailers (Whole Latte Love, Seattle Coffee Gear, Happy Mug): Knowledgeable staff, sometimes bundle deals, higher prices but expert advice.
Local coffee shops: Many sell equipment. Supporting local is ethical; prices typically 10-15% higher than online.
Costco/Sam's Club: Occasional surprisingly good deals on Baratza grinders. Worth checking if you're a member.
Second-hand (Facebook Marketplace, eBay, Craigslist): Huge savings possible. French presses $5-15 (very durable). Electric grinders $30-50 used (still working well). Inspect carefully for damage.
Frequently Asked Questions
Should I start with pour-over or French press?
Pour-over if: You like the ritual, want to learn technique, prefer clean, bright coffee.
French press if: You want ease, prefer full-bodied richness, like longer brewing windows (forgiving).
Honestly, start with whichever appeals aesthetically. Both teach extraction. Pick based on vibe, not performance.
Is a $50 grinder really worth it?
Yes. Unequivocally. A $50 burr grinder vs. a $15 blade grinder shows in every single cup. The difference is audible (consistency) and tastable (extraction). This is one place not to compromise.
Do I need a grinder if I buy pre-ground coffee?
No, but you're missing 50% of the learning and 30% of the flavor (pre-ground loses volatiles over days). Buy whole beans, grind fresh. Once you try it, you won't go back.
What if I brew for multiple people?
Upgrade to larger capacity:
- French press: Buy 3-cup (12oz) instead of 8-cup
- Pour-over: Use larger Chemex (8-cup) instead of small cone
- Aeropress: Brew twice
- Scale: Same scale works (it measures any amount)
Can I use hot tap water instead of a kettle?
Tap water is 120-140°F max. Pour-over needs 195°F. Quick answer: no, you need a kettle. Exception: if your tap runs very hot (180°F+) in an old building, boil kettle first, let cool slightly. Still imprecise—better to get a $20 kettle.
Conclusion: Beginner Equipment That Grows With You
The beginner's coffee journey is about discovering what you actually enjoy, not buying everything advertised. Start with Tier 1 or Tier 2 ($100-250). These kits teach fundamentals and produce genuinely excellent coffee. As your interests develop—maybe you fall in love with pour-over precision, or French press simplicity, or Aeropress versatility—you'll know what to upgrade.
The equipment outlined here is not entry-level junk. Baratza Encore grinders are used by professional coffee shops. V60 and Chemex brewers are used in specialty coffee competitions. These tools remain relevant even as your skills evolve. You're not buying beginner gear you'll outgrow; you're buying solid tools that teach and last.
Start simple. Brew daily. Taste methodically. Let your preferences guide future purchases. Within 3-6 months, you'll have discovered your coffee style, and your equipment will be optimized for it.
Ready to build your kit? Browse our roasted coffee selection to find the beans that excite you, and explore our equipment recommendations for quality gear that matches your style.