The One Rule Before You Buy Anything
The most common beginner mistake in coffee equipment is buying in the wrong order. People invest in an expensive espresso machine, then discover that the pre-ground coffee they are using produces a flat, bitter shot regardless of machine quality. Or they buy a beautiful pour-over dripper and never taste much improvement because they kept the blade grinder.
The rule is simple: grind quality first, everything else second. The grinder is the most impactful piece of equipment in a home coffee setup because grind consistency — uniform particle size — is the primary variable determining extraction evenness. Uneven grind means some particles over-extract (bitter) while others under-extract (sour) simultaneously, creating a cup that cannot be improved by any downstream adjustment.
Every other purchase — brewer, kettle, scale — should come after you have a reliable burr grinder.
The Four Essential Items (and Why Each Matters)
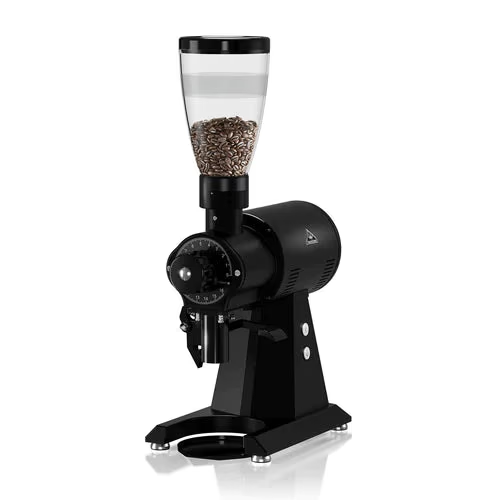
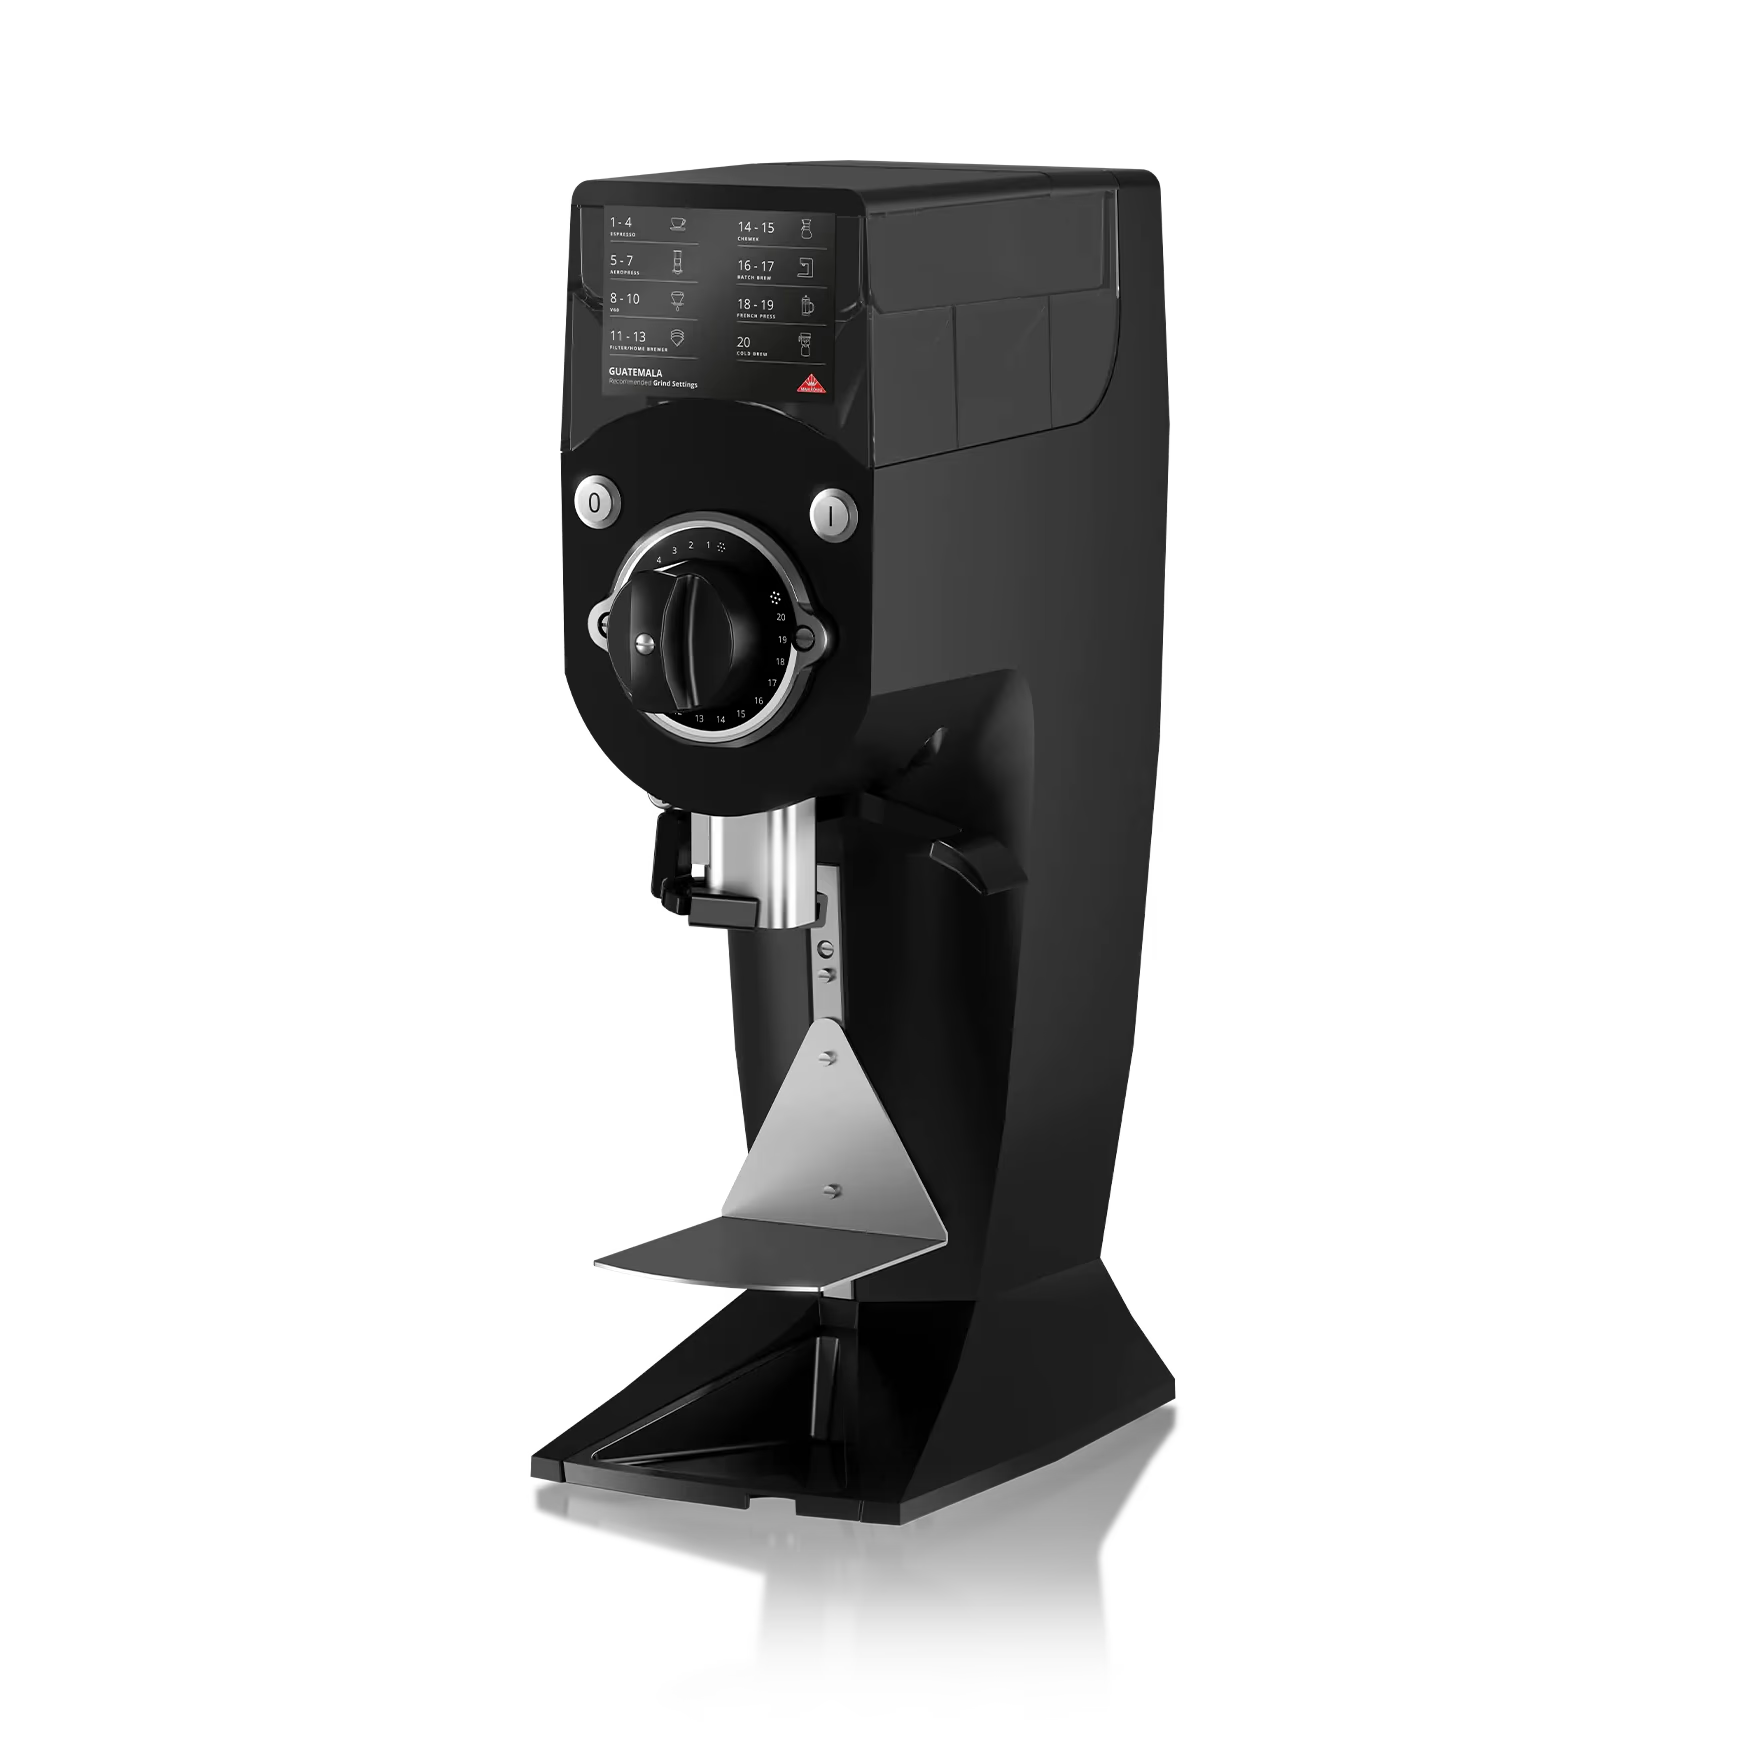
Burr Grinder: The Non-Negotiable Foundation
A burr grinder crushes beans between two abrasive surfaces (burrs), producing particles of consistent diameter. A blade grinder chops beans with a spinning blade, producing a chaotic mix of powder, medium grounds, and large chunks — all of which extract at different rates.
The gap between blade and burr is not subtle. The same beans, the same brewer, the same water temperature — but with a burr grinder instead of a blade grinder — will consistently produce a meaningfully better cup. This is the single upgrade that pays back the fastest.
Manual burr grinders (hand grinders): Cheaper, quieter, portable, and perfectly capable for one to two cups. The Hario Skerton Pro and Timemore C2 produce consistent grinds at $40–$60 that beat electric grinders costing twice as much.
Electric burr grinders: More convenient for larger volumes. Entry-level options from Baratza (Encore) and Fellow (Ode, for filter coffee only) start around $140–$195 and produce commercial-quality consistency.
Brewer: Matched to How You Drink
The brewer determines the basic character of the cup — body, clarity, and how much control you have over extraction. The right choice depends on what kind of coffee you enjoy, not on what looks most impressive on a countertop.
| Brewer | Price Range | Body | Clarity | Learning Curve | Best For |
|---|---|---|---|---|---|
| French press | $15–$40 | Full, rich | Low (oily) | Low | Immersion lovers, dark/medium roasts |
| Hario V60 | $8–$25 | Light to medium | High | Medium | Light roasts, flavor exploration |
| AeroPress | $35–$45 | Medium to full | Variable | Medium | Versatile daily brewing, travel |
| Chemex (6-cup) | $45–$55 | Light, clean | Very high | Medium | Entertaining, delicate light roasts |
| Moka pot | $20–$40 | Very full, concentrated | Low | Low-medium | Espresso-style without the machine |
| Drip machine (auto) | $25–$100+ | Medium | Medium | Very low | Convenience, large batches |
For most beginners, an AeroPress or French press offers the best combination of low cost, forgiving technique, and reliably good results across a range of bean types and roast levels.
Scale: Precision Is Repeatable
A digital kitchen scale eliminates the main reason beginners cannot reproduce a good cup: inconsistent dose. The standard coffee-to-water ratio is roughly 1:15 to 1:17 by weight (coffee to water) — meaning 15–17 grams of water for every gram of coffee. Volume measurements with spoons are unreliable because ground coffee density varies significantly by grind size and bean type.
A scale that measures to 0.1g precision is ideal, though 1g precision is acceptable for most brewing. Built-in timer functionality is useful for pour-over — you can track both dose and brew duration simultaneously. The Hario V60 Drip Scale, Timemore Black Mirror, and generic kitchen scales from Amazon all work. Spend $15–$40; there is no quality advantage to spending more.
Kettle: Temperature Control and Pour Precision
For immersion methods (French press, AeroPress), any kettle works. For pour-over methods (V60, Chemex), a gooseneck kettle matters significantly — its narrow, curved spout gives precise control over pour rate and direction, which determines how evenly water contacts the coffee bed.
An electric kettle with variable temperature control is the most useful tool for progressing past beginner stage, because different coffees and roast levels extract optimally at different temperatures:
- Light roasts: 93–96°C (fuller extraction needed)
- Medium roasts: 90–94°C (balanced range)
- Dark roasts: 88–92°C (lower temp reduces bitterness risk)
Entry-level variable temperature electric gooseneck kettles (Fellow Stagg EKG, Bonavita 1L) run $50–$90. Budget option: bring any kettle to boil, let it rest 30 seconds (drops to approximately 96°C) or 60–90 seconds (approximately 90–92°C) before brewing.
What You Do Not Need as a Beginner
The specialty coffee world is full of equipment that serves real purposes at an advanced level but adds noise for beginners. The following items are commonly purchased early and rarely improve outcomes significantly at beginner stage:
Refractometer. Measures Total Dissolved Solids (TDS) to assess extraction percentage. Useful for professional recipe development; creates false precision when your grind consistency is still variable. Fix the grinder first.
Pressure profiler or espresso machine. Unless espresso drinks are specifically your target, the complexity and cost of a home espresso setup ($500–$2000+) is almost never justified early. You will not taste the difference a pressure profiler makes until you have spent years understanding espresso extraction fundamentals.
Multiple brewers. Own one brewer and understand it deeply before adding another. Each method has its own logic and optimization space. Spreading attention across three methods simultaneously slows learning and compounds variables.
Tamper and portafilter accessories. Espresso-specific accessories. Unnecessary unless you have committed to espresso.
Expensive storage. A simple airtight container away from light and heat stores whole beans perfectly well. Vacuum-sealed canisters extend freshness by perhaps a week. Not worth agonizing over at beginner stage — the more impactful storage practice is buying smaller quantities more frequently.
Building Your First Starter Kit: Three Budget Tiers
You do not need to buy everything at once. The following tiers reflect realistic starting points at different budget levels.
Tier 1: Under $80 — Manual and Minimal
- Timemore C2 or Hario Skerton Pro hand grinder: $45–$60
- Hario V60 plastic or AeroPress: $8–$35
- Basic kitchen scale: $15
- Any existing kettle
This setup produces genuinely excellent coffee. The hand grinder is the quality-determining investment. Many serious home brewers keep a hand grinder as their primary tool indefinitely.
Tier 2: $80–$200 — Full Manual Setup
- Hario Skerton Pro or Comandante C40 (premium manual): $60–$180
- AeroPress or Chemex: $35–$55
- Hario Drip Scale with timer: $40
- Budget electric gooseneck kettle: $30–$50
The jump from Tier 1 to Tier 2 is mostly the kettle (temperature control) and the scale (timer). These refinements reduce daily friction rather than dramatically improving cup quality.
Tier 3: $200–$400 — Electric Convenience
- Baratza Encore electric burr grinder: $160
- Chemex or V60 setup: $45–$55
- Timemore or Bonavita variable temp kettle: $50–$70
- Scale: $25–$40
Tier 3 is the right level for someone who knows they will brew two or more cups daily and values speed and convenience. The Encore is a professional-grade electric grinder that serves most home brewers for years without limitation.
Coffee Beans: The Input That Matters Most
No equipment list is complete without addressing coffee beans, because gear quality is irrelevant if the beans are stale or commodity grade.
The two critical purchase criteria for beginners:
Roast date. Buy whole beans with the roast date printed on the bag. Use them within four weeks of roast (for lighter roasts, two to three weeks is the sweet spot). Coffee sold by best-by date rather than roast date is almost certainly stale by the time it reaches you.
Whole bean, not pre-ground. Buy whole beans and grind before each brew. The improvement over pre-ground coffee is immediate and consistent. CO2 released from freshly ground coffee creates a bloom in pour-over — a visible sign that the beans are fresh and that your extraction is active.
Where to buy: small local roasters, roasters who ship directly, and specialty coffee retailers who stock fresh-roasted product with visible roast dates. Avoid beans sold in opaque canisters at grocery stores — freshness is impossible to verify.
Care and Cleaning: Making Gear Last
Clean equipment produces better coffee and lasts longer. The minimum maintenance routine:
- Grinder: Brush loose grounds out after each use. Deep-clean burrs monthly with a dry brush. Use grinder cleaning tablets quarterly to remove oil buildup.
- Brewer: Rinse thoroughly after each use. Monthly wash with dish soap and rinse well. Paper filter residue is negligible; metal filter residue accumulates and needs periodic degreasing.
- Kettle: Descale every three to six months with a diluted citric acid or white vinegar solution. Mineral scale buildup reduces heating element efficiency and can affect water taste.
- Scale: Wipe immediately after any water contact. Most scales are not waterproof — a brief drip will not destroy them, but immersion will.
Frequently Asked Questions
Do I really need a scale or can I use measuring spoons?
Measuring spoons work but introduce inconsistency because ground coffee density varies significantly by grind size and bean type. Two tablespoons of coarsely ground coffee weigh less than two tablespoons of finely ground coffee. A scale eliminates this variable and takes seconds. It also makes it easy to reproduce a good cup exactly — without a scale, it is guess-and-hope every time.
Is a hand grinder good enough or do I need electric?
Hand grinders produce cup quality equal to or better than electric grinders in the same price range, and better than cheap electric grinders in the $40–$90 range. The practical difference is speed and convenience — hand grinding takes two to four minutes depending on dose and grind setting. For one to two cups per day, most people find this acceptable. For multiple cups or for others who prefer not to participate in the ritual, an electric grinder above $140 is worth considering.
What brewing method is best for a beginner?
AeroPress is the most forgiving method for beginners: short brew time, almost no channeling risk, and the ability to adjust mid-brew if the recipe is off. French press is close second — longer brew time but similarly forgiving. Pour-over (V60, Chemex) produces the best results at peak but is less forgiving of technique errors. Start with AeroPress or French press, then move to pour-over once your grind consistency is reliable.
How long will good equipment last?
A quality burr grinder (Baratza Encore, Comandante C40) lasts five to fifteen years with proper cleaning. Manual brewers (V60, Chemex, French press) last indefinitely if handled carefully. The French press plunger assembly may need replacement after a few years of daily use. A good kettle lasts five to ten years. Equipment longevity makes upfront spend worthwhile — divide the cost by years of use to get the actual daily cost.
Conclusion
Good coffee at home starts and ends with the grinder. Everything else — brewer, kettle, scale — matters meaningfully but at a lower priority. Begin with a burr grinder in the $50–$80 range, add a simple brewer and a $15 scale, and brew with freshly roasted whole beans from a transparent roaster. That combination, executed consistently, produces results that rival specialty cafés at a fraction of the per-cup cost.
As your taste develops and your technique stabilizes, you will understand what your specific setup is missing — and that knowledge will make any subsequent purchase land on an actual limitation rather than a marketing aspiration. Browse our roasting equipment and coffee selections to start with fresh, traceable beans that give your new gear the best possible input.