Why Gear Matters for Coffee Quality
Equipment isn't glamorous, but it's the bedrock of reproducible, flavorful coffee. A chipped blade grinder produces wildly inconsistent particle sizes—some dust, some gravel—and water rushes through the fine dust while skipping the coarse pieces. This uneven extraction creates sour, thin coffee. By contrast, a burr grinder produces uniform particles, and all of them extract at nearly the same rate.
The brewing device itself shapes flavor expression. A French press allows longer contact with water, extracting oils and sediment that add body and texture. A pour-over dripper, paired with paper filters, produces a cleaner cup by trapping those oils. An espresso machine forces water through grounds under 9+ bars of pressure in 25–30 seconds, creating a concentrated, crema-topped shot.
A digital scale removes guesswork from your coffee-to-water ratio. Most home brewers eyeball scoops or guesses—some of their brews land at 1:15 (coffee to water), others at 1:17, which explains why the same beans taste different day to day. A scale locks in repeatability, letting you taste the actual coffee instead of chasing variables.
Temperature control matters too. Coffee extracts best between 195–205°F (90–96°C). Boiling water (212°F) over-extracts instantly, burning away brightness and leaving harshness. A simple gooseneck kettle lets you wait 30 seconds post-boil; a variable-temperature kettle hits the target precisely every time.
Understanding Grinders: The Most Important Purchase
Your grinder determines everything downstream. Invest here first.
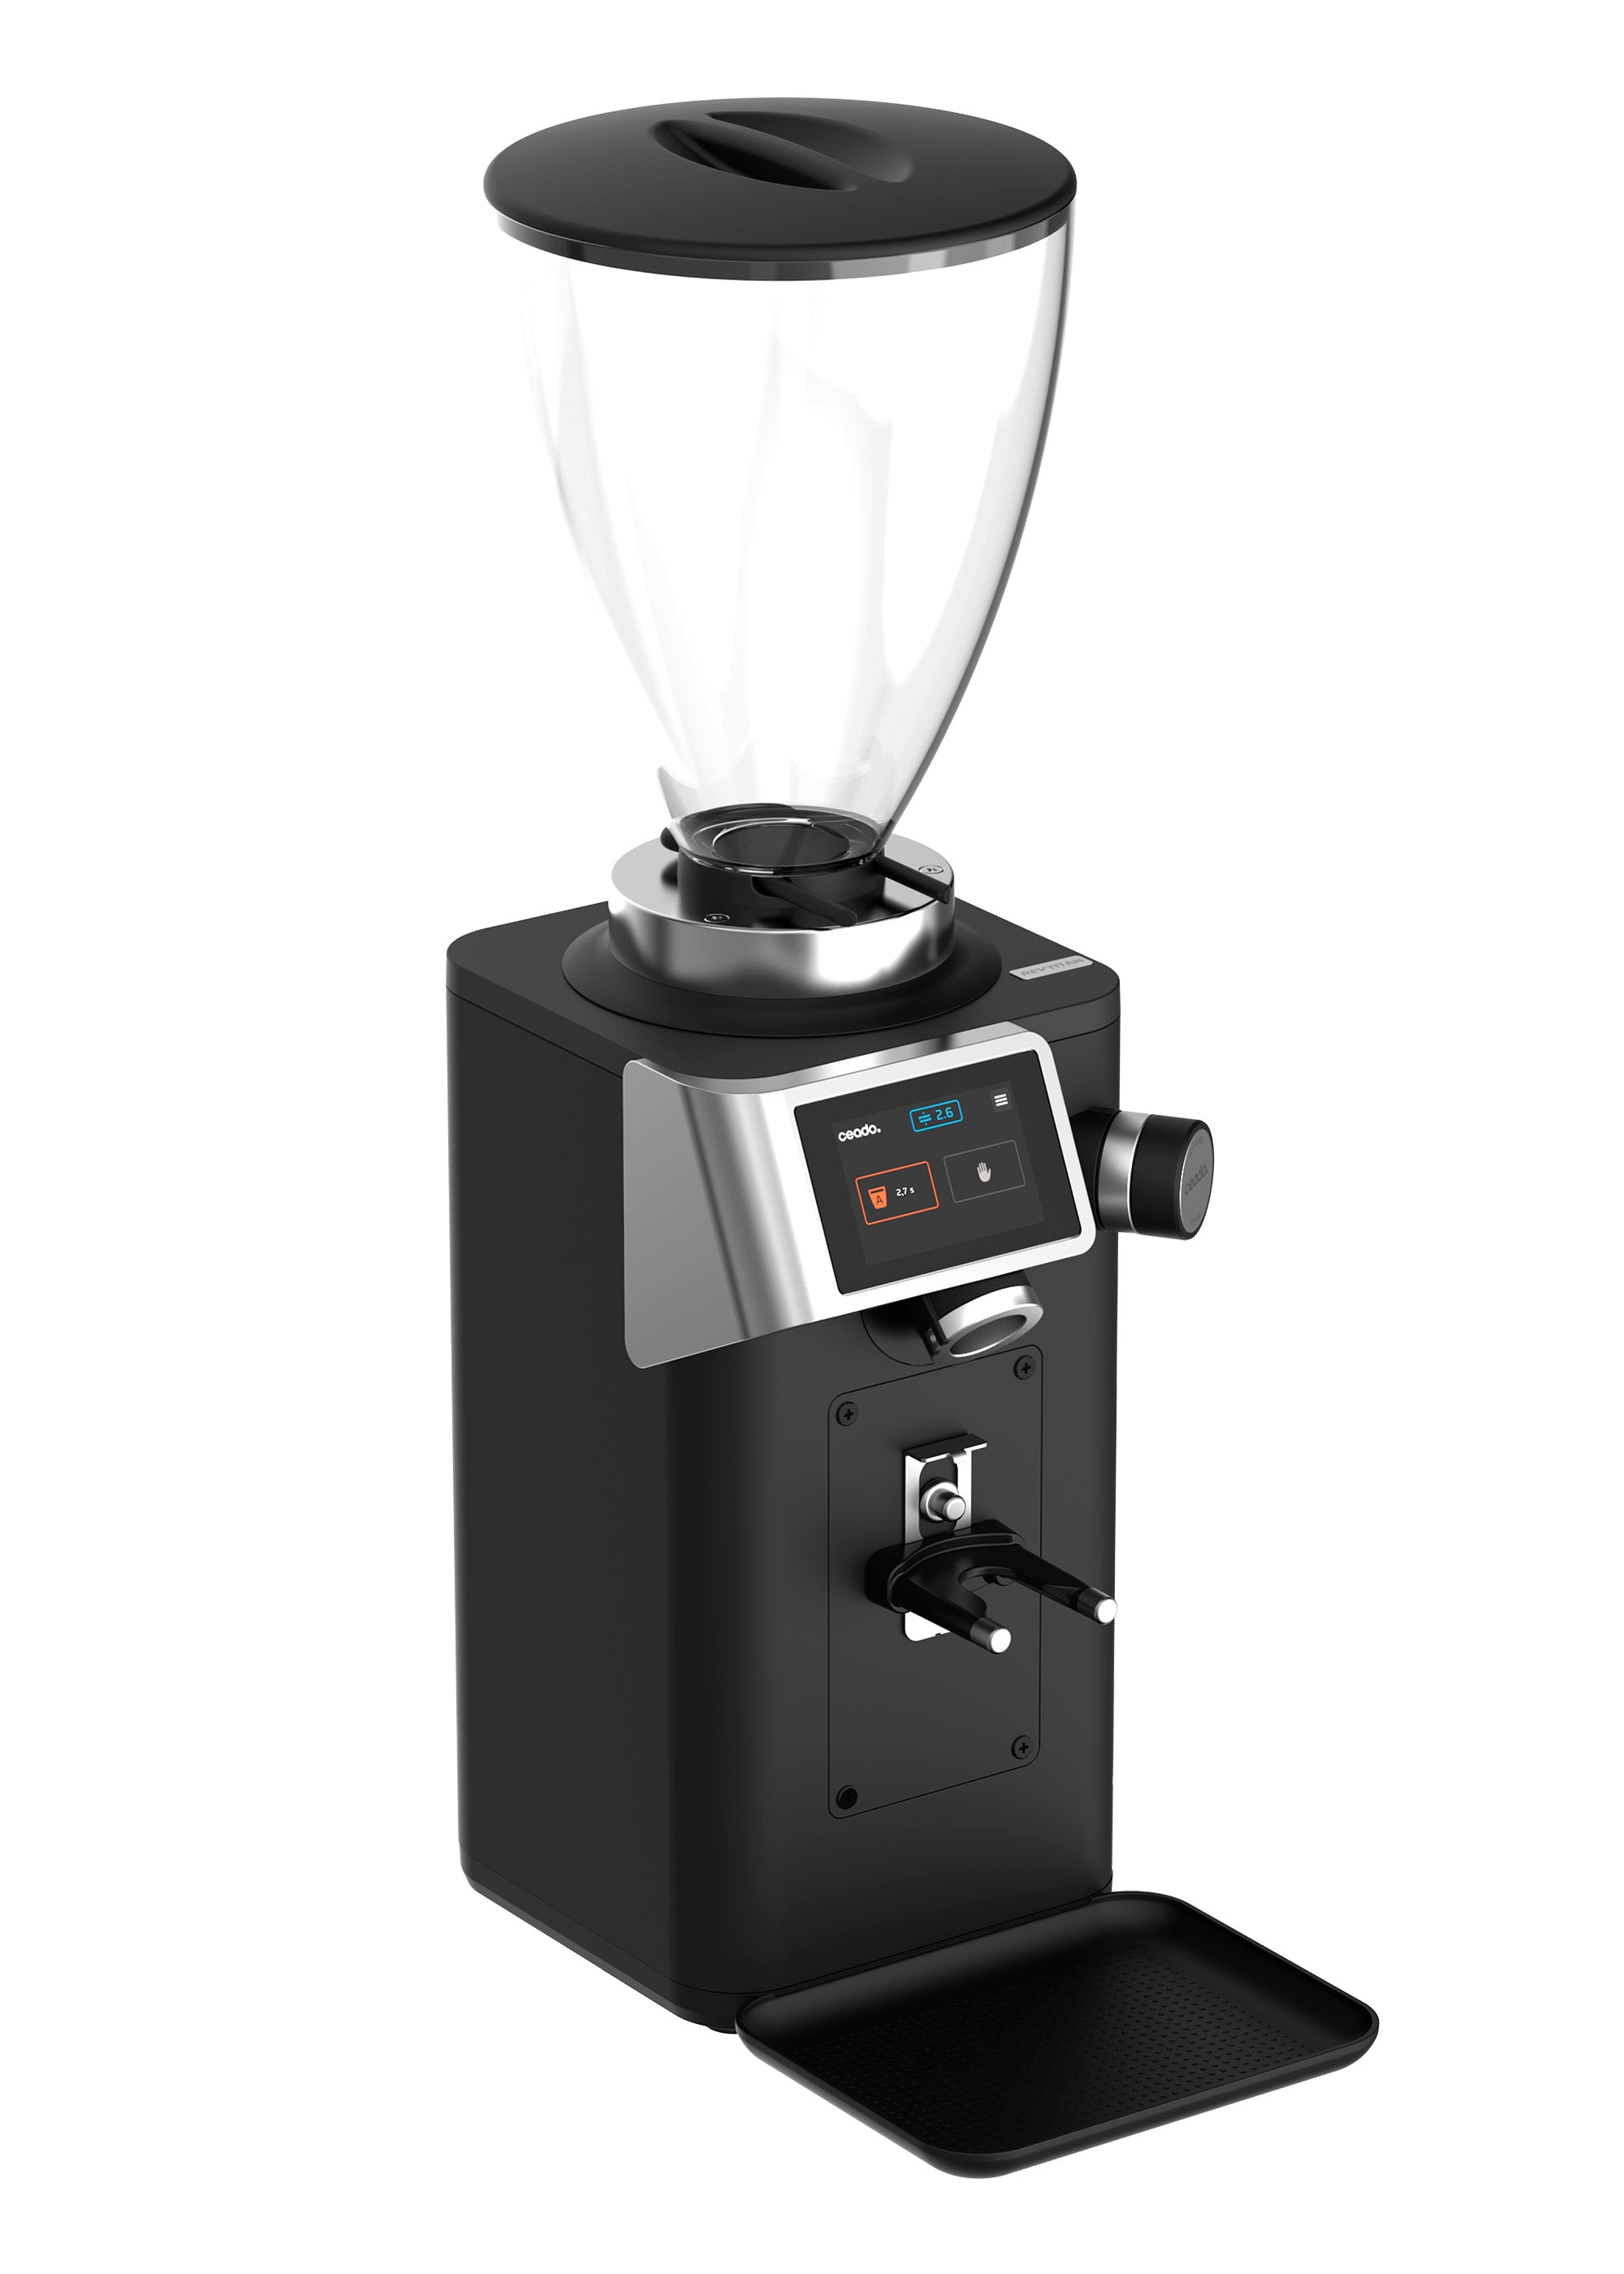
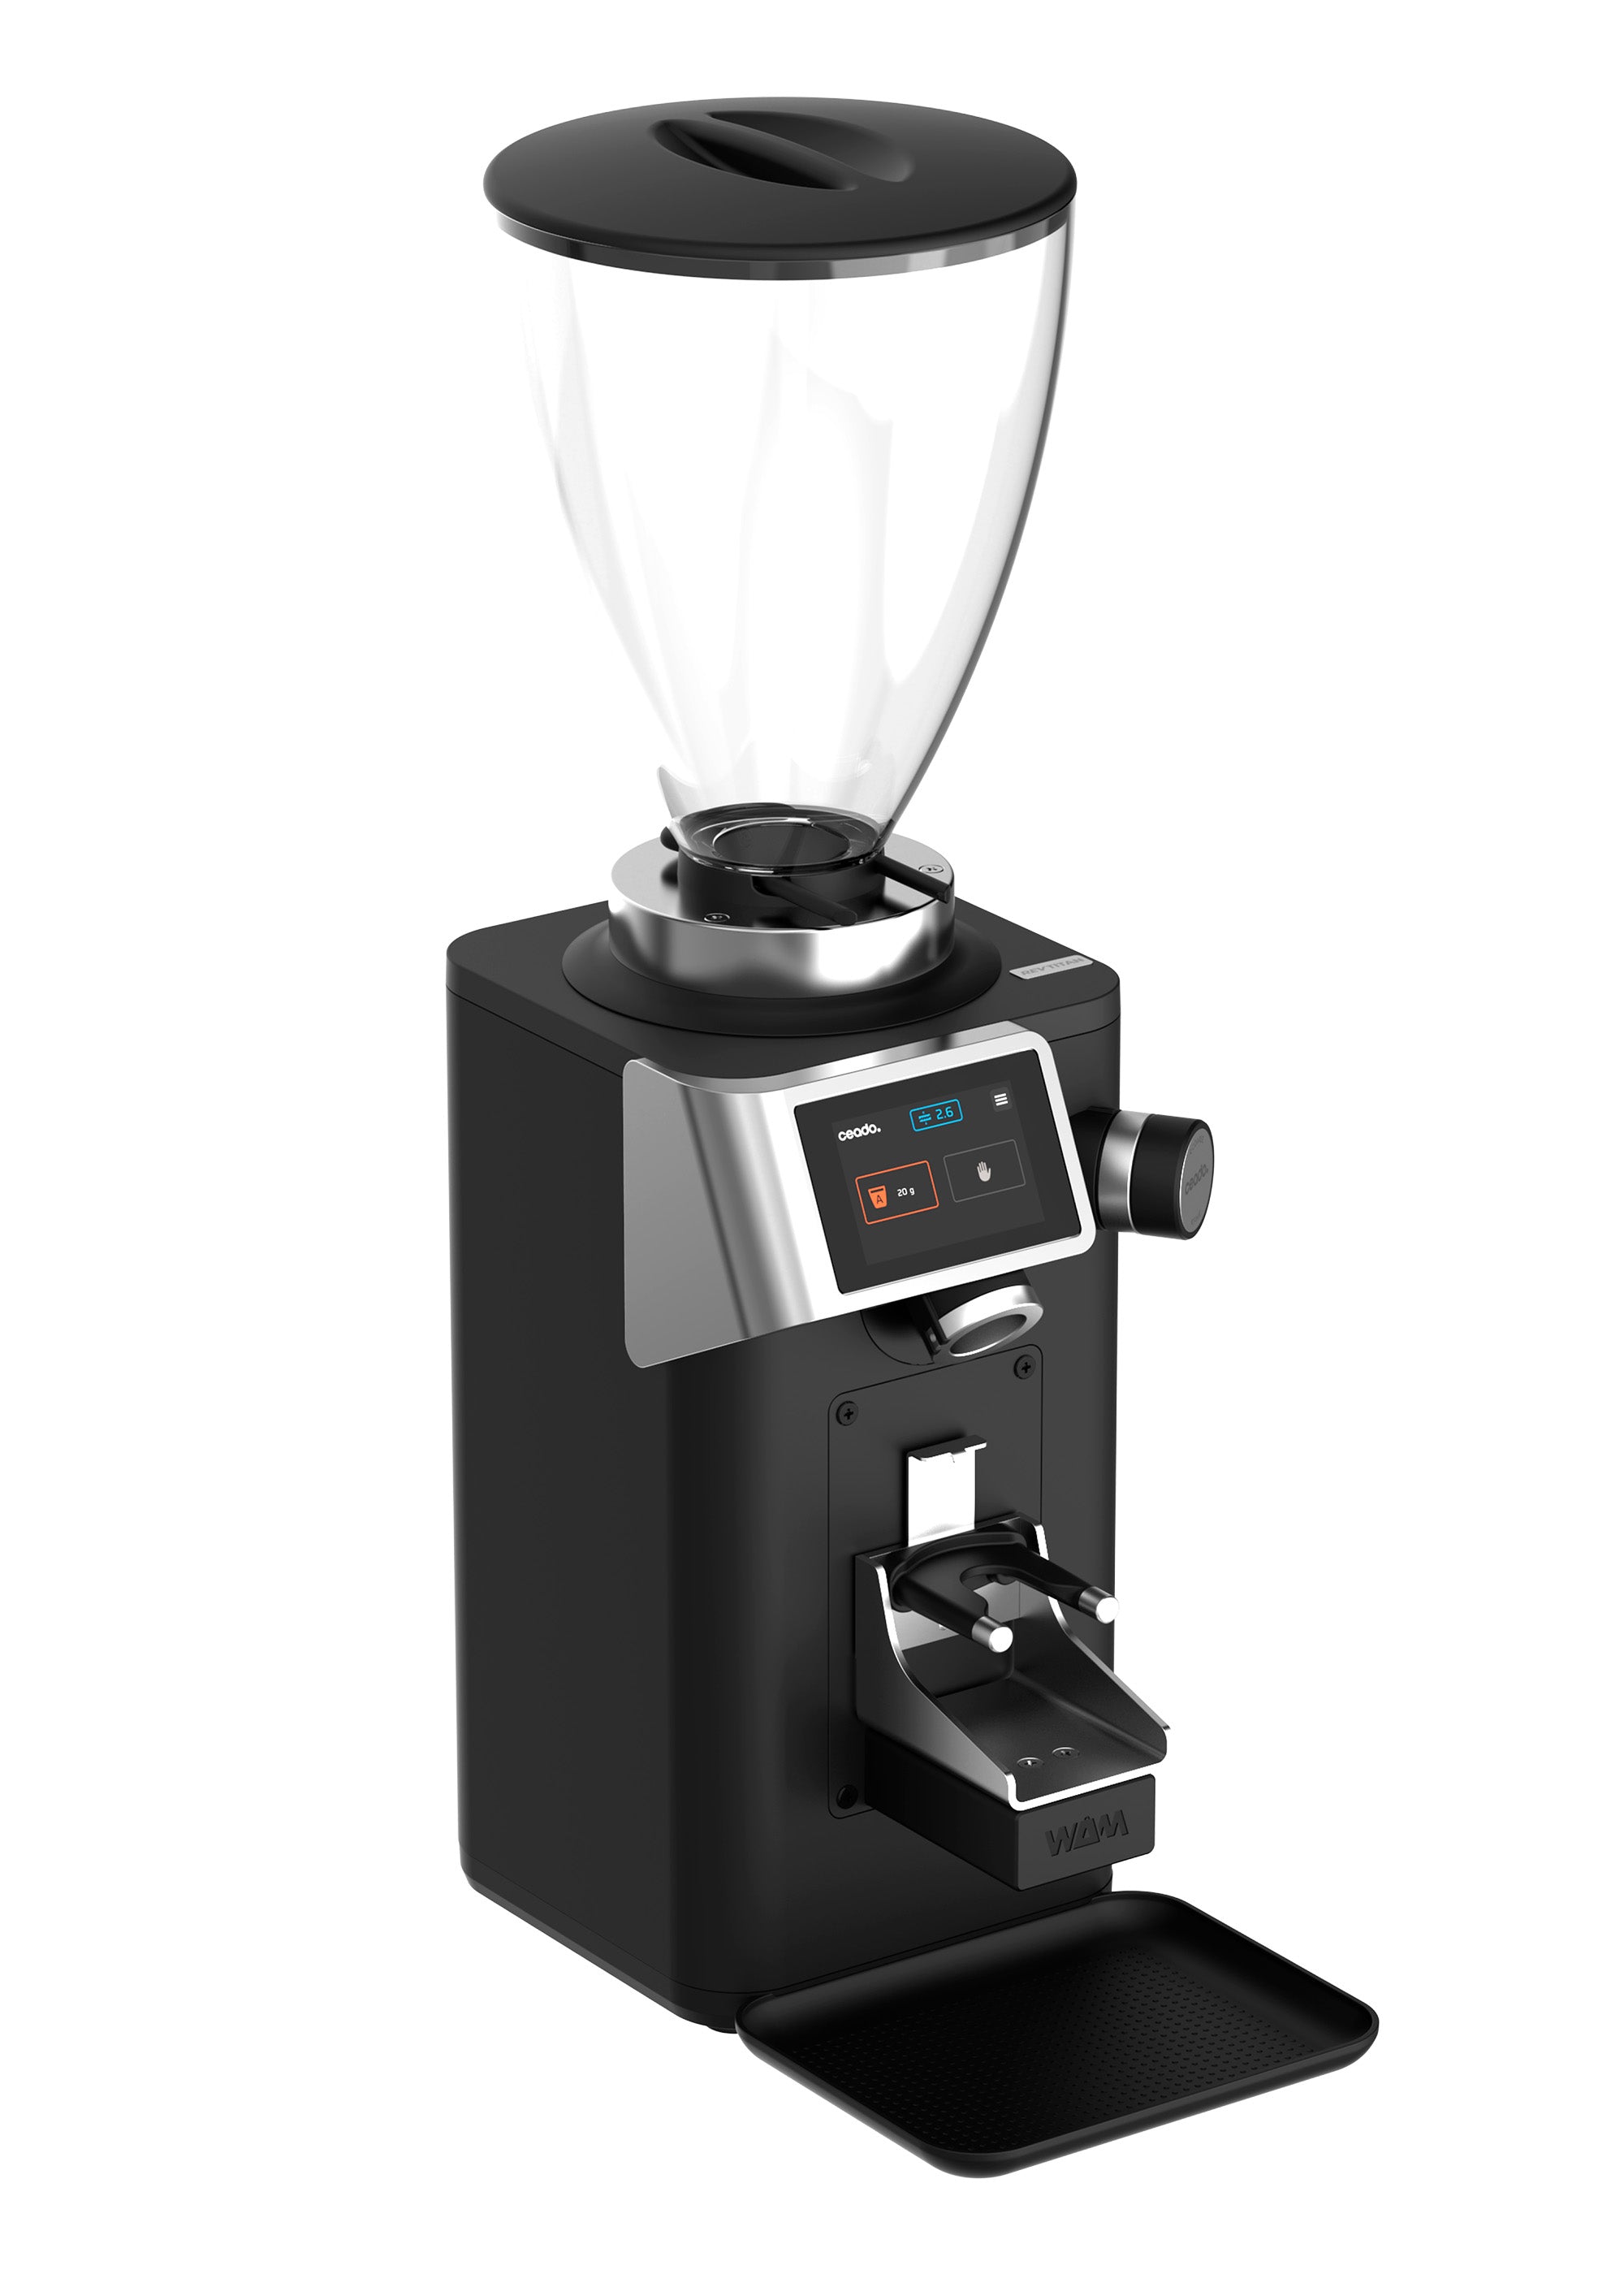
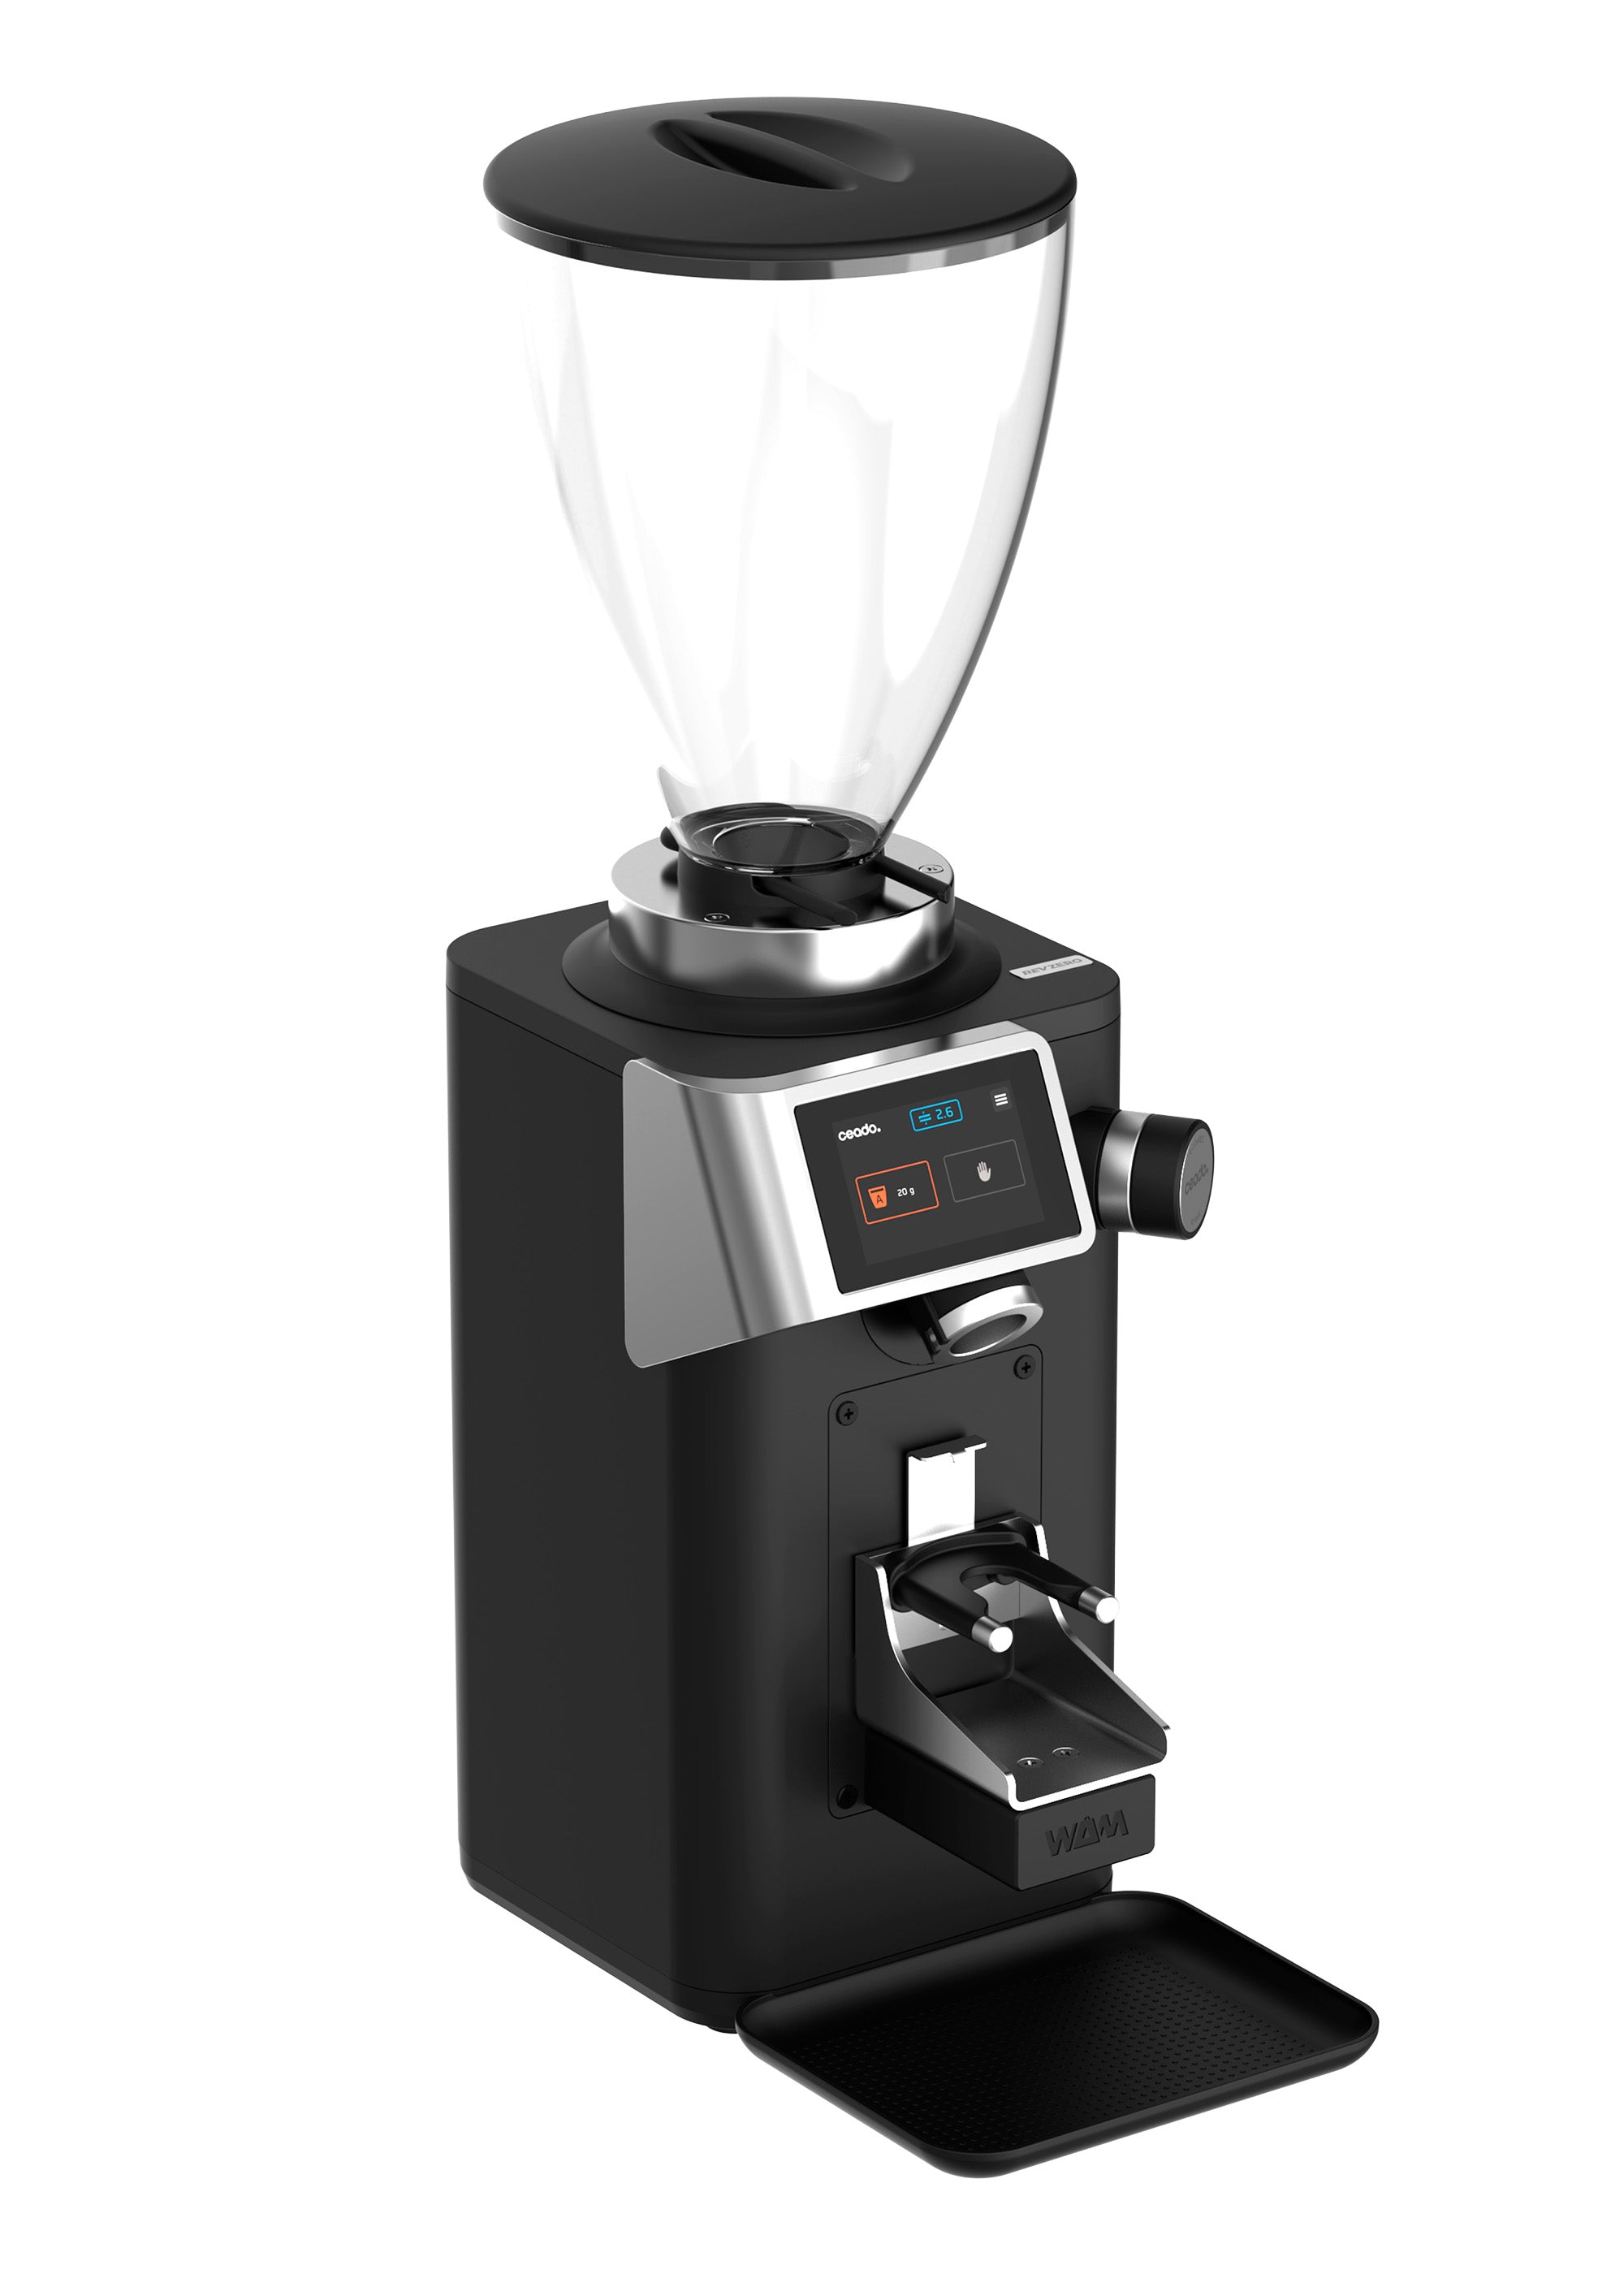
Burr vs. Blade Grinders
Blade grinders chop coffee with a spinning propeller blade. Cheap, compact, loud—but they produce wildly inconsistent particle sizes. Half your grounds extract immediately (over-extraction), half barely extract (under-extraction). The result: thin, sour, muddy coffee. They also generate heat from friction, potentially degrading volatile aromatics.
Burr grinders crush beans between two abrasive surfaces (the burrs). Every particle emerges at the same size, so extraction is uniform. They come in two styles:
Conical burrs are cone-shaped, fitting inside a larger ring. They grind at lower speeds (fewer RPM), generating less heat and noise. Better for home use; often $50–$150 for solid entry-level models. Conical burrs are more forgiving of tamping pressure variation in espresso.
Flat burrs are two parallel rings with sharp edges. They grind faster and are favored by espresso enthusiasts for their micro-adjustability and consistency at ultra-fine settings. Typically $150–$400+ for quality models. Industrial roasteries prefer flat burrs for their speed and precision.
Grind Settings and Your Brewing Method
Different brewing methods demand different grind sizes:
| Brewing Method | Grind Size | Contact Time | Texture |
|---|---|---|---|
| Turkish/Ibrik | Ultra-fine (powder) | 10-15 min | Silt-like sediment |
| Espresso | Fine (granulated sugar) | 25-30 sec | Crema-topped |
| Pour-over | Medium-fine | 3-4 min | Clean, bright |
| Drip coffee maker | Medium | 4-6 min | Balanced |
| Chemex | Medium-coarse | 4-5 min | Tea-like clarity |
| French press | Coarse (sea salt) | 4 min | Full-bodied, oily |
| Cold brew | Extra-coarse | 12-24 hours | Smooth, sweet |
A grinder with 15+ settings (or stepless/micro-adjustable) lets you dial in for multiple methods. More settings = finer control. Look for models labeled "stepless" if you're experimenting across methods.
Build Quality and Longevity
Burr material determines how long they stay sharp. Ceramic burrs are extremely hard and resist dulling, but they can chip if a stone sneaks into your hopper. Steel burrs dull slightly faster but are nearly impossible to break and handle larger batches well. Most commercial roasters use steel; most home enthusiasts prefer ceramic for durability with light daily use.
Static cling—ground coffee sticking to the grinder's chamber—is annoying and wasteful. Some grinders have static-reducing coatings or materials. A small hygroscopic stick (like the Ross Droplet Technique: add 1-2 drops of water to beans before grinding) can help if static bothers you.
Easy disassembly matters for maintenance. Coffee oils build up on burrs and can turn rancid. A grinder you can open in 30 seconds gets cleaned weekly; one requiring tools gets neglected. Look for designs with exposed burrs or quick-release lids.
Brewing Methods: From Simple to Complex
Pour-Over and Drip
Pour-over drippers (like Hario V60, Kalita Wave, Chemex) are beginner-friendly and cost $20–$45. You manually pour hot water in circles, controlling the pour speed and saturation. This active engagement teaches you how coffee behaves. The learning curve is gentle but rewarding.
- Hario V60: Cone-shaped dripper with spiral ridges. Requires gooseneck kettle and careful pouring, but produces vibrant, nuanced cups. Most portable.
- Kalita Wave: Flat-bottomed dripper with wavy filters. More forgiving of pouring technique; beginner-friendly without sacrificing clarity.
- Chemex: Hourglass-shaped brewer (3–10 cup sizes). Beautiful, glass-on-glass vessel. Thicker filters remove more oils, creating a tea-like clarity. Slower brewing (4–5 min) suits lighter roasts.
Automatic drip makers ($30–$150) heat water and drip it over grounds automatically. Convenience is high; control is minimal. Temperature stability is key—cheaper models cool water as it sits in the reservoir. Look for models with a heating element under the carafe and water heated fresh for each brew. A scale-lined carafe is rarely accurate; always measure by weight if precision matters.
French Press
A French press (also called a plunger pot) steeps coarse grounds in hot water for 4 minutes, then a metal mesh plunger separates liquid from grounds. The result: full-bodied, oil-rich coffee with a distinctive texture.
Strengths:
- Cheap ($25–$60 for quality)
- No filters needed (low waste after you buy the press)
- Forgiving: dial in by adjusting steep time or coffee dose
- Excellent for exploring how coffee tastes unfiltered
Weaknesses:
- Sediment in your cup (some love it; others don't)
- Metal mesh lets fine particles through; paper filters trap these
- Oils can taste rancid if you don't clean the press thoroughly after each use
- Not ideal for espresso-lover coffee (too long contact time; wrong particle size)
Use a coarse grind (like sea salt), water at 200°F (just off boil), and steep 4 minutes. A standard 8-cup press uses about 30g coffee + 500g water for a 1:16.7 ratio, a reliable starting point.
Espresso Machines
Espresso is concentrated coffee forced through a puck of finely-ground beans under 9+ bars of pressure in 25–30 seconds. The result: a small, intense shot topped with crema (foam).
Entry-level semi-automatic machines ($150–$400) let you control the grind, tamp pressure, and extraction time. You push a button; the machine stops water flow when you release it. This puts the technical load on your technique.
Key considerations:
- Grinder quality matters enormously. A decent espresso grinder ($200–$300) is often essential; cheap grinders can't dial fine enough.
- Pressure stability is critical. 9 bars is the standard; less and shots under-extract; more and they choke.
- Thermal stability. Espresso machines need time to reach temperature and maintain it. Budget machines have temperature swings that wreck consistency.
- Backflushing and descaling. Espresso machines need regular maintenance (backflushing weekly, descaling monthly) to prevent mineral and oil buildup.
For beginners, expect a 3–6 month learning curve before you dial in consistently good shots. Many start with pour-over or French press to learn extraction principles before committing to espresso.
Essential Accessories: The Complete Picture
Digital Scale
A digital scale with 0.1-gram precision ($15–$40) is non-negotiable for reproducibility. Measure coffee by weight, not volume. A "coffee scoop" often holds 10g, but this varies by roast and density—some are 9g, some 11g. A scale removes that ambiguity.
Best practices:
- Use the scale to measure both coffee and water (1g water ≈ 1mL).
- Tare (zero) the scale before each measurement.
- Many quality scales have a built-in timer, saving you a separate timer purchase.
- Battery life: Expect 1–2 years of daily use before replacement.
Gooseneck Kettle
A gooseneck kettle has a narrow, curved spout that lets you pour slowly and control water flow. Essential for pour-over; helpful for French press.
Manual gooseneck kettles ($25–$50): You heat on stovetop, pour by hand. Requires attention but forces you to stay engaged.
Electric gooseneck kettles ($60–$120): Variable temperature control, usually 170–212°F in 10°F increments. Premium models hold temperature. A game-changer for dialing in the exact temp your coffee prefers. Hario and Stagg are popular choices.
If budget is tight, a cheap stovetop gooseneck works fine. You learn to wait 30 seconds after boiling; water drops from 212°F to ~205°F naturally.
Filters
Paper filters (cone or flat) cost $3–$8 per 100. They trap oils and fines, creating a clean, bright cup. Unbleached (brown) paper is eco-friendly and imparts zero flavor after a quick rinse.
Metal filters are reusable and produce a fuller-bodied cup because oils pass through. They require more cleaning (rinse immediately after brewing, soak if oils build up).
Cloth filters are a middle ground—cleaner than metal, less acidic than paper. Rinse thoroughly and store submerged in water to prevent mold.
Beginner advice: Start with paper filters. They're forgiving, cheap, and produce clear flavor. Experiment with metal or cloth once you understand baseline extraction.
Smart Budgeting for Your Starter Kit
The Minimum Viable Setup
If you have $150 total:
- Burr grinder: $100 (Baratza Encore or Wilfa Svart are solid $80–$100 options)
- Dripper (V60 or Kalita Wave): $20
- Filter papers: $3
- Digital scale: $20
- Gooseneck kettle (stovetop): $15
- Total: $158 (slightly over; skip the kettle initially, use any vessel and wait for water to cool)
You'll also need:
- Fresh-roasted whole beans (~$12–$15/12oz bag): Budget $15 monthly
- Filtered water (tap is fine if your water is decent; if it's very hard or chlorinated, a basic pitcher filter adds $20 one-time)
The Intermediate Setup (~$300)
- Burr grinder (upgraded): $150 (Baratza Virtuoso+ or Wilfa Svart Nymalt)
- French press: $40 (Bodum Chambord is a classic)
- Pour-over dripper + filters: $30
- Digital scale with timer: $35
- Electric gooseneck kettle: $80
- Fresh whole beans: $15
- Total: $350
This setup covers drip, pour-over, and French press. You can dial in different beans and brewing methods.
Upgrading Later (Post-$300)
If you're hooked on coffee, consider:
- Espresso machine + grinder ($400–$800) if you crave lattes or ristrettos
- Precision scale with Bluetooth ($80–$120) for logging brewing parameters
- Refractometer ($80–$200) to measure extraction yield scientifically
- Pour-over stand for ergonomic pouring
- Specialty coffee subscriptions (e.g., Blue Bottle, Intelligentsia) to explore origins weekly
Where to Buy and What to Avoid
Reputable Retailers
Specialty coffee shops and roasters have staff who use the equipment daily. They'll demo a grinder, answer specific questions, and often know the exact bean grinds best in each machine. Prices are sometimes 10–15% higher than online, but the education is worth it.
Online retailers (Sweet Maria's, Prima Coffee, Espresso Parts, even Amazon) offer wider selection and competitive pricing. Read reviews carefully—focus on reliability, customer support, and warranty.
Avoid:
- Deeply discounted "gourmet" coffee makers from unfamiliar brands (often poor temperature stability)
- Combo grinder + brewer units; they're usually weak at both
- Anything with no user manual or support website
- Blade grinders marketed as "coffee choppers" (they are; they're just not good)
Reading Reviews Wisely
- Look for reviews that mention specific brewing methods and results ("better than my old $30 drip maker" is vague; "pulled 30-second shots with 1:2 ratio at 9 bars" is useful).
- Long-term reviews matter—a grinder working great for 3 weeks doesn't tell you about burr wear at month 6.
- Check the reviewer's experience level. A professional barista's expectations differ from a casual brewer's.
- Ignore 1-star reviews that say "it arrived broken" or 5-star reviews that say "just opened it"; focus on the middle range.
Building Your Starter Kit Step-by-Step
Month 1: Foundation
- Buy a burr grinder ($80–$150) first—this is non-negotiable.
- Buy a simple dripper ($20–$40) or French press ($40–$60).
- Buy a digital scale ($20–$30).
- Buy filters or use what the brewer includes.
- Start with whatever kettle you have; boil, wait 30 seconds, pour.
Cost: $150–$250. You're now brewing better coffee than 90% of casual drinkers.
Month 2–3: Refinement
- Add a gooseneck kettle ($40–$80) for better pouring control.
- Experiment with different whole-bean origins from local roasters.
- Keep notes on grind size, brew time, water temp (use a thermometer if no kettle), and taste impressions.
Month 4+: Exploration
- If you love pour-over, add a Chemex or try a Kalita Wave.
- If you love French press, explore different roast levels (light, medium, dark).
- If you want espresso, save $400–$600 and buy a quality machine + grinder together.
- Join a coffee community (r/Coffee on Reddit, local cafes, Coffee Review website) to deepen knowledge.
Conclusion: Invest in Understanding, Not Gadgets
Great coffee comes from a clear understanding of three variables: grind size, water temperature, and contact time. A $120 grinder, $30 dripper, and $25 gooseneck kettle teach you these fundamentals better than a $800 automatic espresso bar that hides them behind buttons.
Beginners asking "what's the best coffee maker?" should ask instead: "What brewing method fits my lifestyle, and what's the minimum gear I need to understand how extraction works?" The answer is almost always: a burr grinder, a simple brewer, a scale, and filtered water.
Equipment is a tool for learning. Once you've brewed 100 cups and can taste the difference between under- and over-extraction, then you can decide if you want to add complexity. Until then, simplicity wins.
Ready to start? Browse our roasted coffee selection, pick a single-origin bean that intrigues you, and brew your first conscious cup. The best coffee is the one you understand.