Why Equipment Decisions Matter More Than You Think
The biggest mistake beginners make isn't buying bad coffee — it's brewing mediocre coffee with inconsistent equipment and blaming the beans. Water temperature variance of 10°C during a pour-over extraction shifts the flavor from bright and balanced to flat and astringent. Grind inconsistency generates fine particles that over-extract, producing bitterness that no origin can overcome. Before obsessing over single-origin lots, get your extraction variables under control.
You do not need to spend $2,000 to brew excellent coffee at home. But you do need to understand which variables matter most, which pieces of equipment control those variables, and where budget cuts hurt quality the least. The sequence matters: grinder first, brewer second, accessories third.
The Grinder: First Priority, Non-Negotiable
Burr vs. Blade: There Is No Contest
Blade grinders chop beans with a spinning metal blade. The result is a distribution of particle sizes from powder to gravel — a range so wide that fine particles over-extract bitterly while coarse particles contribute thin, under-extracted sourness to the same cup. The only honest use case for a blade grinder is grinding spices.
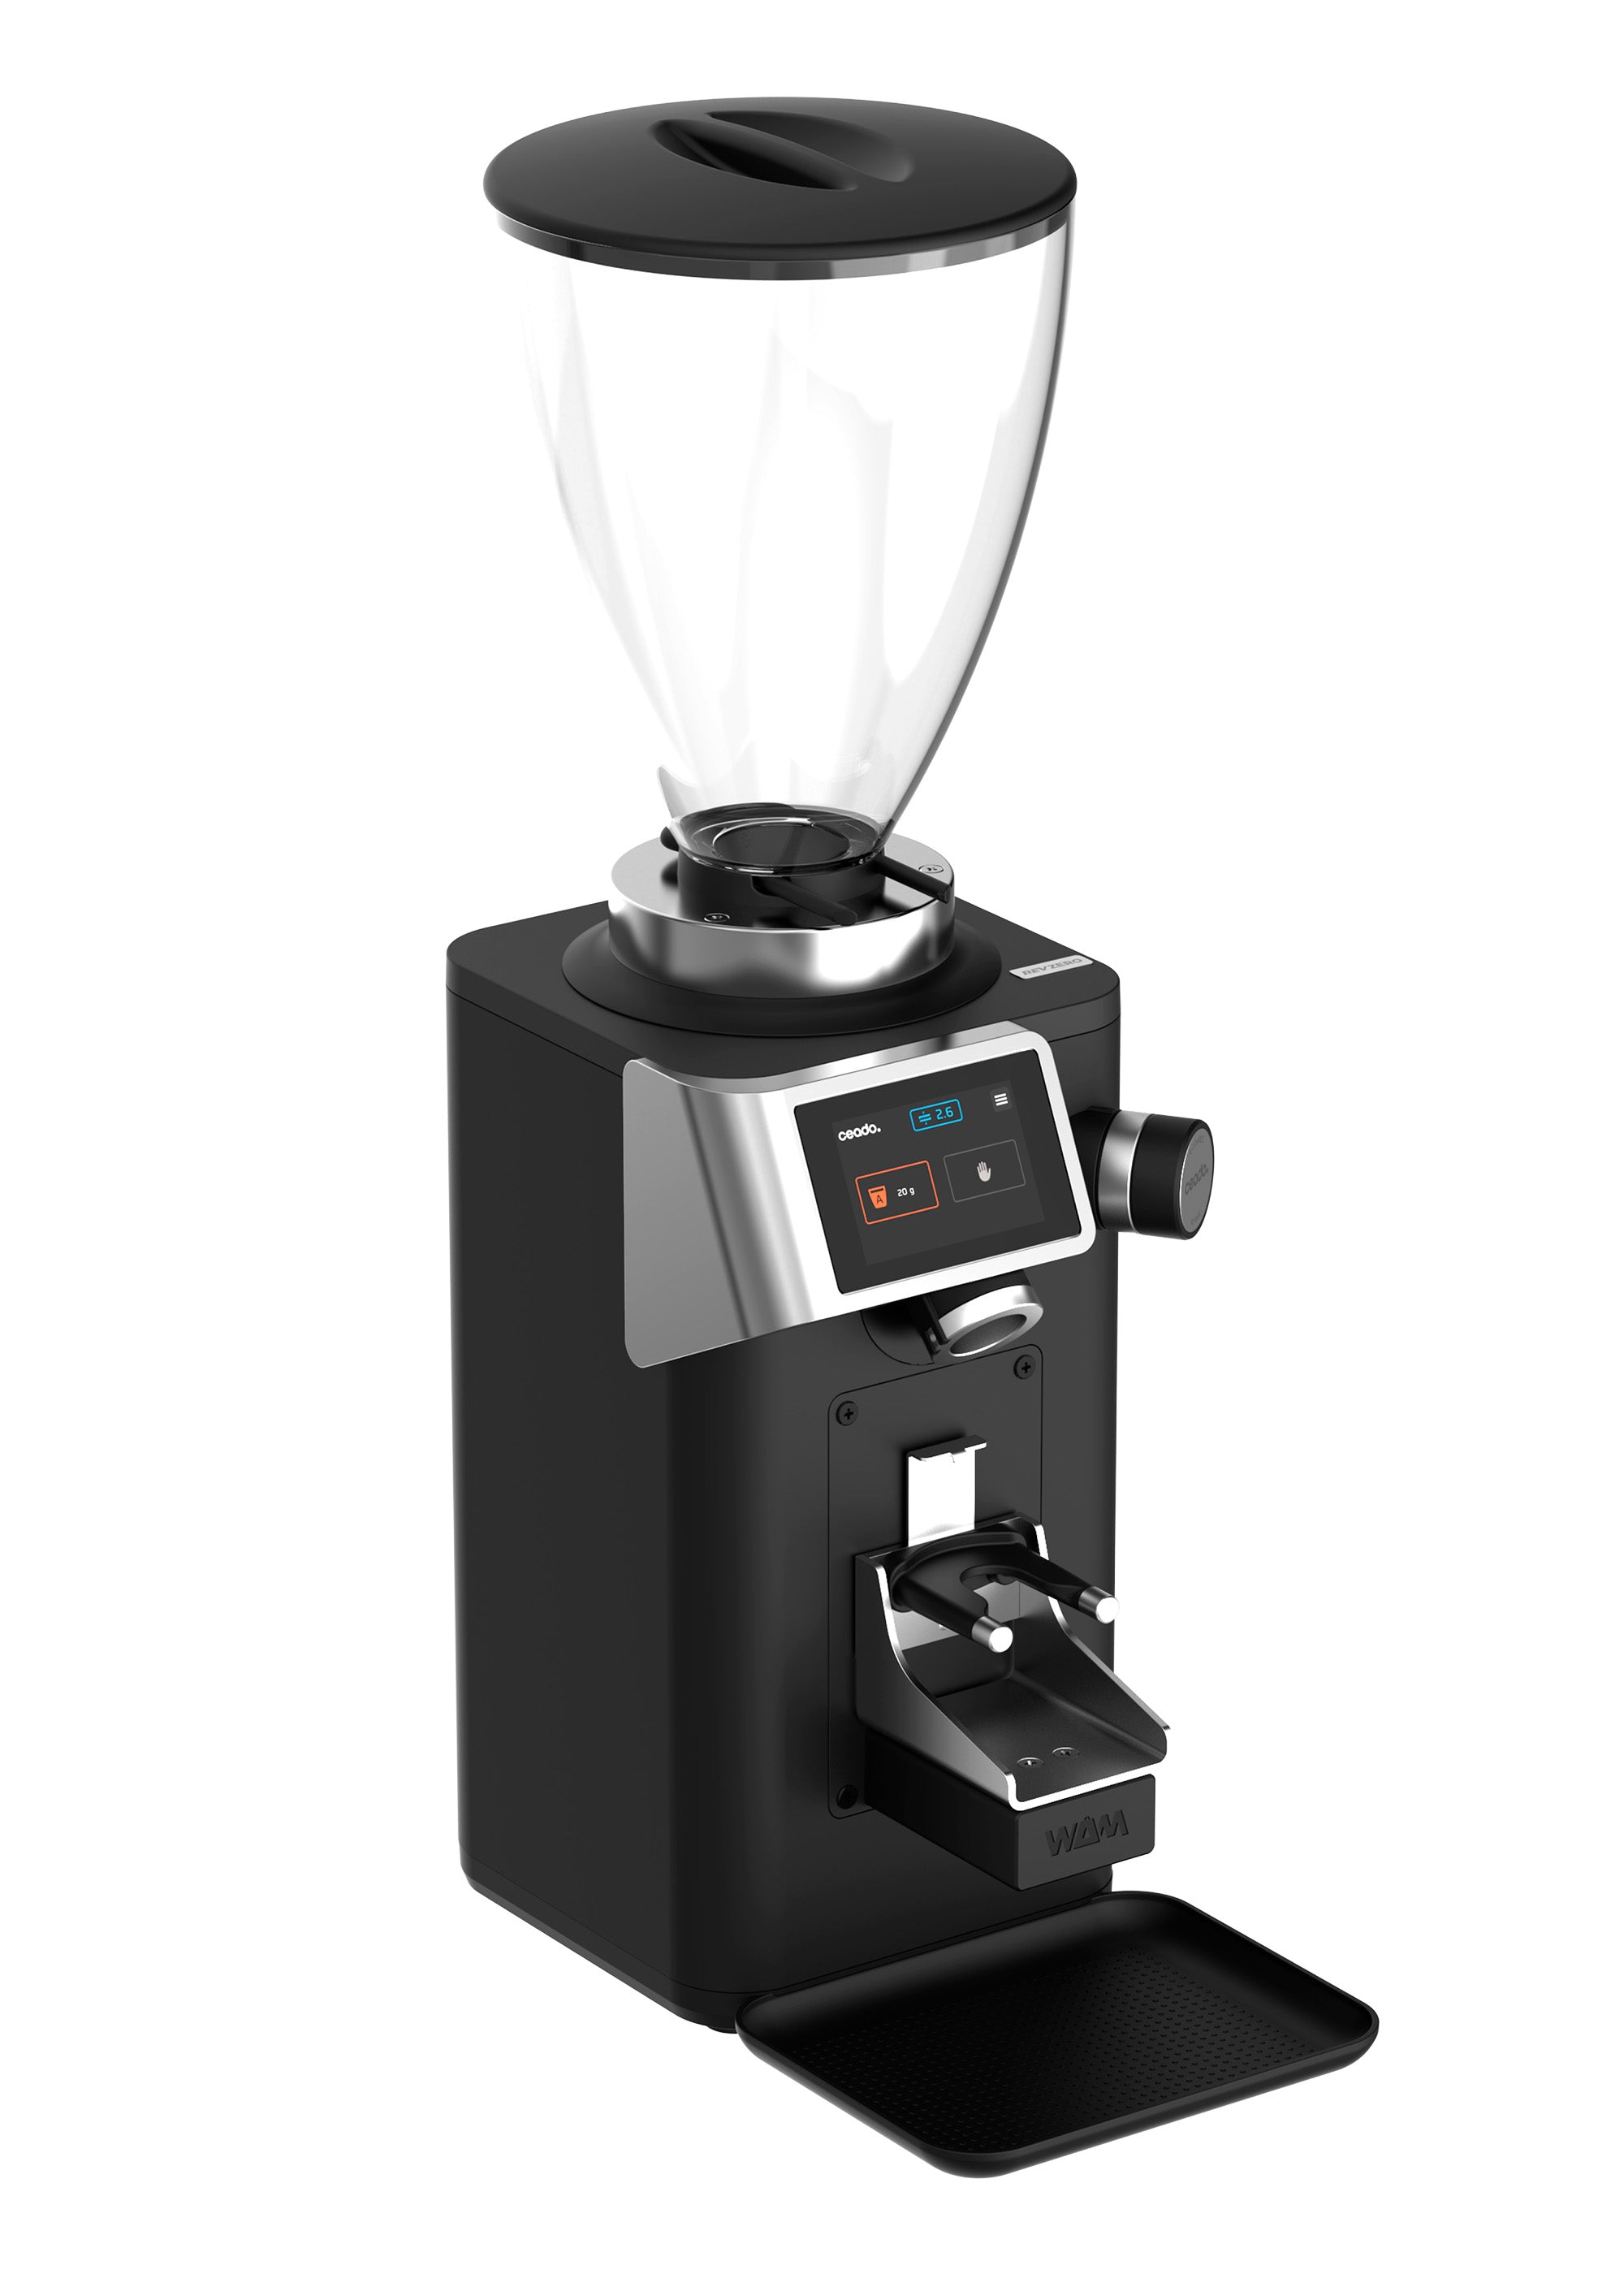
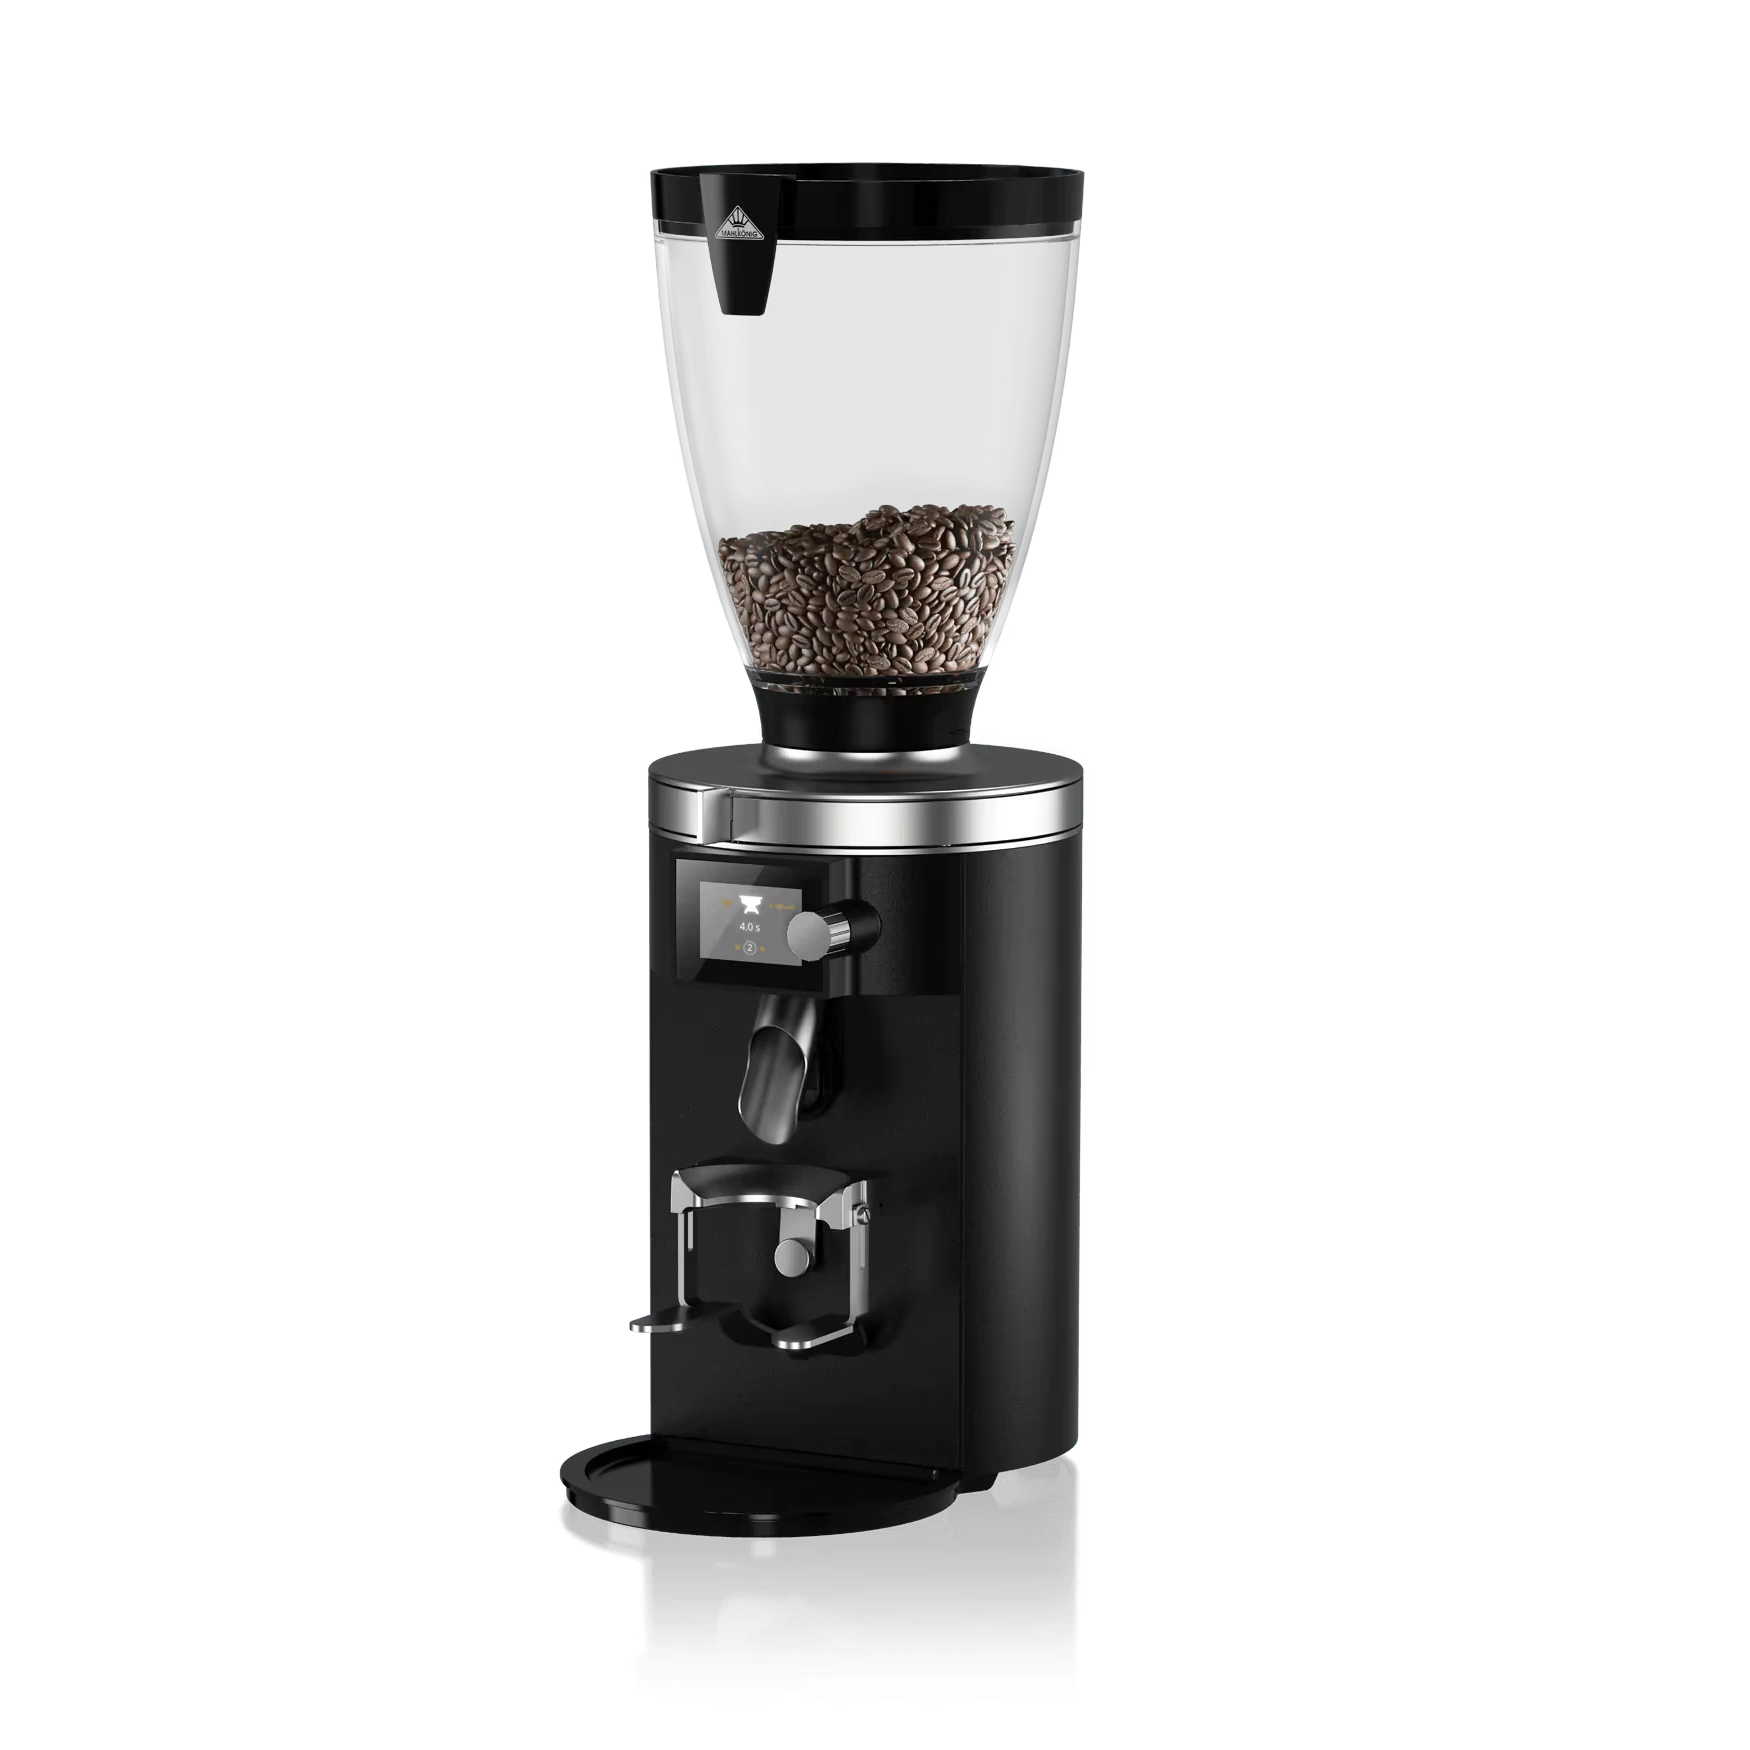
Burr grinders crush beans between two abrasive surfaces (burrs) separated by a precise, adjustable gap. Every particle that passes through falls within a narrow size range. The result is uniform extraction across all grounds — a clean, balanced cup where the coffee's actual flavor profile comes through rather than a chaotic mix of over and under-extracted compounds.
Burrs come in two geometries: flat burrs (two parallel discs) and conical burrs (a cone-shaped inner burr nested inside a ring). Conical burrs run quieter and cooler; flat burrs are common in higher-end commercial espresso grinders. For most home filter brewing, conical is perfectly adequate.
Entry-Level Burr Grinder Options
| Grinder | Type | Grind Settings | Brew Range | Price Range |
|---|---|---|---|---|
| Hario Skerton Pro | Manual / Conical | Stepless | Filter, coarse press | Low |
| JavaPresse Manual | Manual / Conical | 18 click-stops | Filter, coarse press | Low |
| Baratza Encore | Electric / Conical | 40 steps | Filter only | Mid |
| OXO Brew Conical | Electric / Conical | 15 steps + scale | Filter, coarse press | Mid |
| 1Zpresso JX | Manual / Conical | Stepless | Filter, light espresso | Mid |
Manual grinders require elbow grease — roughly 45–90 seconds per serving — but deliver grind quality that rivals electric grinders costing twice as much. The Hario Skerton Pro and 1Zpresso JX are widely respected in the specialty community for their consistency at their respective price points.
Brewing Equipment by Method
The brewer you choose should match how you want to drink coffee. Filter brewers produce cleaner, lighter-bodied cups because paper traps most coffee oils. Immersion methods — French press, AeroPress — produce fuller body with more dissolved oils and solids in the cup. Espresso-style methods concentrate flavor dramatically but require the most technique and investment.
Pour-Over Filter Brewing
Pour-over brewing extracts coffee by pouring water over grounds in a filter, allowing gravity to pull the liquid through. Control over pour rate, water temperature, and bloom (the initial pre-infusion that degasses CO2 from fresh coffee) gives the brewer precise influence over extraction.
Hario V60 (plastic): The single-hole conical design requires a controlled pour — more skill-dependent than other drippers, but rewards practice with exceptional clarity and brightness. The plastic version performs identically to the ceramic version at a fraction of the cost. Start here if you enjoy light roasts and delicate origin flavors.
Kalita Wave (stainless steel or glass): Three small holes and a flat bed make the Kalita more forgiving than the V60. Less sensitive to pour turbulence, more consistent for beginners who haven't yet mastered a steady pour rate. Slightly heavier body than V60 for the same coffee.
Melitta 1x4: The entry-level pour-over. Simple plastic dripper, widely available, uses standard Melitta #4 cone filters. Less nuanced control than V60 or Kalita, but produces a clean cup and is an excellent starting point for those who aren't yet ready to invest in technique development.
Paper filters for all these drippers should be rinsed with hot water before use — this removes the papery taste and pre-heats the server or cup below. A 10-second step that meaningfully improves the cup.
French Press (Full Immersion)
The French press is the most forgiving brewer for beginners. Coarsely ground coffee steeps in hot water for 4 minutes; a plunger with a mesh screen is pressed to separate grounds from liquid. No paper filter means natural coffee oils remain in the cup — giving French press its characteristic richness and heavier body.
The Bodum Chambord (glass) and Bodum Brazil (plastic-framed glass) are reliable at the low end of the price range. Stainless steel double-wall versions retain heat better but cost more. Key maintenance: disassemble the plunger completely and wash the mesh screen after every use. Trapped oils go rancid quickly and ruin subsequent brews through a soapy, musty off-flavor.
AeroPress
The AeroPress is one of the most versatile brewers ever designed. Developed by Alan Adler in 2005, it uses air pressure to push water through coffee grounds, producing a concentrated brew — not true espresso, but often used as a base for espresso-style drinks. It is nearly indestructible, makes excellent travel coffee, cleans in seconds, and costs under $40.
Standard AeroPress technique: medium-fine grind, 80–90°C water, 1–2 minute steep, slow plunge over 30 seconds. The inverted method — where the AeroPress sits upside down during steeping — prevents drip-through and allows longer steeps for a fuller extraction. The AeroPress is the one brewer worth buying early even if you already use another primary method; its tolerance for experimentation is unmatched in the price range.
Gooseneck Kettle: Required for Pour-Over
Pour-over brewing requires a gooseneck kettle for controlled, steady water delivery. A standard kettle pours too fast and in too wide a stream to control where water contacts the grounds — you end up channeling (water finding a path of least resistance through the grounds, leaving other areas under-extracted).
The Bonavita 1L gooseneck electric kettle with temperature hold is the entry-level standard — it holds temperature consistently within 1°C and is purpose-built for coffee. Temperature target: 90–96°C (194–205°F) for most filter coffee. Dark roasts can tolerate slightly lower temperature (88–92°C) to avoid accentuating roasty bitterness. Light roasts often benefit from the higher end of the range to fully extract delicate flavor compounds.
If you brew French press or AeroPress exclusively, a gooseneck is nice but not required. A standard electric kettle with a separate thermometer works.
Coffee Scale: The Most Underrated Piece of Equipment
Most beginners measure coffee by scoops. Scoops are volume measurements; coffee weight varies significantly based on grind size, roast level, and bean density. A tablespoon of fine-ground espresso contains roughly 5–6g of coffee; the same tablespoon coarsely ground holds 4–4.5g. Brewing by weight eliminates this variable entirely.
A digital kitchen scale accurate to 0.1g is sufficient for filter brewing. The Hario V60 Drip Scale includes a built-in timer and measures to 0.1g — purpose-built for coffee. The Acaia Pearl is the professional standard but costs 3–4x more. For beginners, any 0.1g-accurate kitchen scale works.
Standard brew ratio for filter coffee: 60g coffee per liter of water (1:16.7 by weight). This is a starting point; adjust to personal taste. More coffee per gram of water produces a stronger cup; finer grind increases extraction and flavor intensity.
Milk Frothing on a Budget
Milk-based drinks — lattes, flat whites, cappuccinos — require steamed and textured milk. Without a proper steam wand, options are limited but they exist.
Handheld battery-operated frother: Produces foam suitable for cappuccino-style drinks. Cannot create true steamed-milk microfoam (the velvety, paint-like texture in a well-made latte), but works adequately for home use. Heat the milk separately first (microwave or stovetop to 55–65°C), then froth.
Dedicated milk frother (Breville Milk Cafe, Nespresso Aeroccino): Standalone devices with heating elements. More consistent than handheld options. Useful if milk drinks are a daily habit.
Stovetop steamer (Bellman): For those committed to textured milk but not ready for an espresso machine, the Bellman stovetop steamer produces genuine steam pressure from any heat source. Learning to use it takes practice but produces dramatically better milk texture than any battery-operated frother.
Water Quality: The Variable Everyone Ignores
Coffee is 98.5% water. Tap water in many cities contains chlorine, chloramines, or mineral profiles that interfere with extraction. Chlorine produces a medicinal off-flavor; zero-mineral water (distilled or reverse osmosis) under-extracts because dissolved minerals assist in solvating flavor compounds from the grounds.
Target water mineral profile: 75–150 ppm Total Dissolved Solids (TDS), roughly 2:1 ratio of magnesium to calcium, low sodium, no chlorine. Third Wave Water tablets dissolve in distilled water to create this profile — a practical solution for home baristas who want to eliminate water as a variable without installing a whole-house filter.
If using tap water, a simple carbon-block filter (Brita, Berkey) removes chlorine and chloramines, which is the most important correction. It doesn't optimize mineral content, but it eliminates the biggest off-flavor contributor for most municipal water supplies.
Frequently Asked Questions
Do I need an espresso machine to make good coffee at home?
No. Espresso requires significant investment ($300+ for entry-level semi-automatics that produce passable shots; $500+ for equipment that performs consistently) and a steep learning curve. AeroPress, moka pot, or high-quality pour-over consistently produces excellent coffee without espresso complexity or cost. Many specialty coffee professionals prefer filter brewing at home.
How much should I spend on a starter setup?
A solid starter setup: manual burr grinder ($40–80) + AeroPress or V60 ($12–30) + kitchen scale ($15–25) + gooseneck kettle ($25–45) = $90–180 total. This setup will produce better coffee than most espresso machines under $500.
What grind size should I use for each method?
French press uses coarse (similar to coarse sea salt). Pour-over uses medium-fine to medium (table salt texture). AeroPress is flexible — medium for standard method, fine-medium for espresso-style. Moka pot uses fine but not espresso-fine. Start at the manufacturer's recommended setting and adjust from there.
Should I buy pre-ground or whole beans?
Always whole beans, ground immediately before brewing. Ground coffee begins losing aromatic compounds within minutes of grinding; most of the CO2 degassing that carries flavor occurs in the first 15–20 minutes post-grinding. Buy fresh-roasted beans (within 2–4 weeks of roast date) and grind them yourself.
Conclusion
Building a home brewing setup on a budget is entirely achievable without compromising cup quality. The hierarchy is clear: grinder first, then brewer, then accessories. A $60 burr grinder and a $25 V60 setup can outperform equipment costing ten times as much when paired with fresh coffee, filtered water, and consistent technique. Start minimal, get one variable right at a time, and let your palate guide upgrades over time.
Explore our roasted coffee selection to pair with your new setup — freshly roasted single-origin beans are the final piece that makes all the equipment investment worthwhile.