Before You Buy: Know Your Brewing Goal
Most beginner coffee gear mistakes come from buying tools without a clear workflow in mind. A burr grinder is essential regardless of brewing method; everything else depends on whether you are drawn to espresso, filter coffee, or immersion brewing. This guide builds the kit from the ground up — starting with what every setup needs, then branching into method-specific tools.
The aim is not to list every product that exists. It is to give a beginner a working kit without money wasted on duplicates or gaps.
Tier 1: Non-Negotiable for Every Setup
These three tools are the minimum viable kit for any brewing method. Buy them first; everything else is a refinement.
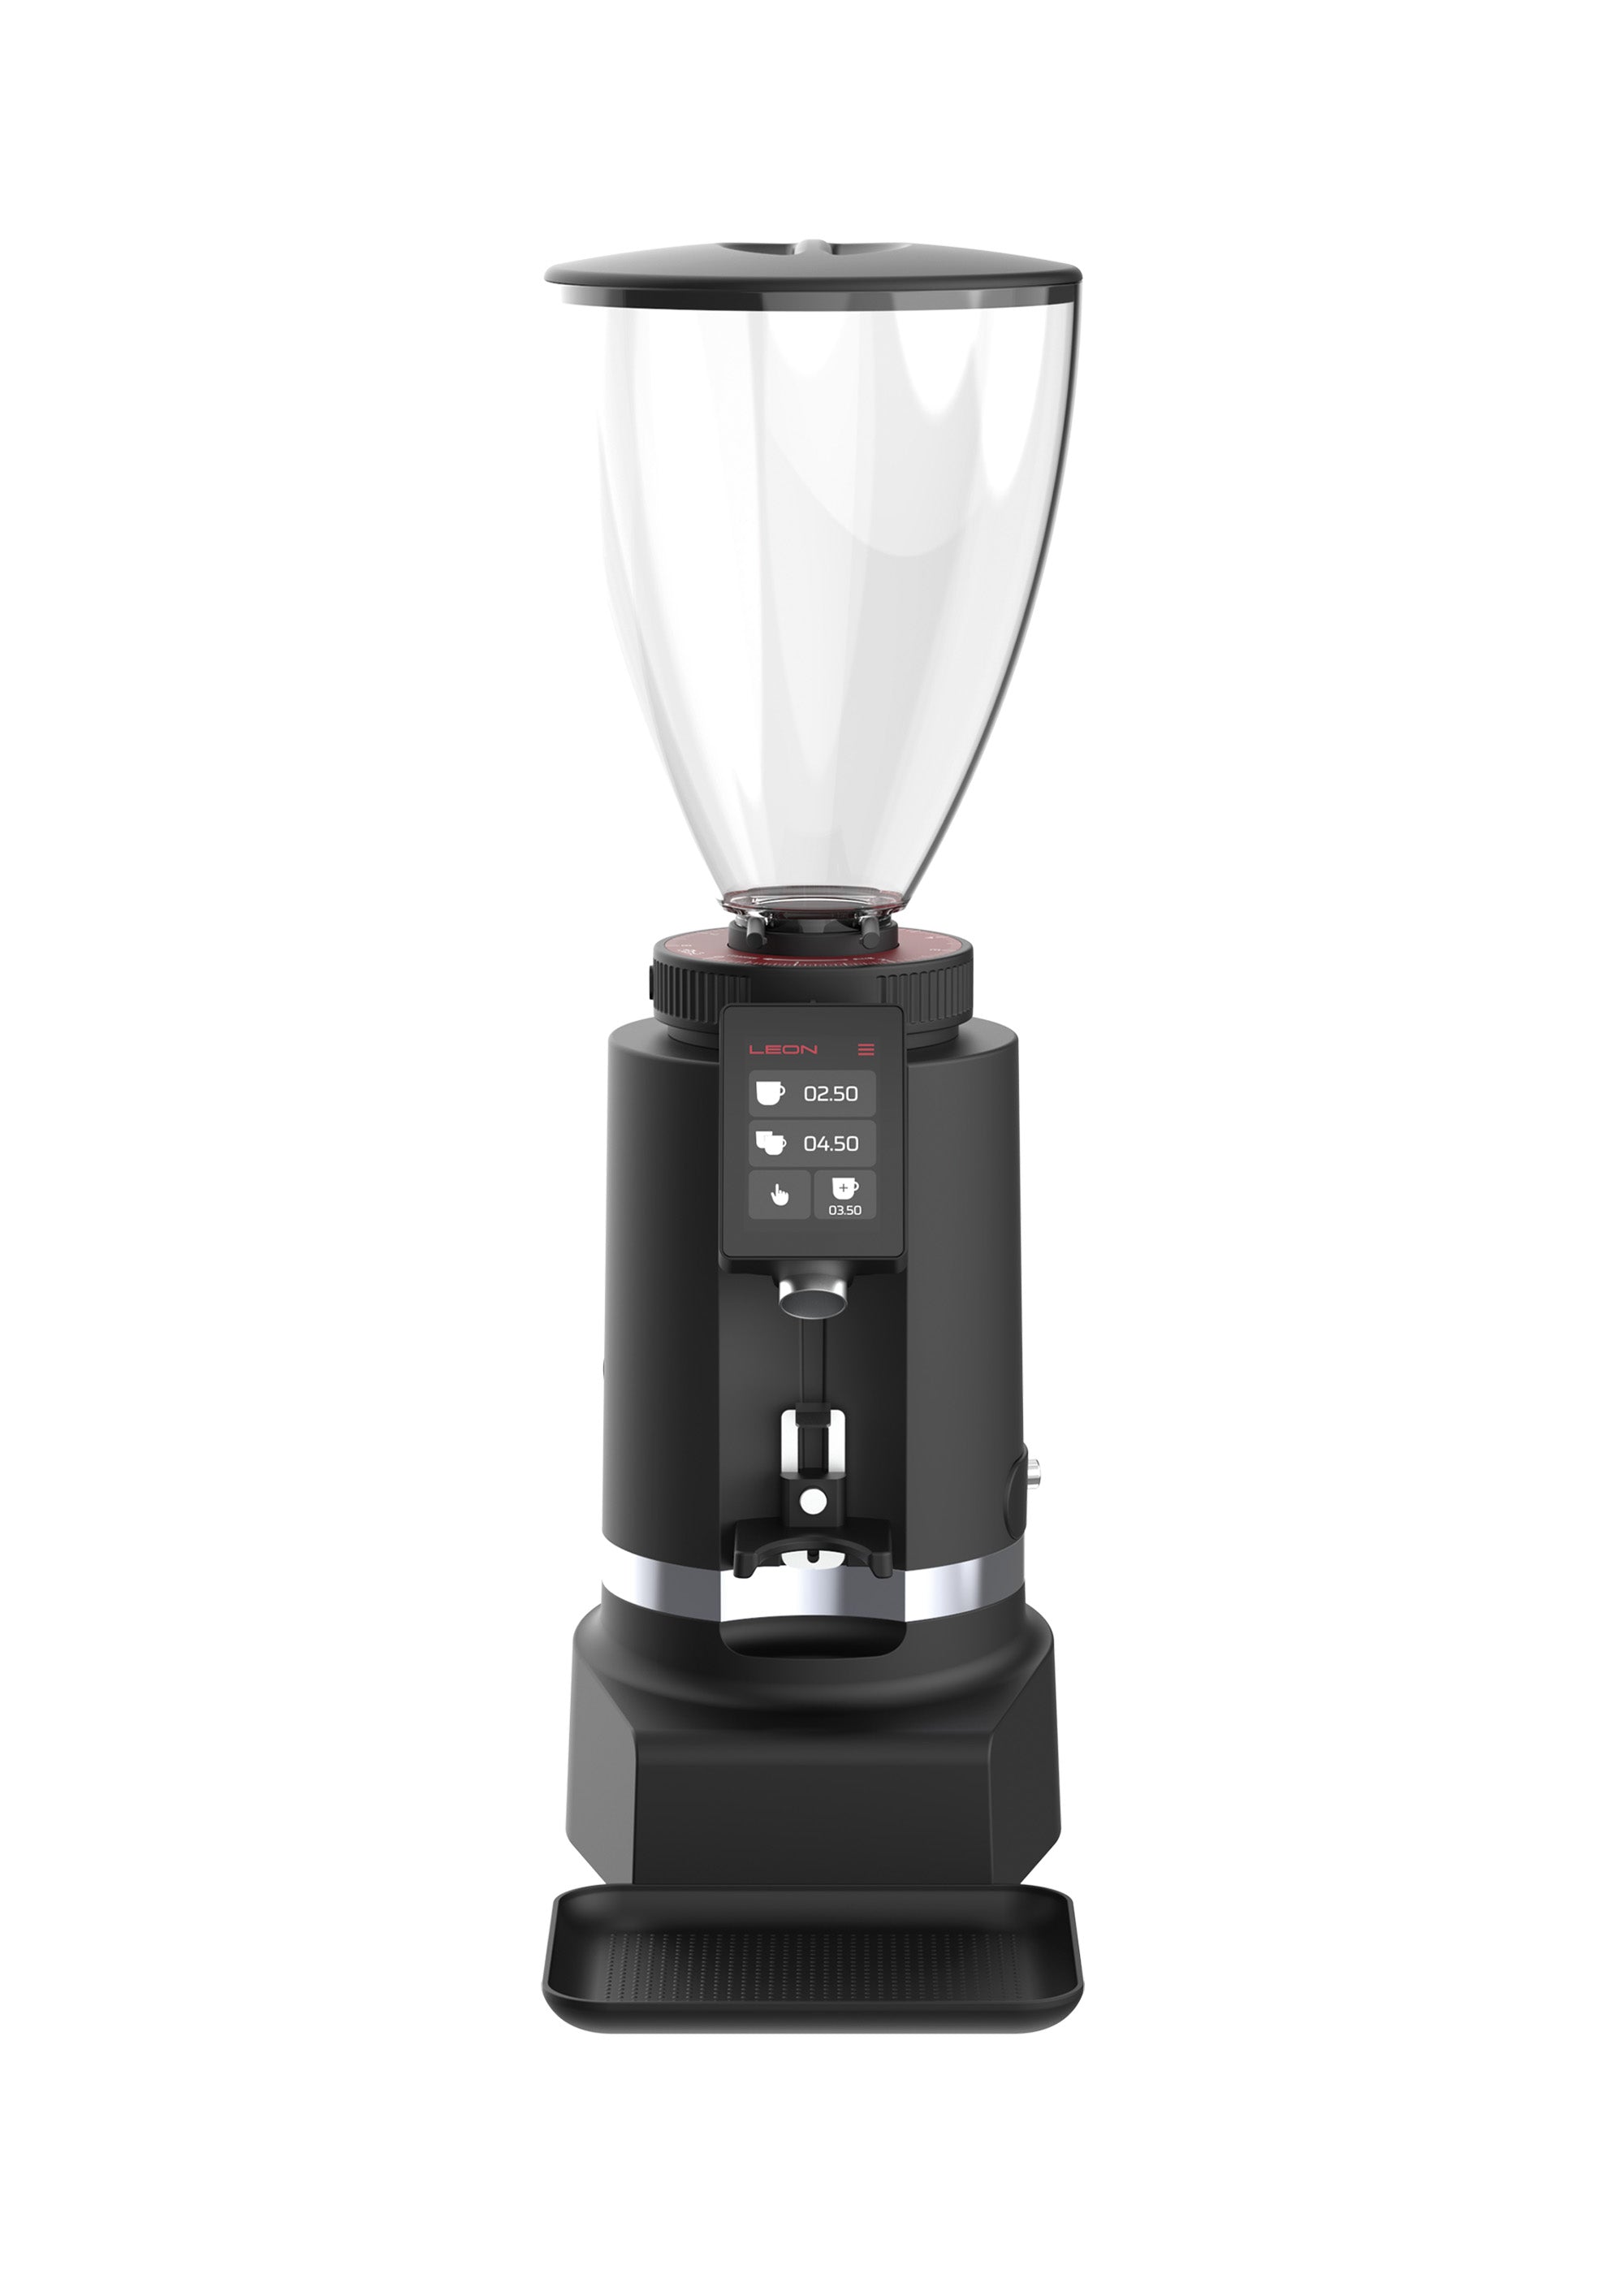
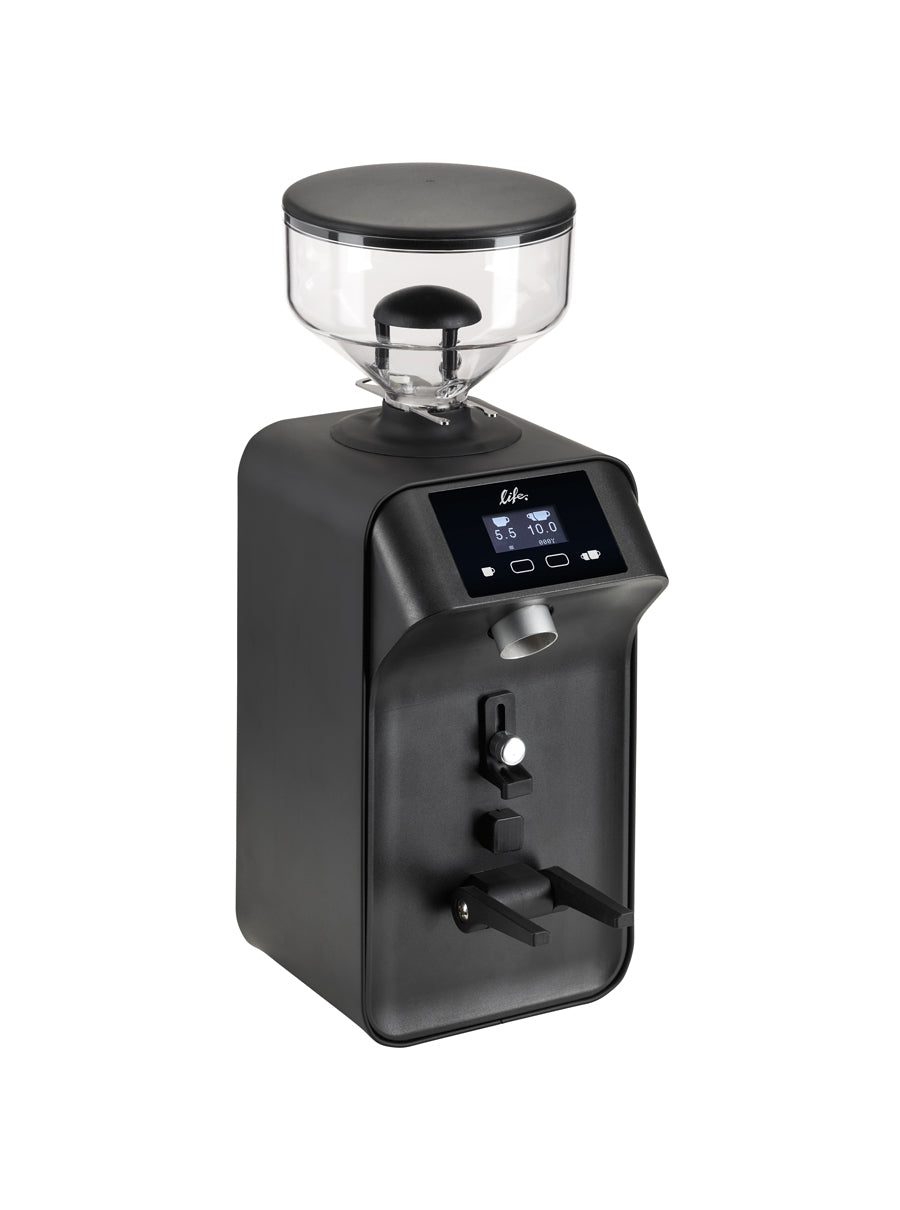
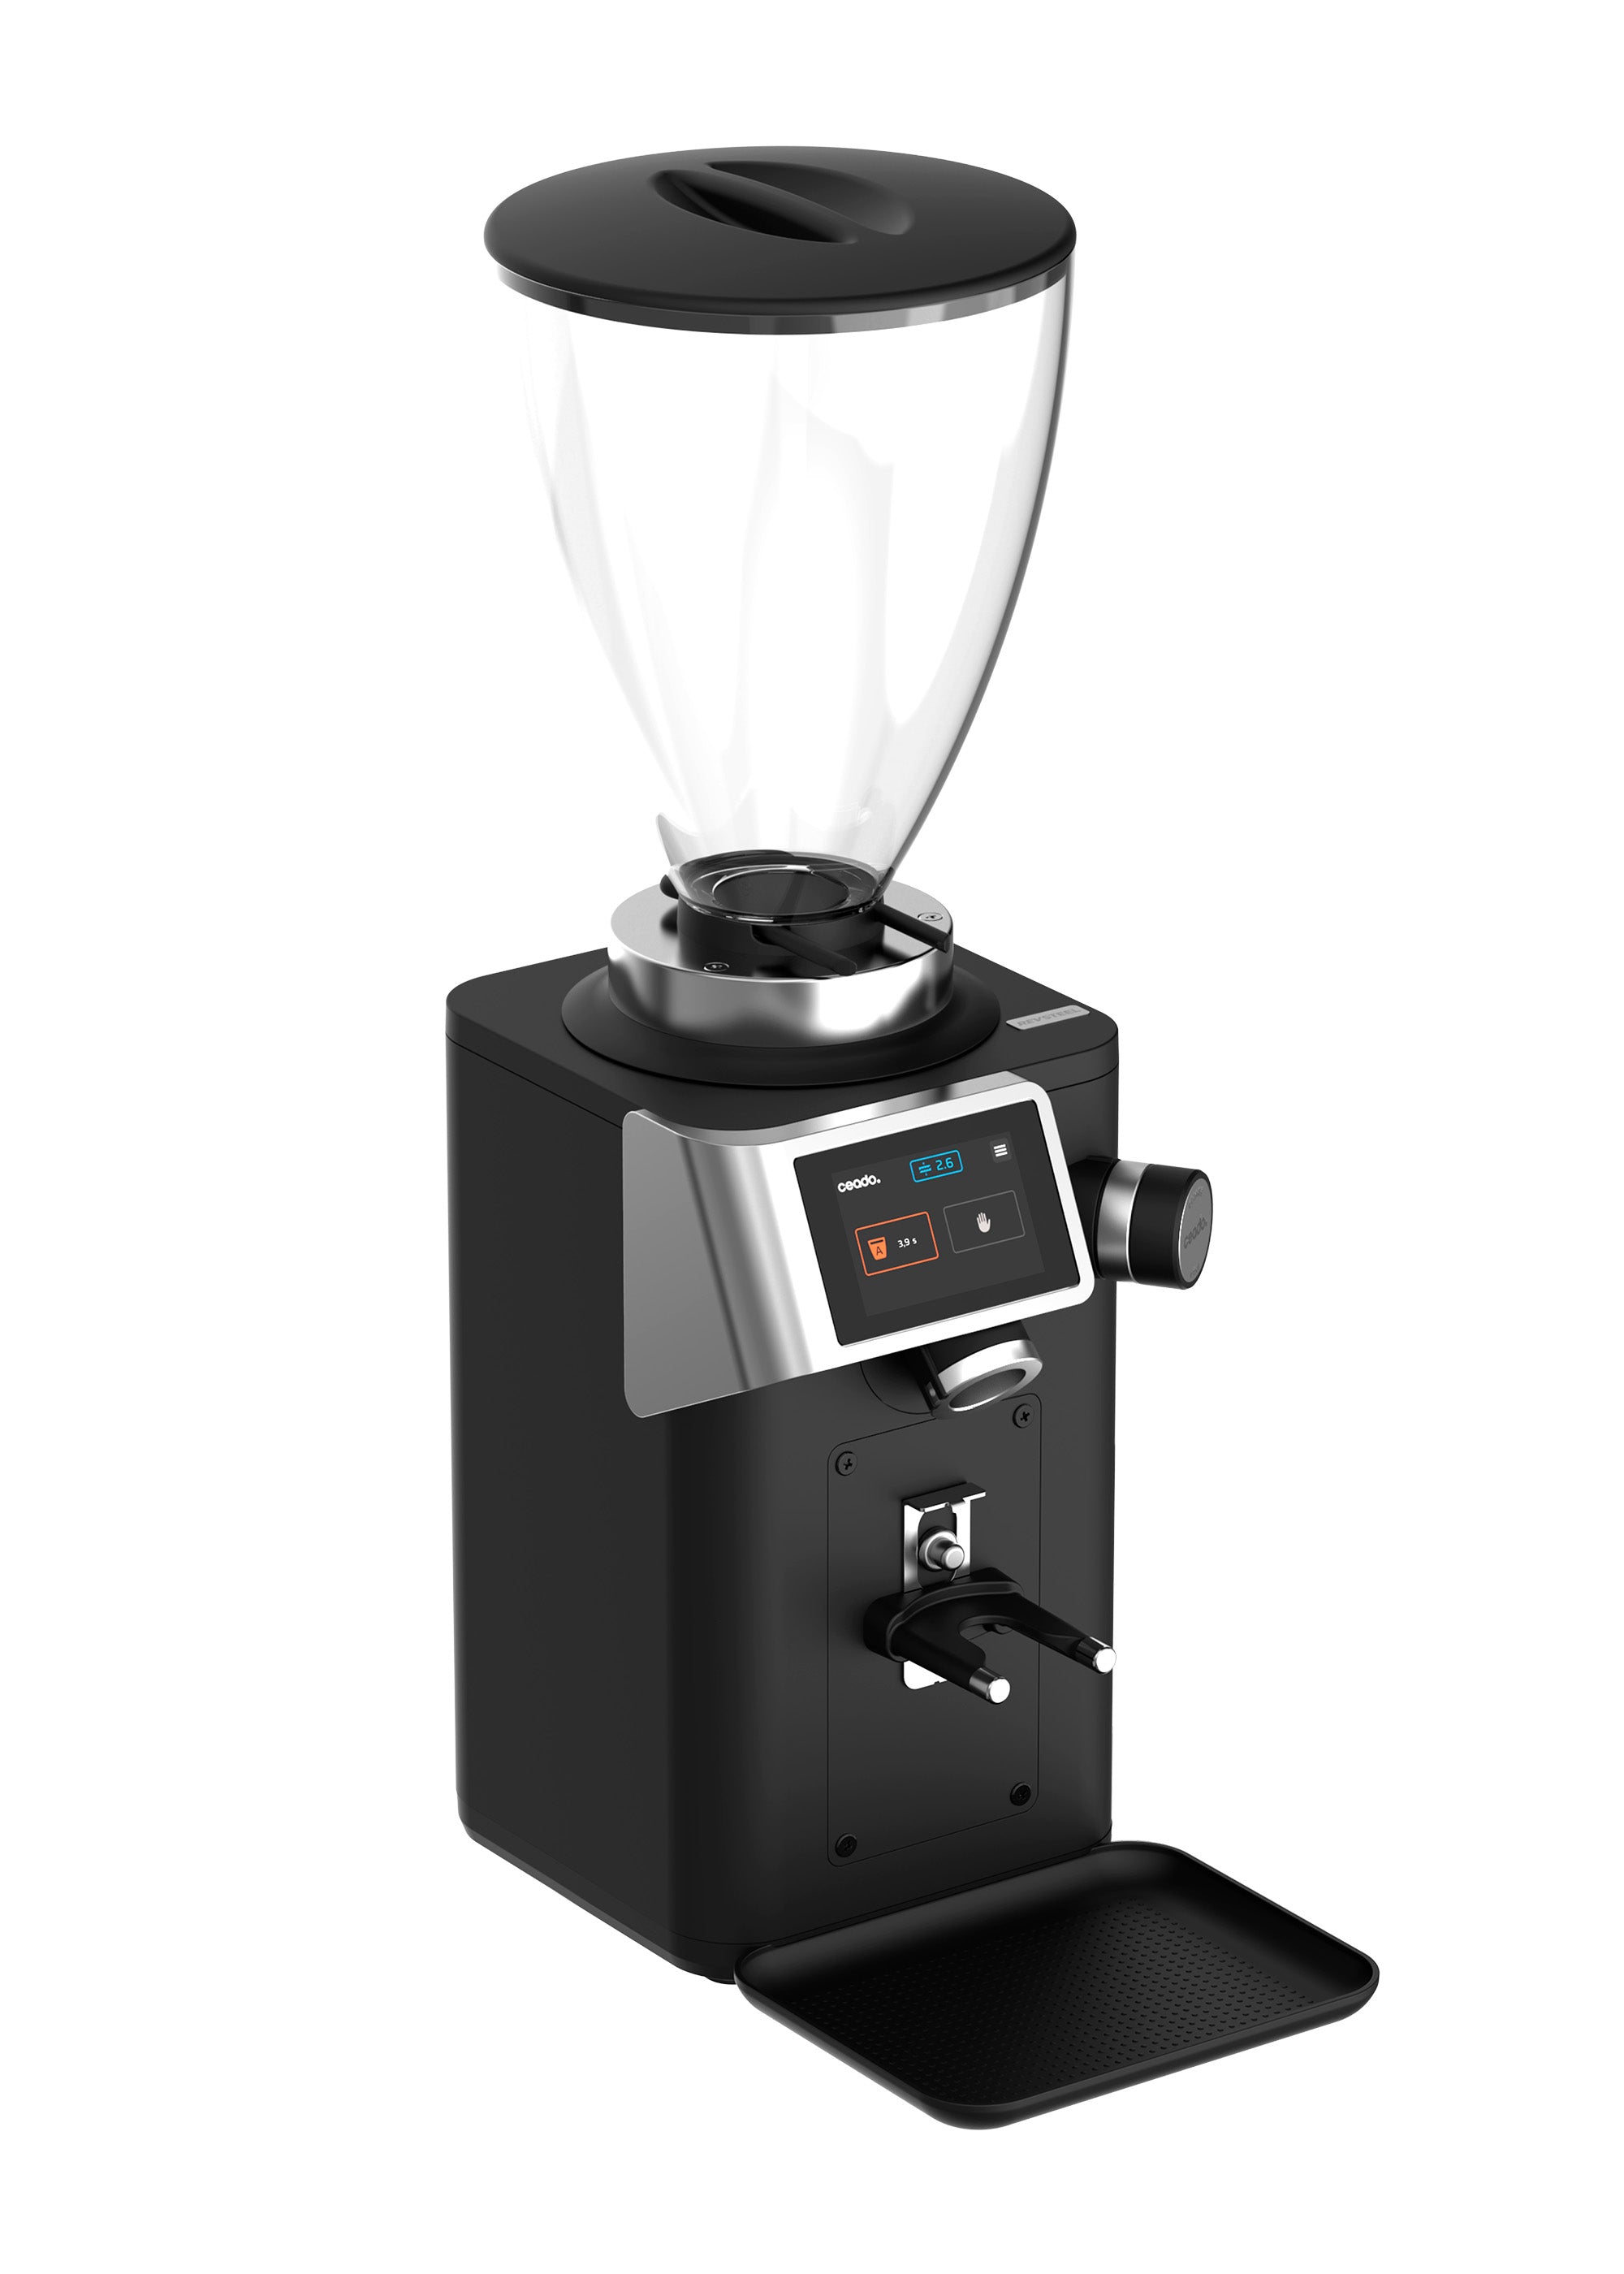
1. Burr Grinder
Pre-ground coffee is the single biggest obstacle to good home brewing. Within minutes of grinding, the volatile aromatic compounds responsible for floral, fruity, and citrus notes begin oxidizing. By the time a pre-ground bag sits in a grocery store, the flavor ceiling has already collapsed.
A burr grinder — as opposed to a blade grinder — produces particles of consistent diameter by crushing beans between two abrasive surfaces. This consistency is what allows even extraction: the water spends equal time on equal-sized particles, producing balanced flavor rather than a mix of bitter over-extraction and sour under-extraction.
For beginners on a budget, the Baratza Encore at around $170 is the standard recommendation. It has 40 stepped settings from espresso-adjacent to French press coarse, a replaceable 40mm conical burr, and a repair infrastructure no competitor at the price can match. If the budget is tighter, the Hario Skerton Pro hand grinder at around $65 produces comparable particle consistency for filter brewing at the cost of manual effort.
2. Digital Scale
Coffee dosing by volume — scoops, tablespoons — produces wildly inconsistent results because bean density varies by roast level, variety, and moisture content. A dark roast and a light roast of the same origin can weigh differently in the same scoop by 2–3g, which translates directly to a noticeably stronger or weaker cup.
A digital scale that reads to 0.1g removes this variable entirely. You weigh beans before grinding (typically 15–18g for a 250ml cup at a 1:15 ratio) and weigh the water you add. Every cup thereafter is repeatable.
Look for a scale with a built-in timer — useful for pour-over methods where you are monitoring flow rate by tracking grams poured per second. The Hario V60 Drip Scale and the Acaia Pearl are the most common specialty coffee choices; the Hario is adequate and affordable, the Acaia is premium.
3. Gooseneck Kettle
A standard pouring kettle cannot control water flow during pour-over brewing. The wide spout releases water in a flood rather than a trickle, overloading the grounds and causing channeling — water finding a single path through the coffee bed instead of saturating it evenly.
A gooseneck kettle's narrow, curved spout gives you precise control over flow rate and pouring position. This is what allows the bloom step (saturating grounds evenly with a small initial pour and waiting for CO2 to degas) and the slow spiral pours that produce even extraction.
A temperature-controlled electric gooseneck is the upgrade that pays dividends immediately. The Fellow Stagg EKG holds temperature within 1°C; the Bonavita Variable Temperature is less expensive and equally reliable. Brew temperature matters: most specialty roasters recommend 92–96°C (198–205°F) for filter coffee, with lighter roasts benefiting from the hotter end of the range.
Tier 2: Method-Specific Essentials
Once the Tier 1 kit is in place, your next tools depend entirely on your preferred brewing method.
4. Pour-Over Dripper (Filter Method)
The Hario V60 is the most popular pour-over dripper in specialty coffee. Its ribbed interior walls create a gap between the paper filter and the cone, allowing air to escape during brewing and preventing a vacuum seal that would slow extraction. The large single drain hole means flow rate is entirely controlled by your pour — which is both the V60's appeal (full control) and its challenge for beginners (requires practice).
The Kalita Wave 155 is a better starting point for beginners: its flat-bottomed basket and three small drain holes create a more stable flow rate, producing consistent results even when pouring technique is imperfect.
Papers matter: Always use papers designed for your dripper. Rinse paper filters with hot water before brewing to eliminate the paper taste and preheat your vessel.
5. French Press (Immersion Method)
The French press is the most forgiving brewing device and the best starting point for beginners who do not want to monitor a pour. You add coarsely ground coffee, pour hot water, steep for 4 minutes, and press. No technique required beyond the timer.
The tradeoff is body and sediment: the metal mesh plunger allows coffee oils and fine particles into the cup, producing a heavier, fuller-bodied result than paper-filtered methods. This is not a flaw — it is the character of the brew. If you want a clean cup, use a V60; if you want a rich, textured cup with minimal attention, use a French press.
Bodum makes reliable, affordable French presses. The key specification is borosilicate glass (heat-resistant) for the carafe and a stainless steel plunger mechanism that filters consistently without rust.
6. AeroPress (Versatile Immersion/Pressure)
The AeroPress is the most versatile brewing device in this kit. It can produce a concentrated espresso-style brew, a standard filter-strength cup, or anything in between — by adjusting grind size, water temperature, steeping time, and whether you use the standard or inverted method.
At $35, it is the highest value-to-performance ratio in home coffee equipment. It is also dishwasher-safe, nearly unbreakable, and produces a full cup in under two minutes. Specialty coffee travelers take it almost universally because it performs across every water source and altitude.
7. Espresso Machine (If Espresso Is the Goal)
Espresso requires pressure — 9 bars minimum — that no pour-over or immersion device can replicate. A dedicated espresso machine is a substantial investment: entry-level semi-automatic machines (the DeLonghi Dedica, Breville Bambino) start around $200–$300 but have limited temperature stability; mid-range prosumer machines (the Breville Barista Express, Gaggia Classic Pro) start around $400–$500 and produce significantly more consistent results.
If espresso is your goal, pair any machine with a dedicated espresso grinder. The burr diameter and grind adjustment precision needed for 9-bar extraction are beyond what a standard filter grinder offers at the same price point.
Tier 3: Support Tools
These tools do not change what you brew — they change how consistently and enjoyably you can do it.
8. Coffee Storage Container
Freshly roasted coffee releases CO2 for several days after roasting; then the oxidation curve inverts and begins degrading flavor. A proper storage container slows this process by limiting oxygen exposure.
The ideal container is airtight, opaque, and has a one-way valve that lets CO2 escape without admitting oxygen. The Fellow Atmos and Airscape are the two most-cited options. Both are significantly better than a mason jar (no valve) or the original bag (not airtight after first opening).
Store coffee at room temperature in a dark cabinet — not in the refrigerator (moisture and odor absorption) and not on the counter above the espresso machine (heat and light accelerate staling).
9. Tamper (Espresso Only)
If you own an espresso machine with a portafilter, a precision tamper is non-negotiable. Tamping packs the ground coffee into a puck that offers uniform resistance to 9-bar water pressure. An uneven tamp creates channels — paths of least resistance — that cause catastrophically uneven extraction.
Most entry-level espresso machines include a plastic tamper that cannot apply even pressure. Replace it with a 58mm stainless steel tamper (check your portafilter basket diameter first — most home machines use 58mm or 51mm). Apply 15–20kg of downward pressure, keep your wrist level, and polish the puck surface with a slight twist at the end of the tamp.
10. Milk Frother or Steam Wand
For latte or cappuccino, you need a way to texture milk into microfoam — small, uniform bubbles fully incorporated into the milk, producing a smooth, glossy texture that integrates with espresso rather than sitting on top of it.
A handheld electric frother ($10–$15) is the entry point. It produces adequate foam for a home cappuccino but lacks the temperature control and consistency of a steam wand. An automatic milk frother (the Breville Milk Cafe, the Jura units) heats and froths simultaneously — more consistent, requires less skill.
If your espresso machine has a built-in steam wand, learn to use it: insert the wand tip just below the surface of cold milk, angle the pitcher for a whirlpool motion, and stop heating at 65°C (150°F). Milk scorched above 70°C loses sweetness and produces an unpleasant cooked flavor.
Starter Kit Comparison by Brewing Path
| Brewing Path | Minimum Kit | Nice-to-Have Addition |
|---|---|---|
| Pour-over (V60/Kalita) | Burr grinder + Scale + Gooseneck kettle + Dripper + Papers | Acaia scale, temperature-controlled kettle |
| French press | Burr grinder + Scale + Any kettle + French press | Gooseneck kettle for more control |
| AeroPress | Burr grinder + Scale + Any kettle + AeroPress | Gooseneck kettle, thermometer |
| Espresso | Burr grinder (espresso) + Espresso machine + Tamper | Milk frother, bottomless portafilter |
| Batch drip | Burr grinder + Scale + Quality drip machine | Storage container |
Beginner Kit Dependency Flow
Frequently Asked Questions
What is the single best first purchase for better coffee?
A burr grinder. No other upgrade produces a larger improvement for the same money. If you are currently using pre-ground coffee, switching to freshly ground with even a modest hand grinder will transform what you taste in the cup — more immediately than upgrading your brewing device, water, or storage.
How much should a beginner spend on their first kit?
A functional filter kit — Hario Skerton Pro hand grinder, basic digital scale, standard kettle, V60 dripper, and a box of filters — costs under $120. Upgrading to an electric burr grinder (Baratza Encore) and a gooseneck kettle raises the total to around $300. Espresso kits start at $400–$500 for entry-level machines worth owning.
Do I need to weigh my coffee every time?
Yes, at least until your workflow is established. Once you have dialed in a recipe you enjoy on your specific equipment with your preferred beans, you can use visual markers (a specific grind setting, a specific dose container) as shortcuts. Until then, weighing removes variables and lets you identify what is actually changing your cup.
Is an AeroPress good enough for espresso?
The AeroPress produces a concentrated brew — sometimes called "espresso-style" — but it operates at approximately 0.35 bar of pressure, far below the 9 bars of a proper espresso machine. The result is thicker and more concentrated than filter coffee but lacks the crema and the specific extraction chemistry of true espresso. For milk drinks, it works reasonably well as a base. For a true espresso shot, you need a pump-driven machine.
Conclusion
Build your kit in tiers. Start with the burr grinder, scale, and gooseneck kettle — those three tools improve every brewing method you will ever try. Then add the brewing device that matches how you actually want to make coffee: a V60 if you enjoy the ritual of manual control, a French press if you want consistency without attention, an AeroPress if you want flexibility. Add espresso equipment only when you are ready to commit time to dialing in technique.
Every tool on this list is a means to the same end: a cup that tastes like the beans inside it. Buy quality beans, grind them fresh, and let the tools do their job. Explore our roasted coffee selection to find beans worth building a kit around.