The Art of Espresso Mastering the Perfect Shot
Have you ever savored the rich, transformative flavor of a perfectly brewed espresso shot? Discover the art behind achieving espresso mastery as we delve into its definition, crucial components, and the unique nuances that set it apart from regular coffee. This comprehensive brewing guide will equip you with key techniques, essential tips, and must-have tools to elevate your espresso-making skills. Whether you're a novice or an enthusiast, you'll learn how to select the right beans, adjust grinder settings, and master the brewing process to create espresso that delights the senses. Join us on this flavorful journey and unlock the secrets to the perfect shot of espresso, where every detail counts toward coffee perfection.
In the world of coffee, few experiences rival the rich, complex, and intense flavors of a perfectly crafted espresso shot. This concentrated elixir, with its golden crema and robust body, has captivated coffee enthusiasts and casual drinkers alike for generations. Mastering the art of espresso is a journey that combines precision, passion, and a deep understanding of coffee science. In this comprehensive guide, we'll delve into the intricacies of espresso brewing, exploring the techniques, tips, and essential knowledge required to achieve that elusive perfect shot. Whether you're a budding home barista or a seasoned coffee professional looking to refine your skills, this article will equip you with the expertise needed to elevate your espresso game to new heights.
Understanding Espresso: The Foundation of Coffee Mastery
1.1 What is Espresso?
Espresso is not just a type of coffee; it's a method of brewing that has revolutionized the coffee industry since its inception in early 20th century Italy. At its core, espresso is a concentrated shot of coffee produced by forcing hot water through finely-ground coffee beans under high pressure. This unique brewing process extracts a wide range of flavors, oils, and compounds from the coffee in a matter of seconds, resulting in a complex and intense beverage that serves as the foundation for many popular coffee drinks.
The origins of espresso can be traced back to Milan, Italy, where Luigi Bezzera patented the first espresso machine in 1901. His invention aimed to reduce brewing time and create a more concentrated coffee drink. Over the decades, the technology and techniques have evolved, but the fundamental principle remains the same: rapid extraction under pressure to create a bold, flavorful shot of coffee.
In the coffee world, espresso holds a special place due to its versatility and intensity. It's not only enjoyed on its own but also forms the base for a wide array of drinks, from cappuccinos and lattes to Americanos and macchiatos. The ability to craft a perfect espresso shot is often seen as a hallmark of a skilled barista, as it requires a deep understanding of coffee, precise technique, and consistent practice.
1.2 The Anatomy of an Espresso Shot
To truly master espresso, one must first understand its composition. A well-pulled espresso shot consists of three distinct layers, each contributing to the overall flavor profile and mouthfeel of the drink.
- Crema: The top layer of an espresso shot is the crema, a golden-brown foam that forms during the extraction process. This layer is created by the emulsification of coffee oils and the release of carbon dioxide from the freshly roasted beans. A good crema should be thick, persistent, and have a rich, caramel-like color. It contributes to the aroma of the espresso and provides a subtle bitterness that balances the overall flavor.
- Body: Beneath the crema lies the body of the espresso, which is the main liquid component. This layer contains the majority of the dissolved solids and oils extracted from the coffee grounds. The body should have a rich, syrupy consistency and carry the primary flavors of the espresso, such as chocolate, nuts, or fruit notes, depending on the coffee beans used.
- Heart: At the bottom of the shot is the heart, the darkest and most concentrated part of the espresso. This layer contains the heaviest compounds extracted during the brewing process and contributes to the espresso's depth and intensity.
The interplay between these three components is crucial in creating a balanced and flavorful espresso. A well-extracted shot will have a harmonious blend of flavors from each layer, resulting in a complex and satisfying taste experience.
1.3 The Difference between Espresso and Regular Coffee
While both espresso and regular coffee come from the same source – coffee beans – the brewing methods and resulting beverages are distinctly different. Understanding these differences is key to appreciating the unique characteristics of espresso.
Brewing Method: Regular coffee is typically brewed through methods like drip, pour-over, or French press, which involve steeping ground coffee in hot water for several minutes. Espresso, on the other hand, is brewed by forcing hot water through finely-ground coffee at high pressure in a matter of seconds.
Grind Size: Espresso requires a much finer grind than regular coffee. This fine grind increases the surface area of the coffee, allowing for rapid extraction under pressure. Regular coffee uses a coarser grind to prevent over-extraction during longer brewing times.
Pressure: The defining feature of espresso brewing is the use of pressure, typically around 9 bars. This pressure forces water through the coffee bed, extracting flavors and oils that would not be extracted in regular brewing methods.
Concentration: Espresso is significantly more concentrated than regular coffee. A typical espresso shot is about 1 ounce (30ml) and contains a higher concentration of dissolved solids compared to a cup of drip coffee.
Flavor Profile: Due to its concentrated nature and unique brewing process, espresso has a more intense and complex flavor profile than regular coffee. It often exhibits a fuller body, richer mouthfeel, and more pronounced bitterness and sweetness.
Caffeine Content: Contrary to popular belief, a shot of espresso contains less caffeine than a cup of regular coffee due to its smaller serving size. However, the caffeine concentration per ounce is higher in espresso.
Crema: The presence of crema is unique to espresso. This layer of foam is not found in regular coffee and is a hallmark of a well-extracted espresso shot.
Versatility: Espresso serves as the base for a wide variety of coffee drinks, whereas regular coffee is typically consumed as is or with simple additions like milk or sugar.
Mastering Espresso: The Journey to Perfection
2.1 The Essential Equipment for Espresso Brewing
Crafting the perfect espresso shot requires not only skill but also the right tools. Investing in quality equipment is crucial for achieving consistent, high-quality results. Here are the essential pieces of equipment every aspiring espresso master should have:
- Espresso Machine: The heart of your espresso setup, a good espresso machine should be capable of maintaining stable water temperature and pressure throughout the extraction process. There are various types of espresso machines, from manual lever machines to fully automatic ones. For home use, semi-automatic machines offer a good balance between control and convenience. Look for machines with a quality boiler system, precise temperature control, and a reliable pump capable of producing at least 9 bars of pressure.
- Burr Grinder: A high-quality burr grinder is perhaps the most critical piece of equipment after the espresso machine itself. Consistent grind size is essential for even extraction, and burr grinders offer superior consistency compared to blade grinders. Opt for a grinder with adjustable settings that allow you to make fine adjustments to dial in the perfect grind for your espresso.
- Tamper: A tamper is used to compress the ground coffee in the portafilter, ensuring even water distribution during extraction. Choose a tamper that fits your portafilter precisely and feels comfortable in your hand. Many professionals prefer stainless steel tampers for their durability and weight.
- Portafilter: While most espresso machines come with a portafilter, investing in a high-quality, bottomless portafilter can help you diagnose extraction issues and improve your technique. These portafilters allow you to see the espresso as it's being extracted, helping you identify channeling or other problems.
- Scale: Precision is key in espresso brewing, and a good digital scale is essential for measuring both your coffee dose and the weight of your extracted shot. Look for a scale with 0.1-gram accuracy and a fast response time.
- Shot Glass or Espresso Cup: A clear shot glass can help you visually assess the quality of your espresso, including the color and consistency of the crema. For serving, invest in proper espresso cups that retain heat well.
- Cleaning Tools: Maintaining your equipment is crucial for consistent results. Essential cleaning tools include a group head brush, backflushing disk, and appropriate cleaning solutions for your machine and grinder.
- Milk Pitcher: If you plan on making milk-based drinks, a stainless steel milk pitcher is essential for steaming and frothing milk. Choose a size appropriate for the drinks you'll be making most often.
- Distribution Tool: While not strictly necessary, a distribution tool can help ensure even distribution of coffee grounds in the portafilter before tamping, leading to more consistent extractions.
- Knock Box: A knock box provides a convenient place to dispose of used coffee grounds from your portafilter, keeping your workspace clean and organized.
Investing in quality equipment is an important step in your espresso journey. While it's possible to start with more basic setups, having the right tools will significantly enhance your ability to consistently produce excellent espresso shots.
2.2 Coffee Beans: Choosing the Right Type
The foundation of any great espresso lies in the quality and selection of the coffee beans. While personal preference plays a significant role in bean selection, certain characteristics make some coffees more suitable for espresso than others. Here's what to consider when choosing beans for your espresso:
Roast Level: Traditionally, espresso blends have been roasted to medium-dark or dark levels. These roasts tend to produce shots with a fuller body, lower acidity, and flavors of chocolate, nuts, and caramel. However, in recent years, lighter roasts have gained popularity in the specialty coffee scene, offering brighter, more complex flavor profiles with fruity and floral notes. Experiment with different roast levels to find what suits your palate.
Single Origin vs. Blend: Espresso blends are popular because they offer consistency and balance. A well-crafted blend can provide complexity while smoothing out any harsh notes from individual origins. Single-origin espressos, on the other hand, can showcase unique flavor characteristics of specific regions but may be more challenging to dial in consistently.
Freshness: Always opt for freshly roasted beans. Espresso extracts best when the beans are between 7-21 days post-roast. Beyond this window, the coffee begins to lose its aromatic compounds and oils, resulting in less flavorful and less crema-rich shots.
Processing Method: The way coffee is processed can significantly impact its flavor profile. Washed coffees tend to have cleaner, brighter flavors, while natural or honey-processed coffees often exhibit fruitier, more complex notes. For traditional espresso flavors, washed coffees are often preferred, but don't be afraid to experiment with different processing methods.
Bean Variety: Arabica beans are generally preferred for espresso due to their complex flavor profiles and lower caffeine content. However, some espresso blends incorporate a small percentage of Robusta beans to enhance crema production and add a bit of "punch" to the flavor.
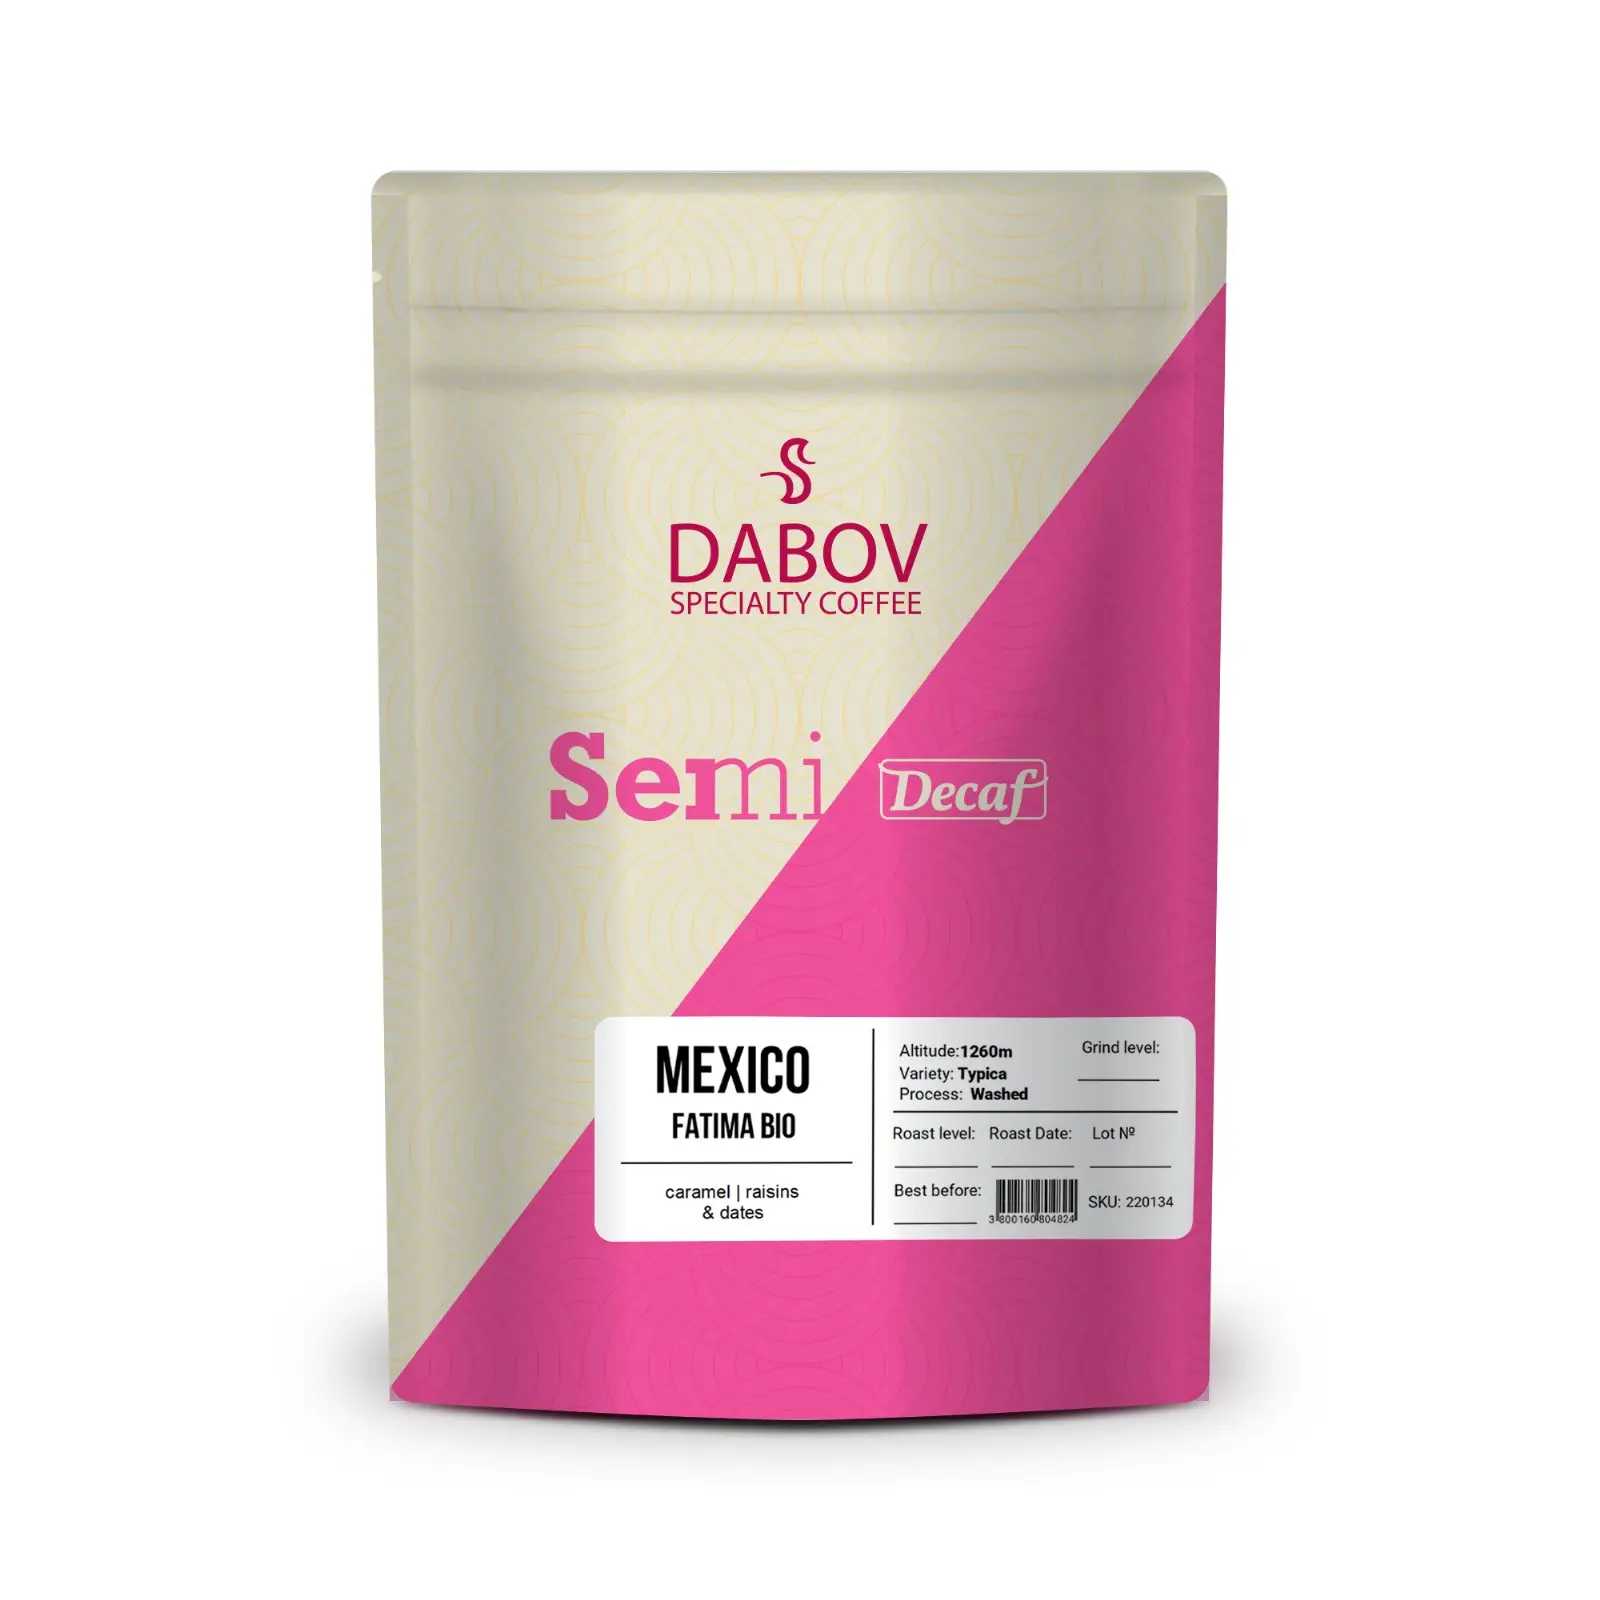
Flavor Notes: Look for beans with flavor notes that appeal to you. Traditional espresso flavors include chocolate, nuts, caramel, and spices. If you prefer fruitier or more floral espressos, look for beans from regions known for these characteristics, such as Ethiopia or Kenya.
Seasonality: Coffee is a seasonal product, and the best beans will vary throughout the year. Many roasters offer seasonal espresso blends that take advantage of the freshest crops available.
Some popular espresso blends and single-origin coffees to consider:
- Italian-style blends: These often feature a mix of South American and African beans, roasted to a medium-dark level for a balanced, chocolatey flavor profile.
- Brazilian single-origin: Known for their nutty, chocolatey flavors and full body, Brazilian coffees make excellent espressos.
- Ethiopian Yirgacheffe: For those who enjoy brighter, more complex espressos, these beans offer floral and citrusy notes.
- Colombian Supremo: These beans often provide a good balance of acidity and body, with flavors of caramel and nuts.
- Sumatra Mandheling: Known for its earthy, full-bodied profile, these beans can add depth and complexity to espresso blends.
Remember, the key to finding the perfect espresso bean is experimentation. Try different origins, roast levels, and blends to discover what appeals most to your palate. Keep notes on your preferences to help guide future purchases and to refine your espresso-making skills.
2.3 Grinder Settings: Finding the Perfect Grind
The grind size is a critical factor in espresso extraction, and finding the perfect grind is often considered the most challenging aspect of espresso brewing. The ideal grind size can vary depending on the coffee beans, the espresso machine, and even environmental factors like humidity. Here's a comprehensive guide to help you navigate the complexities of espresso grinding:
Understanding Grind Size and Extraction:The grind size directly affects the rate of extraction. Finer grinds increase the surface area of the coffee exposed to water, leading to faster extraction. Conversely, coarser grinds slow down extraction. For espresso, we typically aim for a fine grind, but the exact size can vary.
- Too fine: Over-extraction, resulting in bitter, harsh flavors
- Too coarse: Under-extraction, leading to sour, weak shots
Starting Point:Begin with a grind that resembles fine sand. It should clump slightly when pressed between your fingers but still feel gritty, not powdery.
Adjusting Your Grinder:Most quality espresso grinders allow for minute adjustments. Make small changes, typically no more than one or two notches at a time. Remember that even tiny adjustments can significantly impact extraction.
Dialing In:The process of finding the perfect grind is called "dialing in." Follow these steps:
- Start with your initial grind setting.
- Dose your portafilter with the appropriate amount of coffee (typically 18-20 grams for a double shot).
- Tamp evenly and consistently.
- Extract the shot, aiming for a 25-30 second extraction time for about 60ml (2 oz) of espresso.
- Taste the shot and assess:
- If it's sour or watery, the grind is too coarse. Adjust finer.
- If it's bitter or harsh, the grind is too fine. Adjust coarser.
- Make a small adjustment and repeat the process until you achieve the desired taste and extraction time.
Factors Affecting Grind Size:Several factors can influence the ideal grind size:
- Coffee Freshness: Fresher coffee often requires a coarser grind as it contains more CO2, which can lead to uneven extraction.
- Roast Level: Darker roasts are more soluble and typically require a slightly coarser grind compared to lighter roasts.
- Humidity: Higher humidity can cause coffee to absorb moisture, potentially requiring a coarser grind.
- Temperature: Fluctuations in ambient temperature can affect extraction, sometimes necessitating grind adjustments.
- Machine Pressure: Different machines may operate at slightly different pressures, affecting the ideal grind size.
Advanced Techniques:Once you've mastered the basics, consider these advanced techniques:
- Distribution: Use a distribution tool or technique to ensure even distribution of grounds in the portafilter before tamping. This can lead to more consistent extractions.
- Grind Uniformity: Assess the uniformity of your grind. Uneven particle sizes can lead to inconsistent extractions. If you notice this issue consistently, it may be time to upgrade your grinder or have the burrs aligned or replaced.
- Grinder Calibration: Regularly calibrate your grinder to ensure consistent performance. This is especially important for commercial settings.
- Single Dosing: Some enthusiasts prefer to weigh each dose of beans before grinding, a technique known as single dosing. This can help maintain consistency, especially when switching between different coffees.
- Temperature Surfing: For machines without PID temperature control, learn to "temperature surf" by timing your shots with the boiler heating cycle to maintain consistent brewing temperatures.
Remember, finding the perfect grind is an ongoing process. As beans age or when you switch to a new coffee, you'll likely need to make small adjustments. Keep a log of your grind settings for different coffees to help streamline the process in the future. With practice and attention to detail, you'll develop an intuitive sense for dialing in the perfect grind for consistently excellent espresso shots.
Brewing the Perfect Espresso Shot
3.1 Step-by-Step Brewing Guide
Crafting the perfect espresso shot is a meticulous process that requires attention to detail and practice. Follow this comprehensive guide to elevate your espresso-making skills:
3.1.1 Prepping the Equipment
- Turn on your espresso machine: Allow it to heat up for at least 15-20 minutes. This ensures that all components, including the group head and portafilter, reach the optimal temperature.
- Purge the group head: Run water through the group head for a few seconds to clear any old coffee residues and ensure the water is at the correct temperature.
- Preheat your cups: Place your espresso cups on top of the machine or use the cup warmer if your machine has one. Warm cups help maintain the espresso's temperature and enhance the crema.
- Clean and dry the portafilter: Wipe the basket clean of any old grounds and dry it thoroughly. Moisture can affect the distribution of coffee in the basket.
- Prepare your workspace: Ensure you have all necessary tools within reach, including your grinder, tamper, and a clean cloth for wiping the portafilter rim.
3.1.2 Measuring Coffee with Precision
- Determine your dose: For a standard double shot, use between 18-20 grams of coffee. The exact amount can vary based on your basket size and personal preference.
- Grind your coffee: Grind the coffee directly into the portafilter, ensuring an even distribution. If your grinder doesn't dispense consistently, consider using a scale to weigh your dose.
- Level the grounds: Gently tap the side of the portafilter to settle the grounds, or use a distribution tool to ensure even distribution across the basket.
3.1.3 Tamping: The Key to Extraction
- Position your portafilter: Place it on a stable, flat surface. Some baristas prefer using a tamping mat for added stability and to protect their workspace.
- Hold the tamper correctly: Grip the tamper with your dominant hand, wrapping your fingers around the base and resting your thumb on top. Your arm should form a 90-degree angle at the elbow.
- Apply pressure: Place the tamper on the coffee grounds and apply firm, even pressure. Aim for about 30 pounds of pressure – you can practice on a bathroom scale to get a feel for this.
- Keep it level: Ensure the tamper is perfectly level to create an even surface. Any unevenness can lead to channeling during extraction.
- Polish: After tamping, give the tamper a slight twist while maintaining pressure. This helps to smooth out any imperfections on the surface of the coffee puck.
- Clean the rim: Wipe any loose grounds from the rim of the portafilter to ensure a proper seal with the group head.
Extraction Process
- Lock in the portafilter: Insert the portafilter into the group head and lock it in place firmly.
- Start the shot: Place your preheated cup(s) under the portafilter and start the extraction immediately.
- Monitor the flow: Watch the espresso as it flows into the cup. It should start with a slow drip, developing into a steady stream with a golden-brown color.
- Time the shot: Aim for a 25-30 second extraction time for a double shot, yielding about 60ml (2 oz) of espresso.
- Observe the crema: A well-extracted shot should have a rich, golden-brown crema that persists for several minutes.
- Stop the shot: End the extraction when you've reached your desired volume or if you notice the stream becoming pale and thin (blonding).
Post-Extraction
- Remove the portafilter: Discard the used coffee puck into a knock box.
- Clean the group head: Run a brief burst of water through the group head to clean it.
- Clean the portafilter: Rinse the portafilter with hot water and wipe it dry, ready for the next shot.
- Assess your shot: Look at the color, consistency, and volume. Taste the espresso, noting the flavors, body, and aftertaste.
- Adjust if necessary: Based on your assessment, make any needed adjustments to grind size, dose, or tamp pressure for your next shot.
Remember, consistency is key in espresso brewing. Develop a routine and stick to it, making small adjustments as needed based on your results. With practice, you'll develop the skills and intuition needed to consistently produce excellent espresso shots.
3.2 Ideal Brewing Parameters
Achieving the perfect espresso shot requires a delicate balance of various brewing parameters. While there's room for personal preference and variation based on specific coffee beans, here are the generally accepted ideal parameters for espresso brewing:
- Water Temperature:The optimal brewing temperature for espresso typically ranges between 90°C to 96°C (194°F to 205°F). Many experts consider 93°C (200°F) to be the sweet spot. Water that's too hot can lead to over-extraction and bitterness, while water that's too cool can result in under-extraction and sourness.
Temperature stability is crucial throughout the extraction process. High-end espresso machines often feature PID (Proportional-Integral-Derivative) controllers to maintain precise and stable temperatures.
- Pressure:The standard pressure for espresso extraction is 9 bars. This pressure is what forces the water through the compacted coffee bed, extracting flavors and creating the characteristic crema.
Some advanced machines allow for pressure profiling, where the pressure can be varied during the extraction process. This technique can be used to enhance certain flavor characteristics or to compensate for variations in coffee density.
- Brewing Time:The ideal extraction time for a double shot of espresso is generally between 25 to 30 seconds. This timing starts from the moment you activate the pump and includes any pre-infusion time.
Pre-infusion, a low-pressure phase at the beginning of the extraction, typically lasts 5-8 seconds. This phase allows for even saturation of the coffee puck before full pressure is applied.
- Brew Ratio:The brew ratio refers to the relationship between the amount of ground coffee used and the weight of the resulting espresso. A common starting point is a 1:2 ratio, meaning for every gram of coffee, you aim to produce 2 grams of espresso.
For example, using 18 grams of ground coffee should yield about 36 grams of espresso. This ratio can be adjusted based on personal preference and the specific characteristics of the coffee being used.
- Dose:For a standard double shot, the dose typically ranges from 18 to 21 grams of ground coffee. The exact dose can vary depending on your basket size and personal preference.
Consistency in dosing is crucial for reproducible results. Many baristas use precision scales to ensure accuracy.
- Yield:The yield is the weight of the extracted espresso. For a double shot, this is typically between 35 to 45 grams, depending on your chosen brew ratio.
Measuring yield by weight rather than volume provides more consistent results, as crema can vary in thickness and affect volume measurements.
- Flow Rate:While not always explicitly measured, the flow rate of the espresso as it exits the portafilter can provide valuable information about the extraction. Ideally, the espresso should flow like warm honey, with a consistent, steady stream.
- Grind Size:While not a brewing parameter per se, the grind size significantly impacts all other parameters. For espresso, the grind should be fine, similar to table salt or finer. The exact size will depend on your specific coffee and equipment.
Influence of Parameters on Flavor:
- Temperature: Higher temperatures tend to emphasize bitterness and body, while lower temperatures can enhance acidity and sweetness.
- Pressure: Higher pressure can lead to faster extraction and can sometimes mask defects in the coffee. Lower pressure, especially during pre-infusion, can lead to more even extraction.
- Time: Longer extraction times generally result in more bitter flavors, while shorter times can lead to sour or underdeveloped flavors.
- Ratio: A higher coffee-to-water ratio (e.g., 1:1.5) will produce a more concentrated, intense shot, while a lower ratio (e.g., 1:2.5) will yield a less concentrated, possibly more balanced shot.
Adjusting Parameters:
- If your shot is extracting too quickly and tastes sour, try a finer grind or increase your dose slightly.
- If the shot is extracting too slowly and tastes bitter, coarsen the grind or decrease the dose.
- For more sweetness, try a slightly lower temperature or a shorter extraction time.
- For more body and intensity, experiment with a higher dose or a tighter brew ratio.
Remember, these parameters are interconnected, and changing one will often affect others. The key to mastering espresso is understanding how these parameters interact and how to adjust them to achieve your desired flavor profile. Regular practice, careful observation, and meticulous note-taking will help you develop the skills to consistently produce excellent espresso shots.
Espresso Techniques for Mastery
4.1 Adjusting Variables for Flavor
Mastering espresso involves understanding how to manipulate various variables to achieve desired flavor profiles. Here's an in-depth look at how adjusting different parameters can influence the taste of your espresso:
- Grind Size:
- Finer Grind: Increases extraction, leading to more body and potentially more bitterness. It can enhance sweetness in some coffees but may also increase astringency.
- Coarser Grind: Decreases extraction, resulting in brighter, more acidic flavors. It can help reduce bitterness but may lead to sourness if too coarse.
Technique: Start with a grind that allows for a 25-30 second extraction. Adjust finer if the shot is running too fast and tastes sour, or coarser if it's running too slow and tastes bitter.
- Dose:
- Increasing Dose: Results in a stronger, more intense flavor. It can enhance body and sweetness but may also increase bitterness.
- Decreasing Dose: Leads to a lighter body and potentially brighter flavors. It can help reduce bitterness but may result in a thin or weak shot if taken too far.
Technique: Experiment with doses between 18-21 grams for a double shot. Ensure your dose is appropriate for your basket size to avoid under or over-filling.
- Yield (Brew Ratio):
- Higher Yield (e.g., 1:2.5): Produces a less concentrated shot with potentially more clarity in flavors. It can help balance out very dark or intense coffees.
- Lower Yield (e.g., 1:1.5): Results in a more concentrated, intense shot. This can enhance sweetness and body but may overwhelm subtle flavors.
Technique: Start with a 1:2 ratio and adjust based on taste. Use a scale to measure both your dose and yield for consistency.
- Extraction Time:
- Longer Extraction: Increases overall extraction, potentially enhancing sweetness and body but also increasing the risk of over-extraction and bitterness.
- Shorter Extraction: Can result in brighter, more acidic flavors but may lead to sourness and lack of depth if too short.
Technique: Aim for 25-30 seconds as a starting point. Adjust grind size to achieve longer or shorter extractions while maintaining your desired yield.
- Water Temperature:
- Higher Temperature: Increases extraction efficiency, potentially enhancing sweetness and body but also increasing the risk of bitterness.
- Lower Temperature: Can emphasize acidity and brightness, potentially reducing bitterness but also risking under-extraction.
Technique: If your machine allows, experiment with temperatures between 90-96°C (194-205°F). Lower temperatures often work well for darker roasts, while higher temperatures can help extract more from lighter roasts.
- Pressure:
- Higher Pressure: Can lead to faster extraction and potentially more body, but may also increase bitterness and astringency.
- Lower Pressure: Can result in slower extraction, potentially enhancing sweetness and reducing bitterness, but may lead to under-extraction if too low.
Technique: If your machine allows for pressure profiling, experiment with starting at a lower pressure (2-3 bars) for pre-infusion, then ramping up to full pressure. Some machines allow for pressure decline towards the end of the shot, which can enhance sweetness.
- Distribution and Tamping:
- Even Distribution: Ensures uniform extraction across the coffee puck, leading to balanced flavors.
- Uneven Distribution: Can result in channeling, where water finds the path of least resistance, leading to under-extraction in some areas and over-extraction in others.
Technique: Use a distribution tool or technique to ensure even distribution before tamping. Aim for a level tamp with consistent pressure (around 30 pounds) to create a uniform density throughout the puck.
- Coffee Freshness:
- Very Fresh Coffee (1-7 days off roast): Often requires a coarser grind due to CO2 content. Can produce more crema but may have somewhat muted flavors.
- Peak Freshness (7-21 days off roast): Generally easier to dial in and produces balanced flavors.
- Older Coffee (beyond 21 days): May require a finer grind and can lose some complexity in flavor.
Technique: Be prepared to adjust your grind and possibly your dose as coffee ages. Very fresh coffee may benefit from a longer pre-infusion to allow for CO2 degassing.
When adjusting variables, it's crucial to change only one parameter at a time and note the results. Keep a log of your adjustments and taste observations to help you understand how changes affect the final cup. Remember that different coffees will respond differently to these adjustments, so be prepared to recalibrate when switching to a new coffee or as your current beans age.
Mastering these variables takes time and practice. Develop your palate by tasting critically and don't be afraid to experiment. The goal is to find the sweet spot where all these variables work together to produce a balanced, flavorful espresso that highlights the best characteristics of your chosen coffee.
4.2 Common Espresso Techniques
Mastering espresso involves more than just understanding the basic parameters; it also requires familiarity with various techniques that can enhance the quality and consistency of your shots. Here are some common techniques used by professional baristas and advanced home enthusiasts:
- Distribution Techniques:Proper distribution of coffee grounds in the portafilter is crucial for even extraction. Several methods are commonly used:
a) Finger Distribution:
- Technique: After dosing, use your finger to evenly distribute the grounds in a circular motion.
- Pros: Simple, no additional tools required.
- Cons: Can be inconsistent and may introduce moisture from your finger.
b) Tap and Shake:
- Technique: Gently tap the side of the portafilter to settle the grounds, then give it a shake to level the surface.
- Pros: Quick and can be effective with practice.
- Cons: May lead to uneven density in the puck.
c) Distribution Tool:
- Technique: Use a specialized tool (like the OCD or similar) to evenly distribute and level the grounds.
- Pros: Provides consistent, even distribution.
- Cons: Additional cost and one more step in the process.
- Pre-Infusion:Pre-infusion involves wetting the coffee puck with low-pressure water before full pressure is applied.
- Technique: If your machine allows, start with 2-3 bars of pressure for 5-8 seconds before ramping up to full pressure.
- Benefits: Helps ensure even saturation of the puck, reducing the risk of channeling and allowing for a more even extraction.
- Considerations: May require adjusting grind size or dose to compensate for the extended extraction time.
- Temperature Surfing:For machines without PID temperature control, temperature surfing helps achieve more consistent brewing temperatures.
- Technique: Time your shot pulling with the machine's heating cycle. Typically, this involves purging the group head until the boiler kicks in, then waiting a set amount of time before pulling the shot.
- Benefits: More consistent brewing temperatures, leading to more reproducible shots.
- Considerations: Requires practice and familiarity with your specific machine's heating cycle.
- Pressure Profiling:Advanced machines allow for varying pressure throughout the extraction process.
- Technique: Start with low pressure (2-3 bars) for pre-infusion, ramp up to full pressure (9 bars), then gradually decrease pressure towards the end of the shot.
- Benefits: Can enhance sweetness and clarity, and allows for fine-tuning extraction to highlight specific flavor characteristics.
- Considerations: Requires a machine capable of pressure profiling and experimentation to find the ideal profile for each coffee.
- Bottomless Portafilter Use:Using a bottomless (naked) portafilter allows you to observe the extraction process directly.
- Technique: Replace your standard portafilter with a bottomless one and observe the flow of espresso during extraction.
- Benefits: Helps identify issues like channeling or uneven extraction, allowing for improvements in technique.
- Considerations: Can be messy if your puck preparation isn't perfect.
- WDT (Weiss Distribution Technique):This involves using a fine tool to stir and de-clump the grounds in the portafilter before tamping.
- Technique: Use a fine needle or specialized WDT tool to gently stir the grounds, breaking up any clumps.
- Benefits: Promotes even distribution and breaks up clumps, leading to more uniform extraction.
- Considerations: Adds an extra step to the process but can significantly improve consistency.
- Puck Screening:Placing a fine mesh screen on top of the coffee puck before extraction.
- Technique: After tamping, place a fine metal screen (often around 200 microns) on top of the puck before locking in the portafilter.
- Benefits: Can lead to more even extraction by promoting uniform water dispersion across the puck surface.
- Considerations: Requires purchasing screens and adds an extra step to the process.
- Dosing Funnels:Using a funnel to guide grounds into the portafilter during dosing.
- Technique: Place a dosing funnel on top of the portafilter when grinding to prevent spillage and promote even distribution.
- Benefits: Reduces mess and can help achieve more consistent dosing.
- Considerations: An additional tool to purchase and manage in your workflow.
- RDT (Ross Droplet Technique):Adding a small amount of water to the