Why a Dedicated Station Matters in Small Spaces
In compact living, dedicated spaces create order from chaos. A coffee station achieves three things:
- Organization: Coffee equipment—grinder, dripper, filters, beans, cups, thermometer—scattered randomly across kitchen cabinets is inefficient. Dedicated space puts everything at hand.
- Ritual: A defined corner becomes "coffee time space," signaling intentionality and self-care. Morning brew feels purposeful, not utilitarian.
- Aesthetics: A thoughtfully arranged station adds character to small spaces. Coffee equipment can be beautiful (ceramic, stainless steel, wood) and serve as design feature.
Small-space dwellers (apartments, studios, dorm rooms, tiny homes) benefit most. Limited counters mean consolidation, and consolidation creates a micro-specialty that compensates for overall space constraints.
Choosing Your Spot: Strategic Location
Not every corner is ideal. Evaluate candidates by:
Proximity to water: Near kitchen sink is obvious but drains water directly. Acceptable if you can't avoid it. Bathroom adjacent to bedroom? Less convenient. Kitchen-integrated preferred.
Electrical access: Kettles, grinders, and scales need outlets. Existing outlets without extension cords reduce fire risk and clutter.
Lighting: Natural light transforms brew routine (morning sun, nice ambiance). South-facing window ideal. Otherwise, under-cabinet LED ($20-40) solves this.
Thermal stability: Avoid radiators, direct sunlight (degrades beans), cold near drafty windows (affects extraction). Moderate, stable temperature preferred.
Visibility/traffic: Station you pass daily (kitchen corner, hallway nook) gets more use than hidden spot. High traffic (near bathroom mirror) acceptable if aesthetic.
Practical options in order of preference:
- Dedicated corner of kitchen counter: 2-3 feet width, against wall. Ideal but rarest in small kitchens.
- Wall-mounted shelf above counter: Vertical solution, doesn't consume counter.
- Bar cart in kitchen/dining area: Mobile, can be tucked aside when not in use.
- Hallway wall: Often unused space; can become coffee nook if electrical access available.
- Closet conversion: Remove door, add shelving, install LED. Charming if humidity isn't excessive.
- Under-counter nook: Space below kitchen overhang, often wasted. Add shelf, use as hidden station.
Design Approach #1: Vertical Shelving
Vertical solutions are small-space gold. Instead of counter depth, you expand upward.
Floating Shelves
Installation: Wall-mounted shelves (no legs, cleaner look) require stud-finding and anchors. Cost: $10-30 per shelf (not including labor or brackets).
Best practice:
- 3-4 shelves stacked 12-15 inches apart
- Each shelf 12-24 inches deep, 24-36 inches wide
- Top shelf: lightweight items (beans in airtight jars, cups)
- Middle shelf: grinder, dripper, scale (heavier, less accessible)
- Bottom shelf: kettle, serving items, supplies
Aesthetic: Light wood, matte black, or stainless steel shelves suit different decors. Coordinate with kitchen style—white floating shelves in minimalist kitchen, warm wood in farmhouse setup.
Wall Grid / Pegboard
An alternative to shelves: wall-mounted pegboard + hooks.
Setup: 24" × 36" pegboard ($15-30) + hooks ($2-5 each) + small baskets ($5-10 each).
Layout:
- Hang mugs on hooks (visual display, easy access)
- Small baskets hold filters, spoons, stirrers
- Hooks for cloth towels
- Hooks for grinder (if lightweight hand grinder)
Advantage: Highly customizable. Rearrange instantly. Pegboard looks intentional, craft-y.
Disadvantage: Pegboard attracts dust; holes collect debris. Weekly cleaning required. More visual clutter (all items visible).
Ladder Shelf
A compact ladder shelf (3-4 tiers, triangular footprint, ~18" × 18" base) fits corner nooks.
Cost: $50-150 depending on material (bamboo, metal, wood).
Layout:
- Top tier: beans, cups
- Middle: grinder
- Bottom: kettle
Advantage: Free-standing (no wall mounting), portable, sculptural appearance.
Disadvantage: Occupies corner floor space (not purely vertical). Less stable than wall-mounted shelves.
Design Approach #2: Fold-Down and Mobile Solutions
If wall mounting isn't possible (rental restrictions, studs inaccessible), mobile furniture offers flexibility.
Fold-Down Wall Table
Installation: Hinged table mounted to wall, folds flat when not in use. Cost: $100-300.
Use case: Station unfolds for morning brew, folds up afterward, revealing clean wall.
Pros:
- Compact when closed (6-12 inches wall depth when folded)
- Full-size working surface when extended (24-36 inches typical)
- Wall-mounted (doesn't consume floor space)
- Rental-friendly (some models are adhesive-mounted, remove without damage)
Cons:
- Moderate installation cost
- Limited storage below table (usually open frame)
- Manual fold/unfold (small inconvenience)
Best for: Studio apartments, tiny kitchens where counter is non-existent.
Bar Cart
A mobile, tiered cart brings style + function.
What to look for:
- 2-3 tiers for equipment separation
- Lightweight but sturdy (metal frame, wood/glass shelves)
- Wheels that lock (prevents rolling when brewing)
- 24-30 inches tall (standing reach height)
- ~18-24 inches wide (fits typical kitchen nooks, hallways)
Cost: $50-200 depending on material and design.
Layout:
- Top tier: cups, beans
- Middle: grinder, dripper, scale
- Bottom: kettle, supplies, trash for used filters
Advantages:
- Portable (move to patio, dining area, different room if desired)
- Flexible positioning (kitchen corner normally, hallway for entertaining)
- Doesn't require wall mounting
- Aesthetically cohesive (cart serves dual purpose: coffee + drink service)
Disadvantages:
- Occupies floor space (~2-3 sq ft footprint)
- Less stable than built-in shelving (top-heavy if poorly loaded)
- Visible from living areas (aesthetic must integrate with decor)
Pro tip: Choose cart with a lower shelf that's closed (wood or glass) rather than open wire. Hides supplies, grounds spill, electrical cords.
Equipment Selection for Compact Spaces
Small spaces demand compact equipment. Oversized grinders, sprawling pour-over sets, or bulky kettle collections kill the setup.
Grinder (Most Important)
Manual burr grinder: $40-60 (Hario Skerton, Baratza Encore Manual).
- Footprint: ~3 × 3 inches
- Silent (apartment-friendly)
- No electricity needed
- Takes 60-90 seconds to grind, which is meditative for morning routine
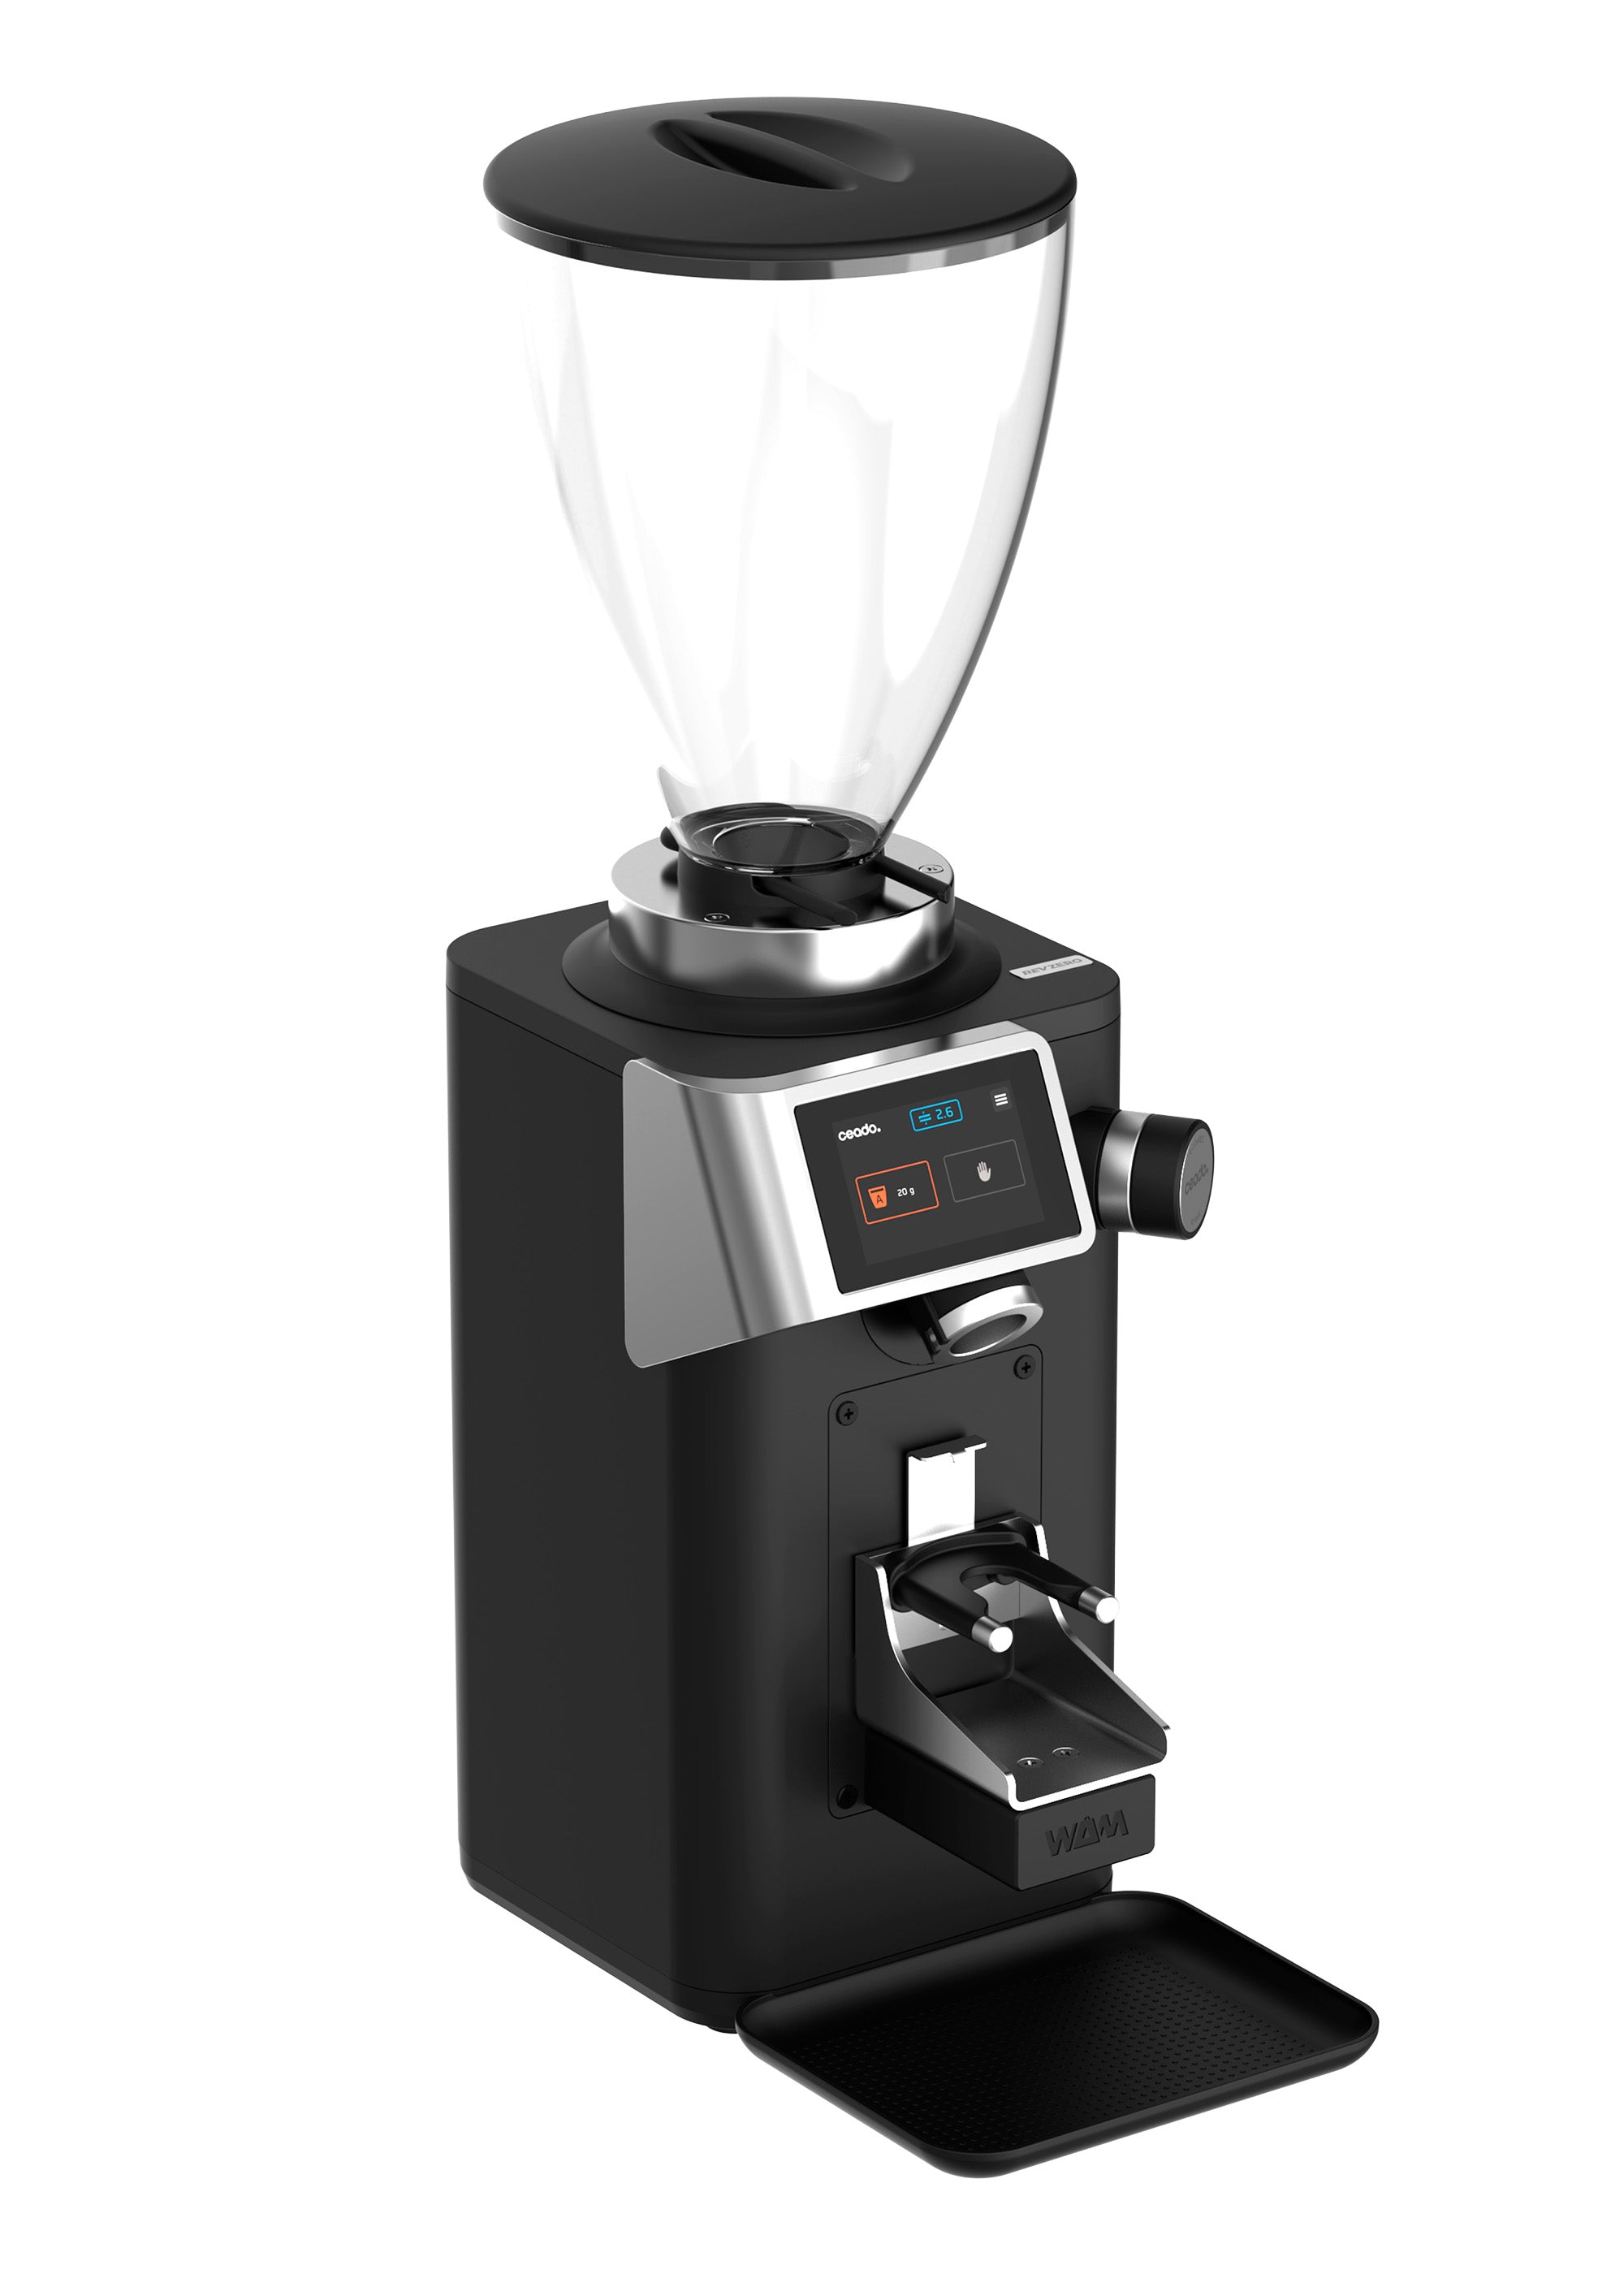
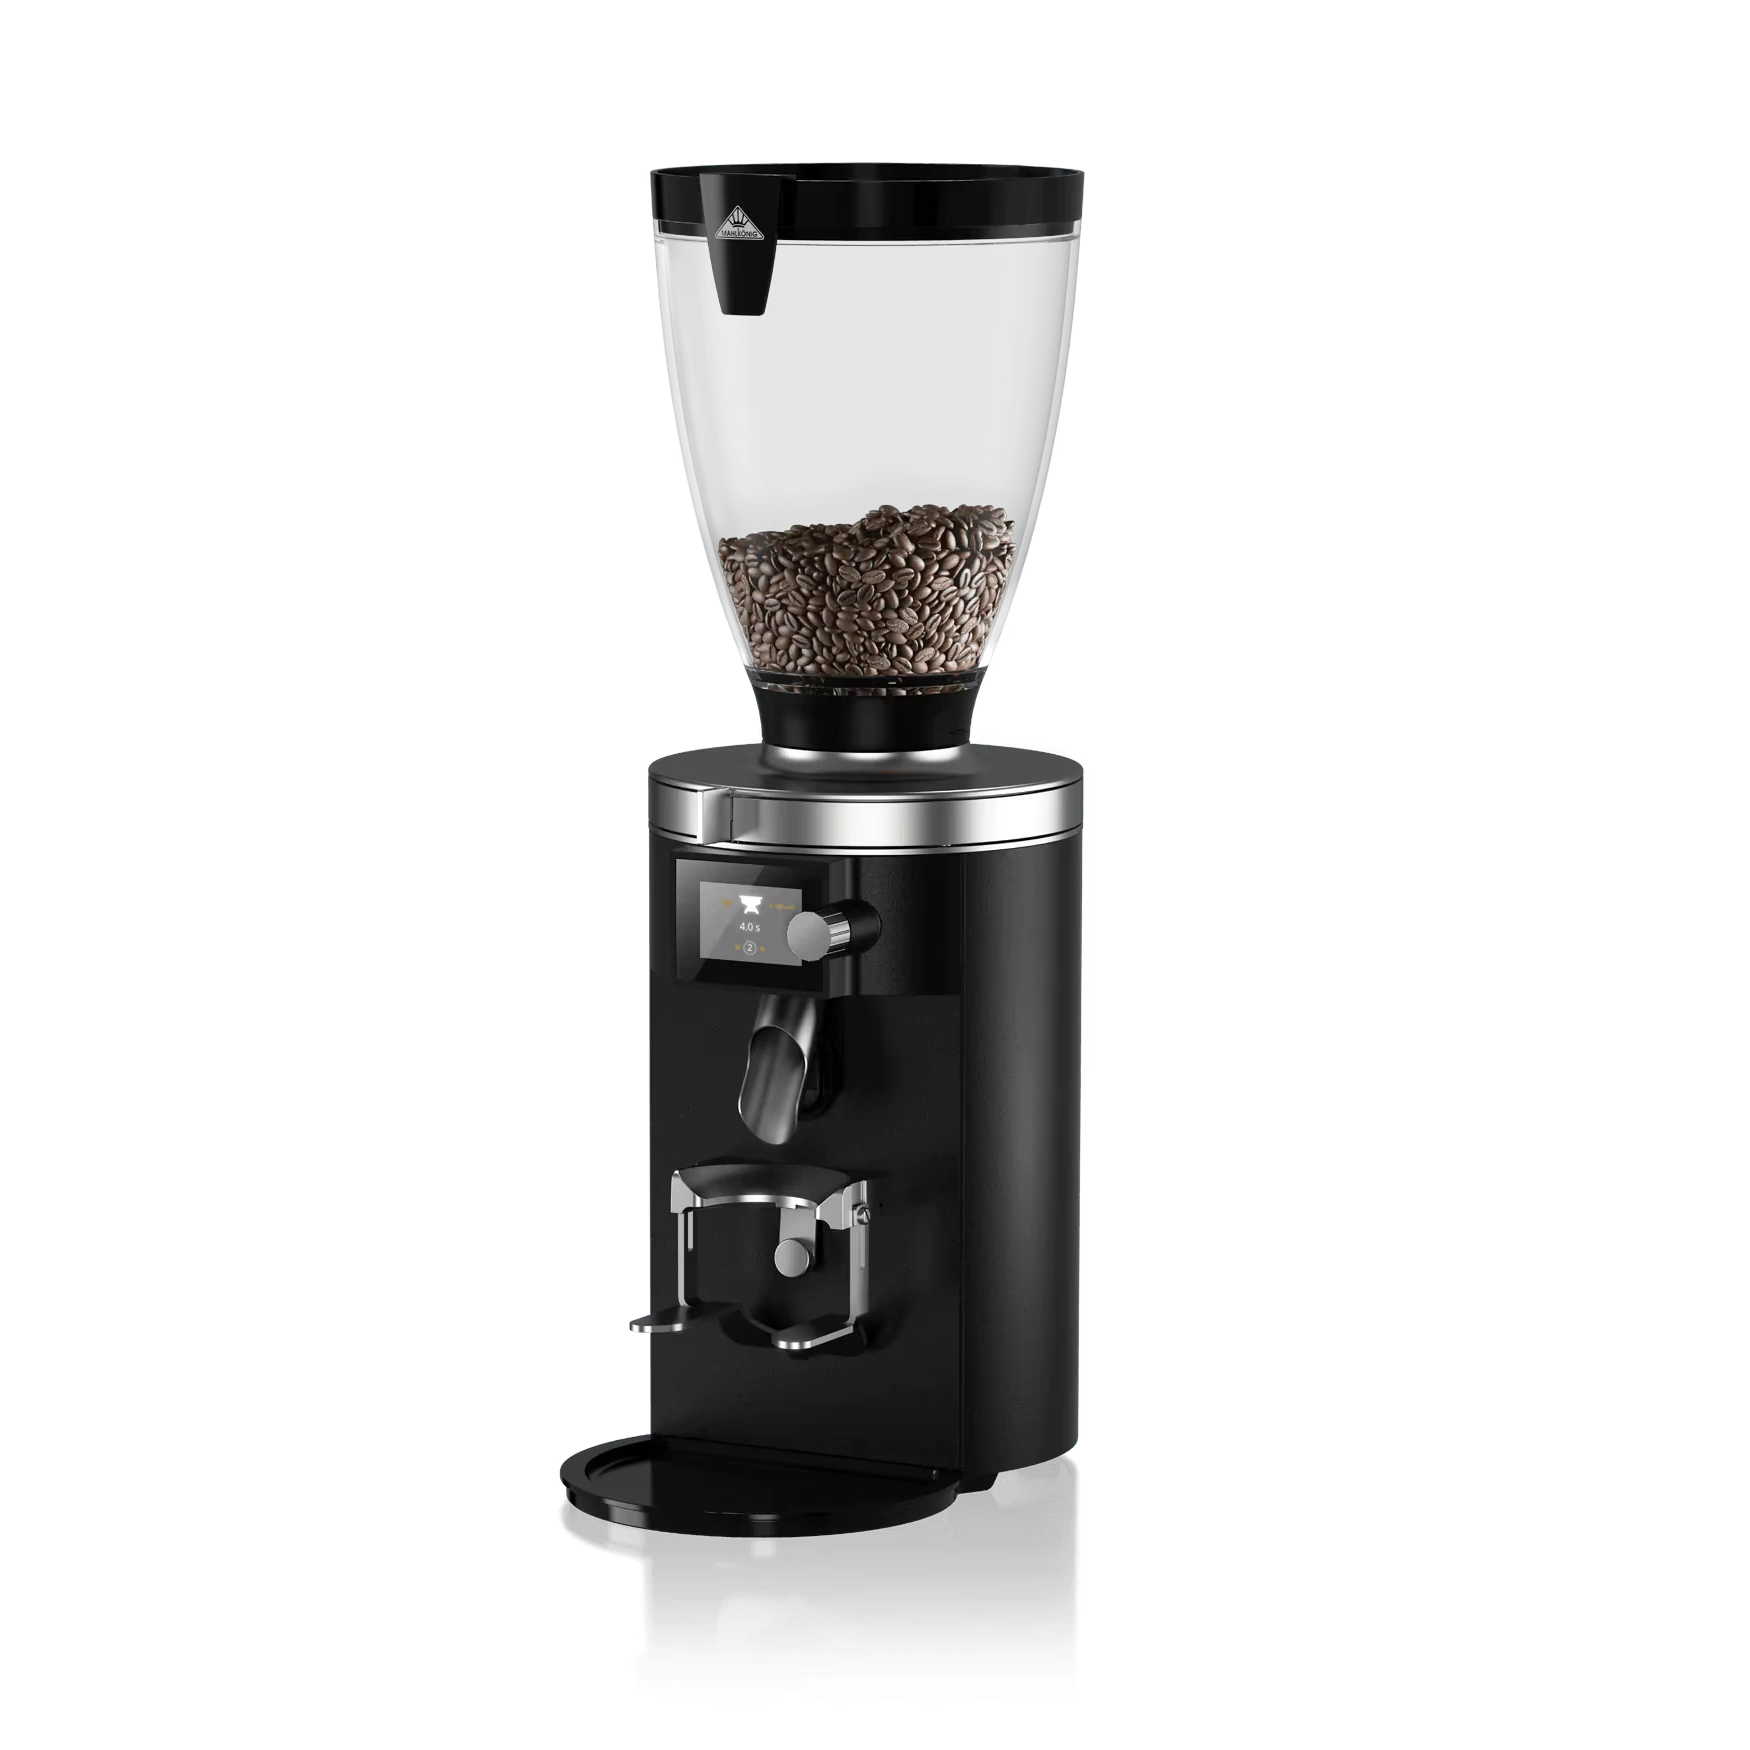
Compact electric burr grinder: $50-70 (Baratza Encore).
- Footprint: ~4 × 4 inches
- Fast (~15 seconds for 20g)
- Requires outlet and counter/shelf space for use
- Minimalist design (matte black, compact) suits small spaces
Avoid: Blade grinders (inconsistent grinds), large commercial grinders (oversized for home use), super-compact grinders that sacrifice burr quality.
Brewer (Choose One)
Pour-over (Melitta, V60, Chemex):
- Footprint: 3-5 inches diameter, 4-6 inches tall
- Plastic dripper ($8-15) is supremely compact
- Ceramic/glass ($20-50) adds beauty, slightly more counter presence
- Stores vertically in cabinet easily
French press ($30-40):
- Footprint: ~3 × 3 inches, 8 inches tall
- Vertical storage possible in upper cabinet
- Glass is fragile in cramped kitchens (risk breaking)
Aeropress ($30-35):
- Footprint: ~3 inches diameter, 4 inches tall (most compact!)
- Stacks easily
- Most space-efficient option for single-serve brewing
- Drawback: single cup (if household has 2+ coffee drinkers, brewing twice needed)
Skip: Espresso machines (bulky, 12-24 inches footprint, complex), automatic drip (defeats purpose of dedicated, intentional station), siphons (beautiful but requires significant height clearance).
Kettle
Electric gooseneck kettle with temperature control: $50-80 (Hario Buono, Fellow Opus, Brewista).
- Compact (7-8 inches tall, 4-5 inches base)
- Essential for pour-over (precise pouring and temperature)
- Holds 700-1200 ml (3-5 cups)
- Heats quickly (4-5 minutes)
- Temperature display or pre-set buttons
Alternative (counter-space saving): Basic non-electric kettle ($15-30) + separate thermometer ($12-15). Less convenient but saves electricity and counter presence. You boil water in regular kettle, pour into gooseneck, pour from there.
Avoid: Large kettles (>2L capacity), kettles without temperature control (guessing is unreliable).
Scale
Digital scale: $15-30 (Hario V60 scale, basic kitchen scale).
- Footprint: ~3 × 3 inches, ~0.5 inches thick
- Stores flat in a drawer or shelf
- Non-negotiable for consistency (weight not volume)
- Weighs only ounces; no counter presence when not in use
Storage for Beans and Supplies
Airtight containers: Buy beans whole, store in opaque airtight jar (glass or plastic).
- Size: quart-size jar holds ~2 weeks' supply (0.5-1 oz/day consumption)
- Stackable glass jars ($5-10 each) organize multiple origins
- Airtight prevents staling; opacity prevents light degradation
Filter storage: Small drawer, box, or basket holds paper/reusable filters.
- Size: 3 × 4 × 1 inches (standard)
- Organized filing prevents loose filters scattering
Cup display: Small shelf or cabinet holds 2-4 favorite cups.
- Aesthetic choice: ceramic, glass, specialty mugs
- Limit quantity (10+ cups signal hoarding; 2-4 is intentional)
Layout Examples: Real Apartment Setups
Example 1: NYC Studio (Bar Cart)
Space: 350 sq ft studio, small kitchen corner.
Setup: Sleek black metal bar cart (20" wide, 30" tall) positioned in kitchen corner.
- Top tier: Ceramic mugs (2), bean jar
- Middle tier: Baratza Encore grinder, ceramic V60 dripper, scale
- Bottom tier (closed shelf): Electric gooseneck kettle, filters, trash receptacle
Adjacent wall: Small LED strip light underneath upper cabinet, illuminating cart.
Result: Functional, beautiful, mobile (can roll to patio in summer). Takes ~2 minutes to brew. Coffee gear is displayed piece, not clutter.
Example 2: San Francisco 1-Bedroom (Wall Shelf)
Space: 650 sq ft, small kitchen.
Setup: 24" × 12" floating shelf mounted 12 inches above counter, to right of sink.
- Shelf items: Hario Skerton manual grinder, Melitta dripper, paper filters (in small box), two ceramic mugs
- Counter below shelf: Electric kettle (stays on counter, plugged in), scale (stored in drawer, pulled out for brewing)
Design: Warm wood shelf, white subway tile wall. Minimal, Scandinavian aesthetic.
Result: Everything within arm's reach. Shelf is design feature, not clutter. Counter stays clear except kettle.
Example 3: Dorm Room (Compact Portable)
Space: 12 × 14 feet room, mini-fridge only (no kitchen).
Setup: Collapsible storage box (12" × 8" × 8") holds entire station.
- Contents: Manual hand grinder ($45), Aeropress ($30), paper filters ($3), electric kettle ($25 - borrowed from shared kitchen), scale ($15), 2 mugs ($5-10 total), bean jar ($5), cloth towel.
- Stored: Under desk, pulled out mornings.
Ritual: Fill kettle (shared kitchen), return to room, brew at desk.
Result: Complete station occupies shoebox. Fully portable if changing dorms/moving.
Aesthetic Choices: Making it Beautiful
Small spaces demand intentional aesthetics. A coffee station is visual anchor; poor design amplifies perceived clutter.
Color Coordination
Monochromatic: All black equipment (grinder, dripper, kettle, mugs) creates cohesive look. Minimalist, professional.
Warm tones: Wood shelves, cream ceramic, copper accents. Cozy, welcoming.
Accent color: Mostly white/black setup with single accent (red mugs, blue dripper). Draws eye, creates focal point.
Mixed materials: Matte black grinder + ceramic dripper + wood shelf + stainless kettle. Requires confident taste but sophisticated when done well.
Lighting
Under-shelf LED strip ($20-40): Warm white (2700K) illuminates station, adds ambiance. Install with adhesive tape, plug into nearby outlet.
Window light: Position station to catch morning sun. Natural light is beautiful and practical.
Avoid: Fluorescent overhead only (harsh, kills coffee appreciation).
Styling
Minimalist: Only essentials visible. Beans in sealed jar (no branding), single mug, grinder. Looks intentional, not hoarder-y.
Artisanal: Visible beans in glass jar (labels visible), vintage mugs, wooden spoon, cloth towel. Warm, craft-focused.
Modern: Stainless steel, geometric shapes, matte black. Clean, sophisticated.
Vintage/eclectic: Mismatched ceramic cups, vintage grinder, old scales. Personality-driven, curated look.
Key principle: Limit variation. Mixing too many styles (vintage + ultra-modern + bohemian) looks chaotic in small spaces. Pick aesthetic direction, curate accordingly.
Maintenance and Seasonal Adjustments
Small-space stations require discipline. Disorder appears magnified.
Weekly Maintenance
- After each brew: Rinse dripper, empty grounds into compost/trash, wipe scale
- Daily: Grind fresh beans (shows intention)
- Weekly: Wipe shelf dust, clean mug handles, inspect beans (no visible mold/moisture)
Seasonal Changes
Summer: Swap hot brewing equipment for cold brew setup. Remove kettle, add cold brew container. Switch hot mugs for iced glasses. Add ice maker to shelf if space permits.
Winter: Restore hot equipment. Add heated mug warmer if desired (runs in background). Introduce seasonal mugs (thermal insulation, larger capacity for cozy vibes).
Holiday: Add festive touches (small decoration, holiday mug) without overloading.
Storage Strategy: The Hidden Station
Some prefer fully hidden stations—equipment stored in cabinet, station only "activates" during morning brew.
Container option: Wooden box, wire basket, or plastic drawer organizer holds grinder, dripper, filters, scale.
Cabinet location: Deep cabinet above refrigerator, under kitchen island, hallway closet with door.
Workflow:
- Morning: Pull container, set on counter
- Brew coffee
- Clean immediately
- Return container to storage
Advantage: Counter stays pristine. Station vanishes outside brew time.
Disadvantage: Less visible, aesthetic appeal reduced. Requires discipline to maintain.
Frequently Asked Questions
Can I brew good coffee in 4-6 square feet?
Absolutely. Quality coffee depends on: (1) fresh beans, (2) burr grinder, (3) proper water temperature, (4) correct ratio, (5) technique. None require spaciousness. Compact station may actually enforce discipline: fewer gadgets, focused ritual.
What if my apartment doesn't have suitable wall space?
Bar cart becomes your solution. Portable, requires no installation, looks intentional (not jury-rigged).
Should the station blend in or stand out?
That's personal. Minimalists hide it; Instagram enthusiasts display it. Consider: do you want coffee-making visible/celebrated, or private? Design accordingly.
Can I add espresso to a small-space setup?
Manual lever espresso machines (Flair, ROK) are compact ($50-200, 5-6 inches tall). Electric espresso machines minimum 12-24 inches (impractical in tight quarters). If espresso interests you, start with manual lever, upgrade later if desired.
What if my kitchen has zero counter space?
Wall-mounted fold-down table or floating shelves are your solution. Or embrace bar cart (mobile, doesn't require kitchen integration).
Conclusion: Small Space, Big Ritual
The perfect coffee station is not determined by square footage. It's determined by intentionality. A 4-square-foot corner with a quality grinder, simple dripper, and fresh beans produces superior coffee to a spacious countertop with junk equipment and stale beans.
Small spaces reward thoughtfulness: every tool earns its place. The result is a station that looks beautiful, functions flawlessly, and genuinely improves daily ritual. When coffee-making feels deliberate rather than chores, you drink better coffee and enjoy the process more.
Start by identifying your best location, choosing one brewing method you're excited about, and investing in a quality grinder. From there, let your space, aesthetic, and coffee habits guide additional choices. Within weeks, your compact station will feel essential—proof that coffee excellence doesn't require sprawling real estate, just clear priorities.
Ready to build your station? Start with a quality grinder and brewer, and explore fresh roasted beans that deserve your careful brewing attention.