Choosing the Right Location
Before any decisions about surfaces or equipment, the location imposes constraints that cannot be designed around. A coffee bar needs three things in close proximity: power (multiple circuits), water access (nearby supply and drain, or a realistic workaround), and counter space that is not primary kitchen prep real estate.
Power Requirements
An espresso machine and grinder running simultaneously can draw 1,800–2,800W combined. A dual-boiler machine at full heat cycle pulls up to 1,600W alone. This means a dedicated 20-amp circuit is strongly recommended for any serious espresso setup — running a dual boiler on a shared kitchen circuit that also powers a microwave and a refrigerator guarantees nuisance tripping.
For counter installations adjacent to the sink or in any zone within 6 feet of a water source, GFCI (Ground Fault Circuit Interrupter) outlets are required by NEC code. Do not bypass this. An espresso machine with a slow internal steam leak in an improperly protected outlet creates a genuine electrocution risk. A GFCI outlet or GFCI breaker resolves it. If you are installing a dedicated coffee bar on an interior wall away from plumbing (typical for converted closet or dining room setups), standard 20-amp outlets are code-compliant.
Plan for a minimum of two duplex outlets at the primary work height, plus one outlet positioned above counter height for overhead equipment (under-cabinet lights, a small display screen for a scale). Using a surge-protected power strip with individual switches per outlet is practical — you can cut power to the grinder (which should not be left energized) without unplugging anything.
Counter Depth and Bar Height
Standard kitchen counters run 24–25 inches deep. An espresso machine with a steam wand extended can project 16–18 inches from the back wall, leaving 6–9 inches of clear working space — technically sufficient but uncomfortable. If you have any flexibility in counter design, 26–30 inch counter depth makes a meaningful ergonomic difference for espresso work: you can tamp, adjust, and clean without leaning over the machine.
Bar height (counter at 42 inches vs. standard 36 inches) is a personal preference question. Bar height reduces back strain for taller users and creates a visual separation from the kitchen workspace. Standard height integrates more naturally with existing kitchen counters and allows the use of standard cabinetry for storage below. Most purpose-built home bars default to 36 inches to retain flexibility.
Layout Archetypes by Space Condition
Four layouts dominate home coffee bar installations. Match the archetype to your available space, not to what you want the space to be.
| Layout | Footprint | Power Needs | Water Access | Ideal For |
|---|---|---|---|---|
| Built-in counter run | 36–60" wide, wall-to-wall | Requires dedicated circuit | Near sink is ideal | Kitchen corner, butler pantry |
| Bar cart / mobile station | 24–30" × 18" | Standard outlet (relocatable) | None — manual fill | Apartments, rentals, flexible rooms |
| Closet conversion | 24–36" wide, 18–24" deep | Requires outlet in closet | None unless near bathroom | Underutilized coat closet, hall niche |
| Floating shelf stack | Wall-mounted shelves | Outlet at counter height | None | Small kitchens, studio apartments |
Built-in counter run is the most capable layout and requires the most infrastructure investment. It supports heavy machines, provides storage below, and can accommodate a dedicated drain line. The investment pays off for daily espresso use.
Bar cart is the most overlooked option for renters. A heavy-gauge stainless bar cart (24–26" wide, 3-tier) holds an espresso machine on the top shelf, a grinder plus accessories on the middle shelf, and a drawer with cleaning supplies on the bottom. It rolls next to the kitchen counter for use and rolls away for cleaning. Total electrical requirement is a single outlet near the cart's resting position.
Closet conversion works surprisingly well for a pour-over station or a single-boiler espresso machine — not for a dual boiler, which needs more ventilation. Remove the closet door, install a 24-inch deep shelf at counter height, add 2 duplex outlets (closet outlet installation requires only a licensed electrician if it is a permitted renovation), and add under-shelf lighting. The result is a coffee nook that disappears behind sliding doors when not in use.
Floating shelf stack is the minimum viable option for constrained spaces. One deep shelf (12–14 inches) at counter height for the machine, one above for accessories and bean canisters, one near the ceiling for backup beans and rarely used items. The constraint is weight — floating shelves need wall studs or heavy-duty hollow-wall anchors rated to 50–80 lbs per shelf for an espresso machine.
Drip Tray Plumbing and Drainage
The drip tray is where the design ambitions of most home coffee bars collapse in practice. A drip tray that holds 500ml fills in 6–10 pull-and-rinse cycles on an active espresso station. Daily emptying is minimum maintenance; twice-daily emptying is realistic for anyone pulling more than 8–10 shots.
Hard-Plumb vs. Manual Options
A hard-plumbed drain is the ideal solution and requires a drain line connection to a sink P-trap or a dedicated floor drain. Not practical for most home installations. But there is a workable middle option: a large-reservoir drip tray with a clear sight gauge and a drain hose routed to a 2-gallon waste bucket inside the cabinet below. This is a gravity drain — no pump required — and reduces manual drip tray handling to once per day at most.
For built-in installations next to a sink, some fabricators route a 1/2-inch silicone drain tube directly into the sink drain. This requires only a hole through the cabinet side panel and a compression fitting at the drain connection — a plumber can complete this in an hour.
Knock Box Positioning
The knock box belongs adjacent to the grinder, not adjacent to the portafilter. This sounds counterintuitive but follows the workflow: grind → tamp → pull → knock puck out → wipe portafilter → regrind. The knock box is the first step in the reset cycle, not a byproduct of the extraction step. Positioning it between the grinder and the scale creates a logical left-to-right workflow (for right-handed operators) that reduces unnecessary arm movement.
If counter space is limited, a rail-mounted knock box (bar-style) attached to the front edge of the drip tray area is a space-efficient option. These project only 4–5 inches in front of the machine and keep the knock box within the machine's footprint.
The Grind Zone: Proximity, Vibration, and Dust
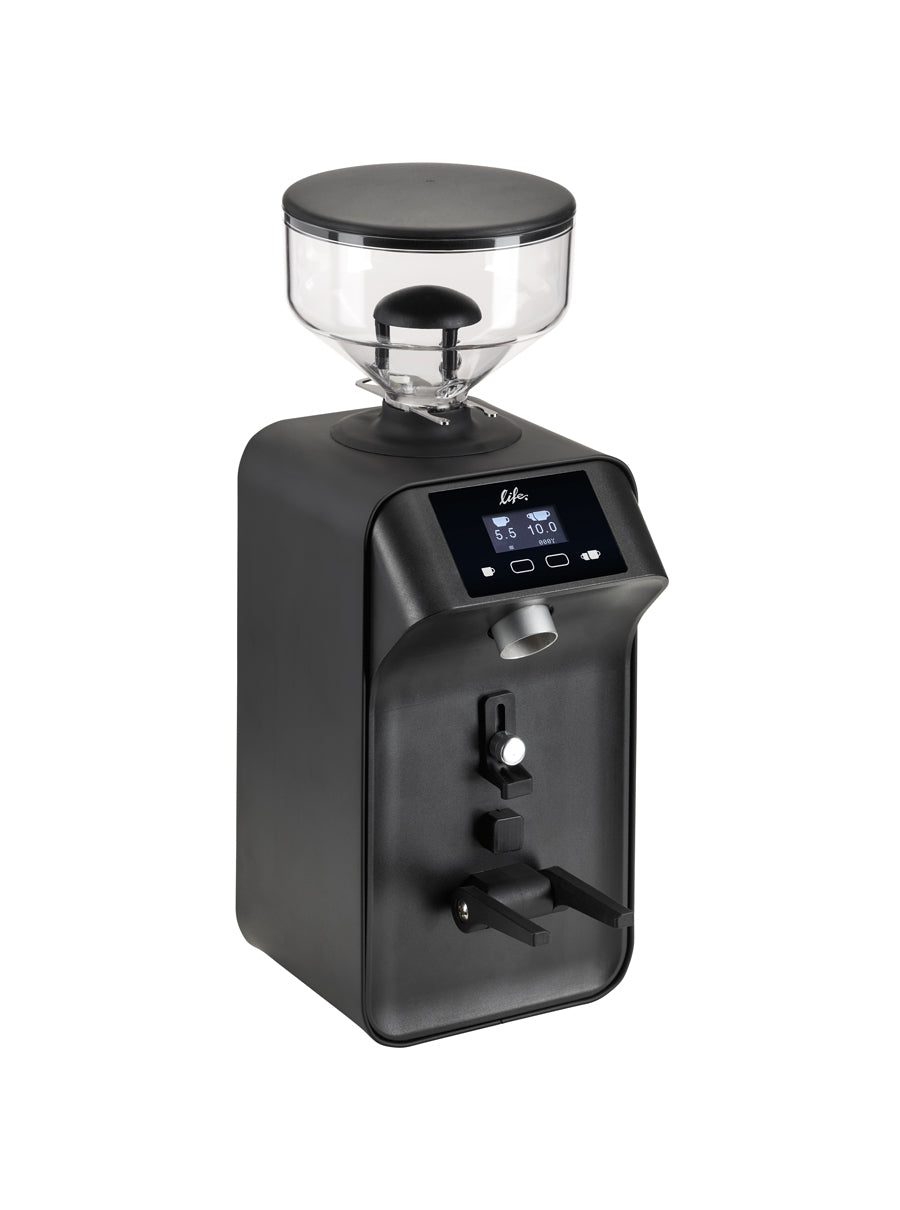
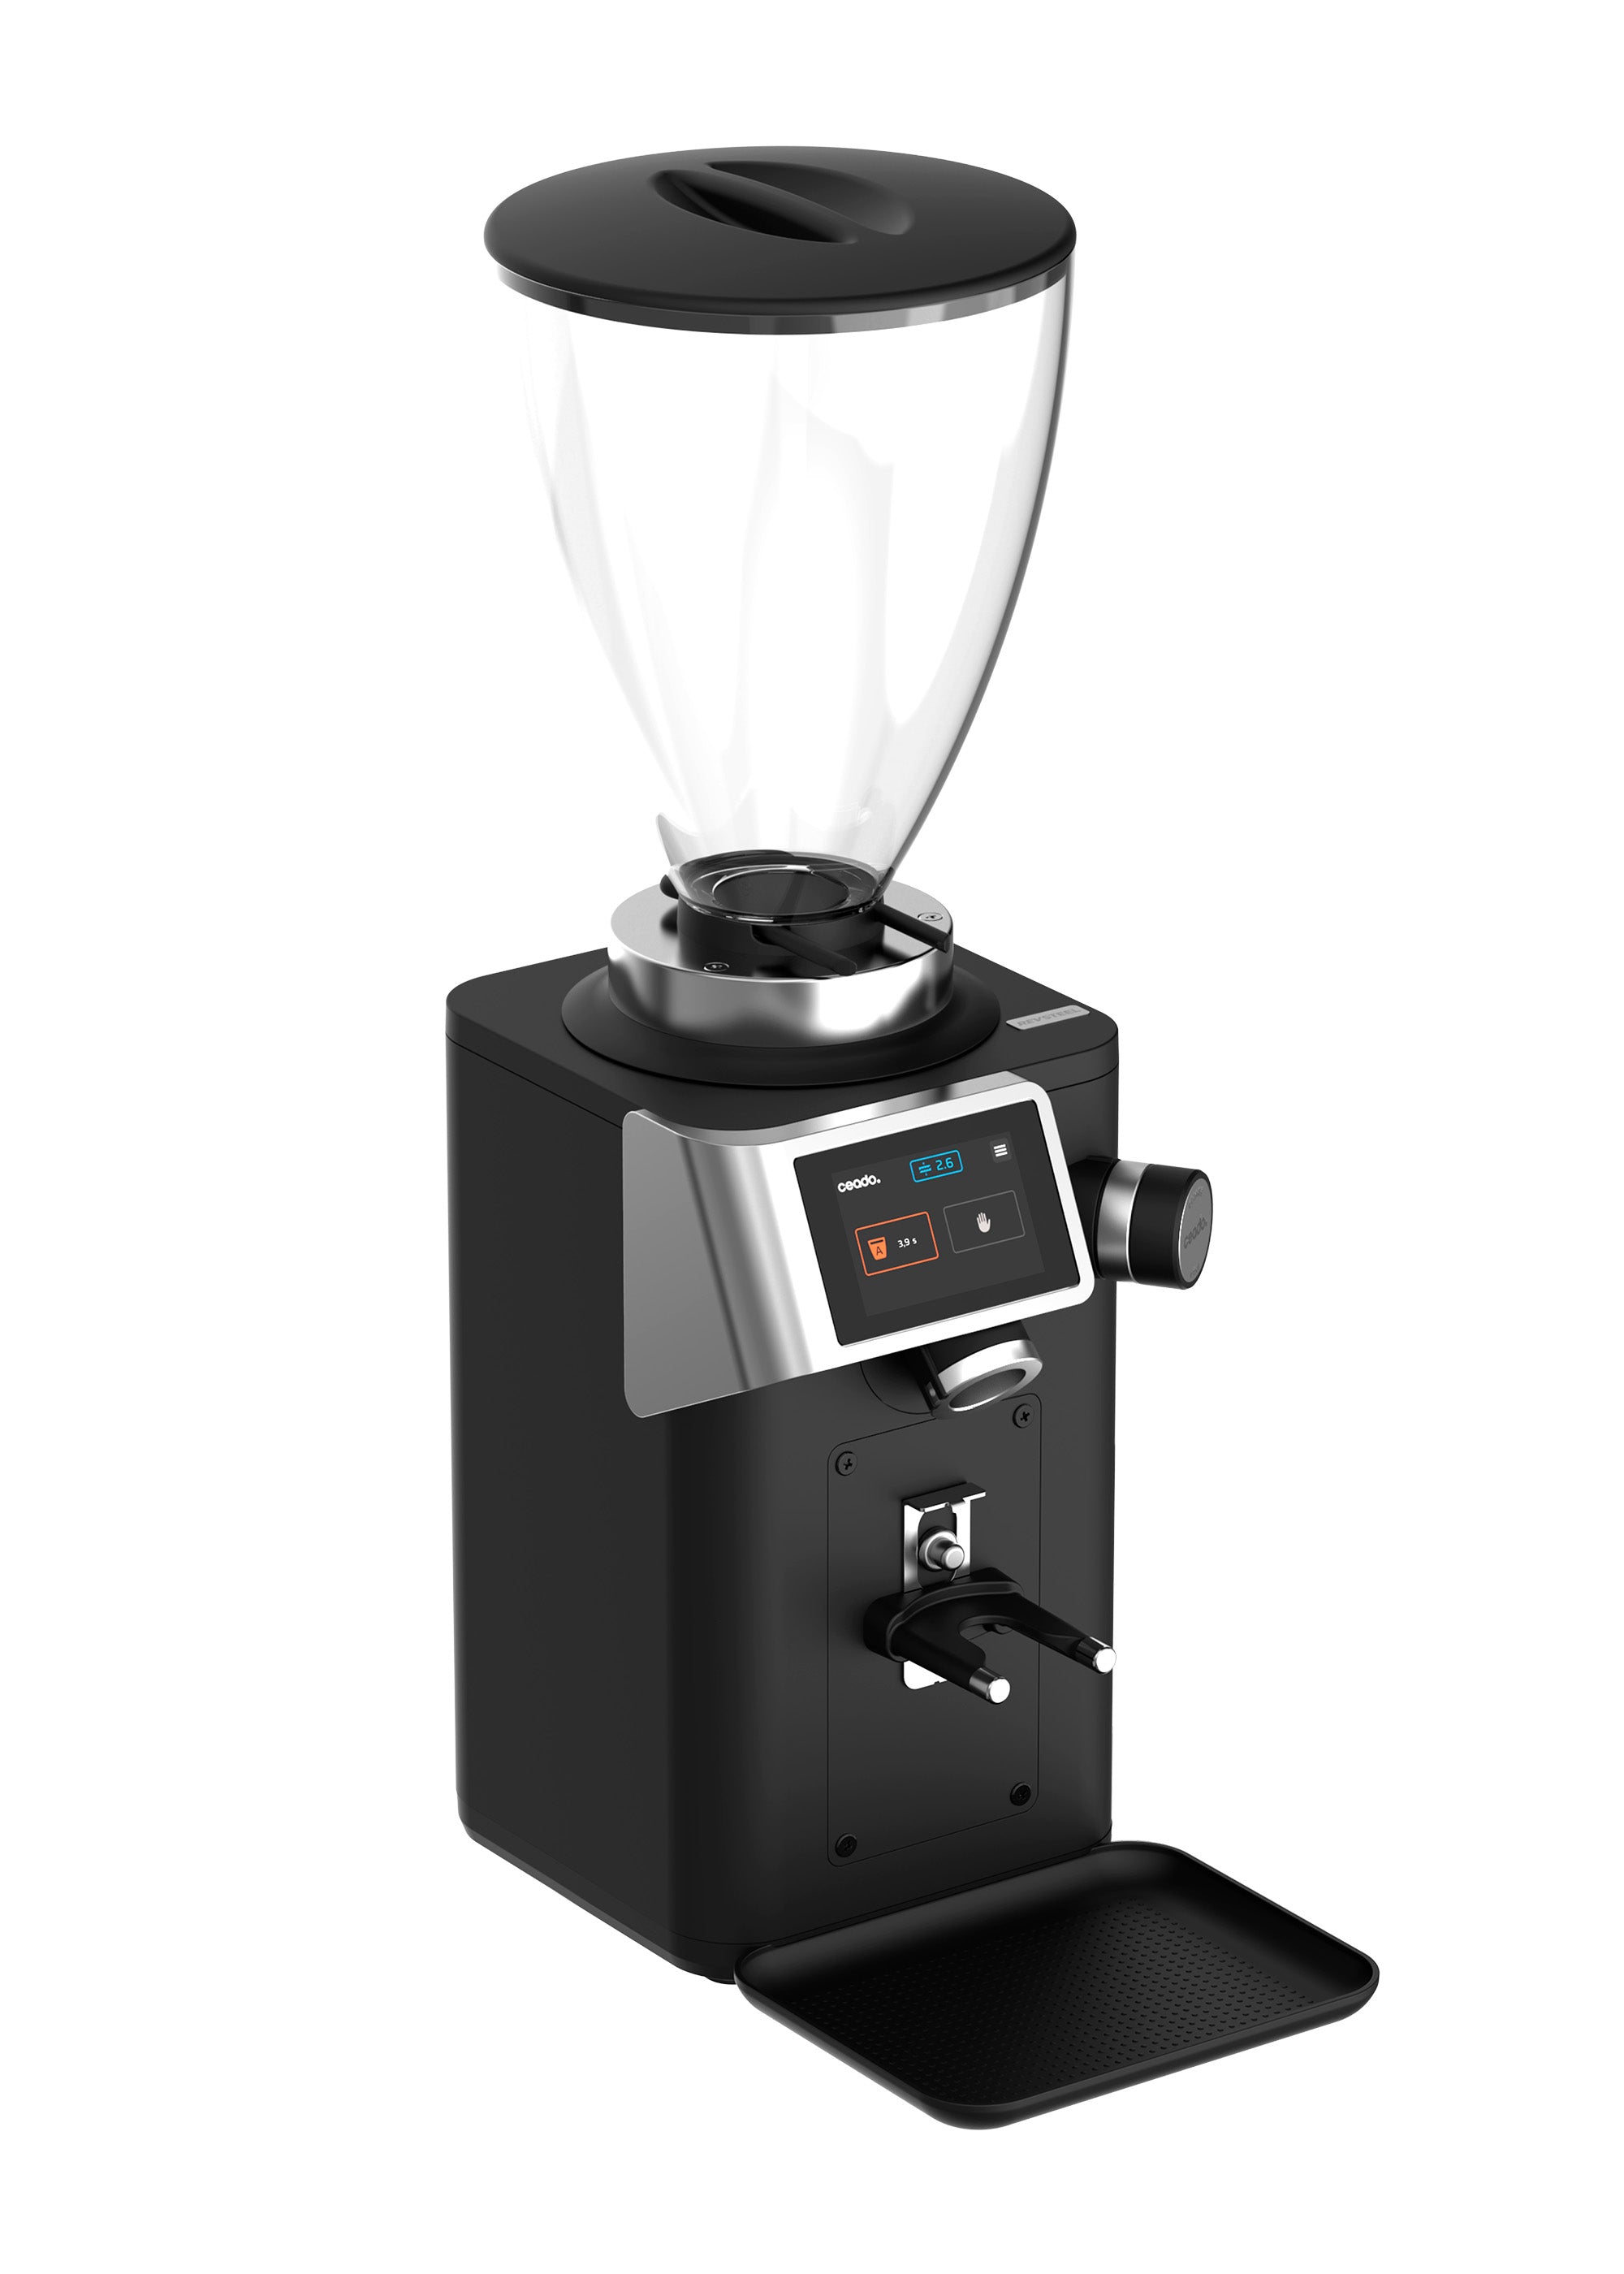
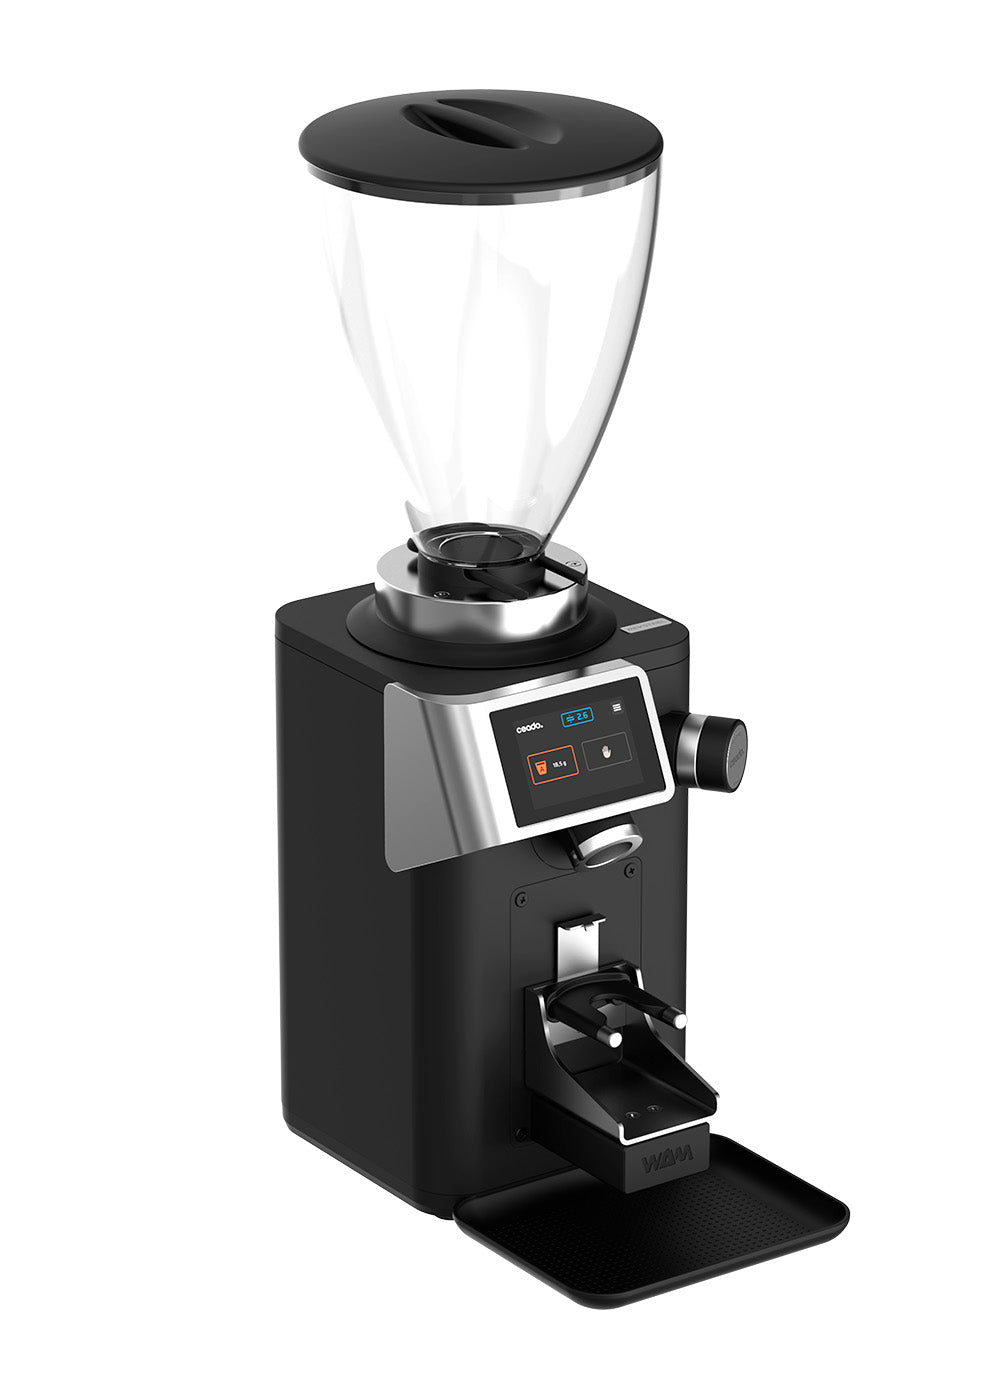
The grinder defines the micro-geography of the coffee bar more than any other piece of equipment. Place it wrong and every workflow interaction is awkward.
Proximity Rules
The grinder needs to be within 18 inches of the portafilter rest position — ideally 12 inches or less. Each inch of additional separation adds a pour-and-reach movement cycle hundreds of times per year. On a parallel setup (grinder and machine facing the user on the same surface), the grinder goes to the left of the machine for right-handed users; right for left-handed users. The dosing output drops directly into the portafilter without the portafilter moving.
Vibration Isolation
Burr grinders — particularly stepless espresso grinders — vibrate at frequencies that transmit through countertops and rattle adjacent surfaces. A grinder running at full speed on a tile counter produces audible resonance at 6–8 meters. A 5–8mm silicone or rubber mat under the grinder base reduces transmitted vibration by roughly 70% and also prevents the grinder from creeping across the counter during operation.
Grind Dust Management
Coffee grind dust — the fine particulate fraction of a burr grind — settles on every horizontal surface within 30–40 cm of the grinder chute. Over time, this dust accumulates on scales, buttons, and under equipment, degrading dosing accuracy (coffee oil in grind dust is hygroscopic and affects tare weights) and creating a maintenance burden. Two countermeasures: keep the scale in a specific grind-dust-free zone (at least 40 cm laterally from the chute), and use a grind catch cup or dosing ring that contains the dose before it reaches the basket.
Storage Zoning
Effective storage zoning keeps the most frequently accessed items at hand without cluttering the work surface. Organize in three tiers:
Tier 1 — Active work surface (immediate reach): Scale, tamper, dosing ring, portafilter, and the current bean canister. Nothing else. A clean work surface is a functional requirement for accurate dosing, not an aesthetic preference.
Tier 2 — First-reach storage (countertop or immediate cabinet): Secondary bean canisters (backup beans or decaf), brush for grinder chute, extra portafilter baskets, milk pitcher. These get used every session but not every pull.
Tier 3 — Out-of-sight storage (lower cabinet, drawer, or back shelf): Cleaning chemicals (backflush tablets, descaler), spare gaskets and screens, seasonal syrups, tasting cups for guests. These are weekly or less frequency items.
Airtight ceramic or stainless canisters for bean storage should be opaque, valve-equipped, and sized to a one-week supply. The common mistake is using a beautiful glass canister — the UV exposure from ambient light accelerates oxidation of coffee oils by a measurable factor. One-week supply sizing forces regular restocking of fresh beans, which is the real freshness control.
Lighting: CRI, Color Temperature, and Placement
Lighting at a coffee bar serves two distinct functions: task lighting for accurate visual monitoring of extraction and milk texture, and ambient lighting for the sensory atmosphere of the space.
Under-Cabinet Task Lighting
The target light source for the extraction zone is under-cabinet LED strip lighting aimed at the portafilter exit point and the cup. CRI (Color Rendering Index) of 90 or above is required for accurate color judgment — lower CRI lights shift the appearance of espresso crema toward yellow-orange in ways that make normal extraction look over-extracted, leading to unnecessary adjustments.
Color temperature of 4000–4500K (neutral white) is the correct choice for the task zone. Warm white (2700K) is attractive for ambient lighting but casts a yellow tone that makes extraction assessment unreliable. Daylight (6500K) is too harsh and creates eye strain during a morning routine.
For closet conversions or floating shelf setups without cabinetry above, a small puck light with a dimmer and 90+ CRI, positioned at the front edge of the shelf above the machine, achieves the same result.
Ambient Lighting
Ambient lighting for the broader coffee bar area is where aesthetic preference is valid. Warm Edison bulb pendants (2700K) above the bar, or warm LED strip lighting in the shelf reveals, create the café ambiance that makes the space feel intentional. Keep the ambient lighting on a separate switch or dimmer from the task lighting so you can operate them independently.
Cable and Hose Management
An unmanaged cable situation defeats every ergonomic and aesthetic decision made elsewhere. Three pieces of equipment with power cords plus a scale USB cable produce four cables on a 36-inch counter — a tangle that catches on portafilters, creates cleaning obstacles, and looks immediately unprofessional.
The solution hierarchy:
- Cut cable length to what the application requires. Use a cable shortener or wrap excess cord behind the equipment or inside the cabinet.
- Route all cords to the back wall before they descend. A small cable channel screwed to the back wall keeps cords organized and off the work surface.
- Use a single surge-protected power strip mounted under the counter at the back, facing upward. All equipment power cords connect to it from below. Only the strip's power cable exits to the wall outlet.
For setups with a hard-water supply line to the espresso machine, the water line should run inside the cabinet — not across the counter surface. A 3/8-inch OD braided water line routes through a hole drilled in the cabinet base to a shutoff valve beneath the counter, then up through a second hole to the machine's inlet fitting at the back.
Frequently Asked Questions
Do I need a dedicated electrical circuit for a home espresso machine?
For a single-boiler machine (1,000–1,400W), a dedicated 15-amp circuit is advisable. For a dual-boiler or heat-exchange machine (1,400–2,000W), a dedicated 20-amp circuit is strongly recommended. Running either on a shared kitchen circuit that also powers a refrigerator, microwave, or toaster oven risks nuisance tripping that interrupts brewing mid-cycle. A licensed electrician can install a dedicated circuit for $150–400 depending on the distance from the panel.
What is the minimum counter space needed for an espresso-focused setup?
A functional single-machine espresso station requires approximately 30–36 inches of linear counter width: 12 inches for the machine, 10–12 inches for the grinder, and 8–10 inches for scale, tamper, and active accessories. Below 30 inches, workflow compromises accumulate rapidly — consider a bar cart or floating shelf format instead.
Can I add a water line to my coffee bar without major plumbing work?
Yes, for most kitchens. The standard approach is a 3/8-inch braided stainless flex line connected to the cold supply valve under the nearest sink, routed through the cabinet interior to the coffee bar location. This requires only a compression fitting tap on the supply line (no soldering) and is reversible. A licensed plumber or knowledgeable DIYer can complete it in 1–2 hours. The main limitation is distance from the supply point — runs over 8–10 feet require larger line diameter to maintain adequate pressure.
What materials work best for coffee bar countertops?
Quartz composite and stainless steel are the most practical for coffee bar use. Both resist heat (tamper heat, hot portafilter), are non-porous (resists coffee oil staining), and are easy to sanitize. Butcher block looks attractive but is porous — coffee oils penetrate the wood and become rancid over time. Marble and laminate are acceptable but require sealing and are more vulnerable to scratching from metal portafilters and tampers.
Conclusion
A home coffee bar built around ergonomics and workflow conditions pays dividends every morning for years. The key decisions — counter depth, dedicated power circuit with GFCI protection, drip tray drainage plan, grinder placement within 18 inches of the portafilter, 90+ CRI task lighting, and organized cable routing — are mostly one-time investments that cost less than a single equipment upgrade and improve every session.
Start with the layout archetype that matches your actual space, not the one you wish you had. A well-executed bar cart station in a 400 sq ft apartment produces better daily brewing experiences than a poorly ergonomically arranged built-in in a larger home.
Browse our roasted coffee selection and coffee equipment to stock your newly designed station with beans and tools worth the space you have built.