Why the Home Coffee Bar Is Worth Setting Up Properly
The coffee shop experience has never been cheaper to replicate at home. Entry-level burr grinders that would have cost $300 a decade ago are now available under $100. Precision kettles, digital scales accurate to 0.1g, and quality pour-over drippers have all descended into the affordable tier. The equipment barrier is gone. What remains is knowing what to buy, in what order, and how to set it up for daily use rather than weekend tinkering.
This guide is a working checklist, not a wish list. Every item has a job. The structure reflects a logical build order: brewing device first, then grinder, then water control, then supporting accessories. Skip the supporting accessories at first; they matter less than grinders and water quality. Never skip the grinder.
The Equipment Build Order
The single biggest mistake in home coffee bar setup is buying a premium brewer before buying a quality grinder. Grind quality determines extraction quality. A Hario V60 with cheap pre-ground beans will always be outperformed by a French press using freshly ground coffee from a decent burr grinder. Build in the right sequence.
Step 1: Choose Your Primary Brew Method
Your primary brew method sets the physical requirements for everything else—grind size range, water temperature precision, vessel size, and filtration type. Choose based on what kind of cup you actually want, not what looks best in photos.
| Method | Cup Character | Technique Difficulty | Grind Range | Cost to Start |
|---|---|---|---|---|
| Pour-over (V60, Chemex) | Clean, bright, nuanced | Medium | Medium-fine | $30–$50 |
| French press | Full-bodied, rich, oily | Low | Coarse | $25–$45 |
| AeroPress | Versatile, concentrated or filter-style | Low-Medium | Fine to medium | $35–$45 |
| Espresso machine | Concentrated, crema, milk-based drinks | High | Very fine (stepless) | $200–$800+ |
| Moka pot | Espresso-adjacent, strong, accessible | Low | Medium-fine | $25–$40 |
| Cold brew | Smooth, low-acid, batch brewing | Very low | Very coarse | $20–$40 |
If you want espresso-based drinks (lattes, cappuccinos, cortados), the equipment cost floor is substantially higher because both the machine and a dedicated espresso grinder are required. A DeLonghi EC series or Breville Bambino is the minimum entry point for home espresso at roughly $200–$300; the grinder to match costs another $150–$300. Budget accordingly before committing.
For most people starting out, a pour-over or French press is the right beginning: low equipment cost, high room for improvement, and a forgiving learning curve that rewards consistent practice.
Step 2: The Grinder — Your Most Important Purchase
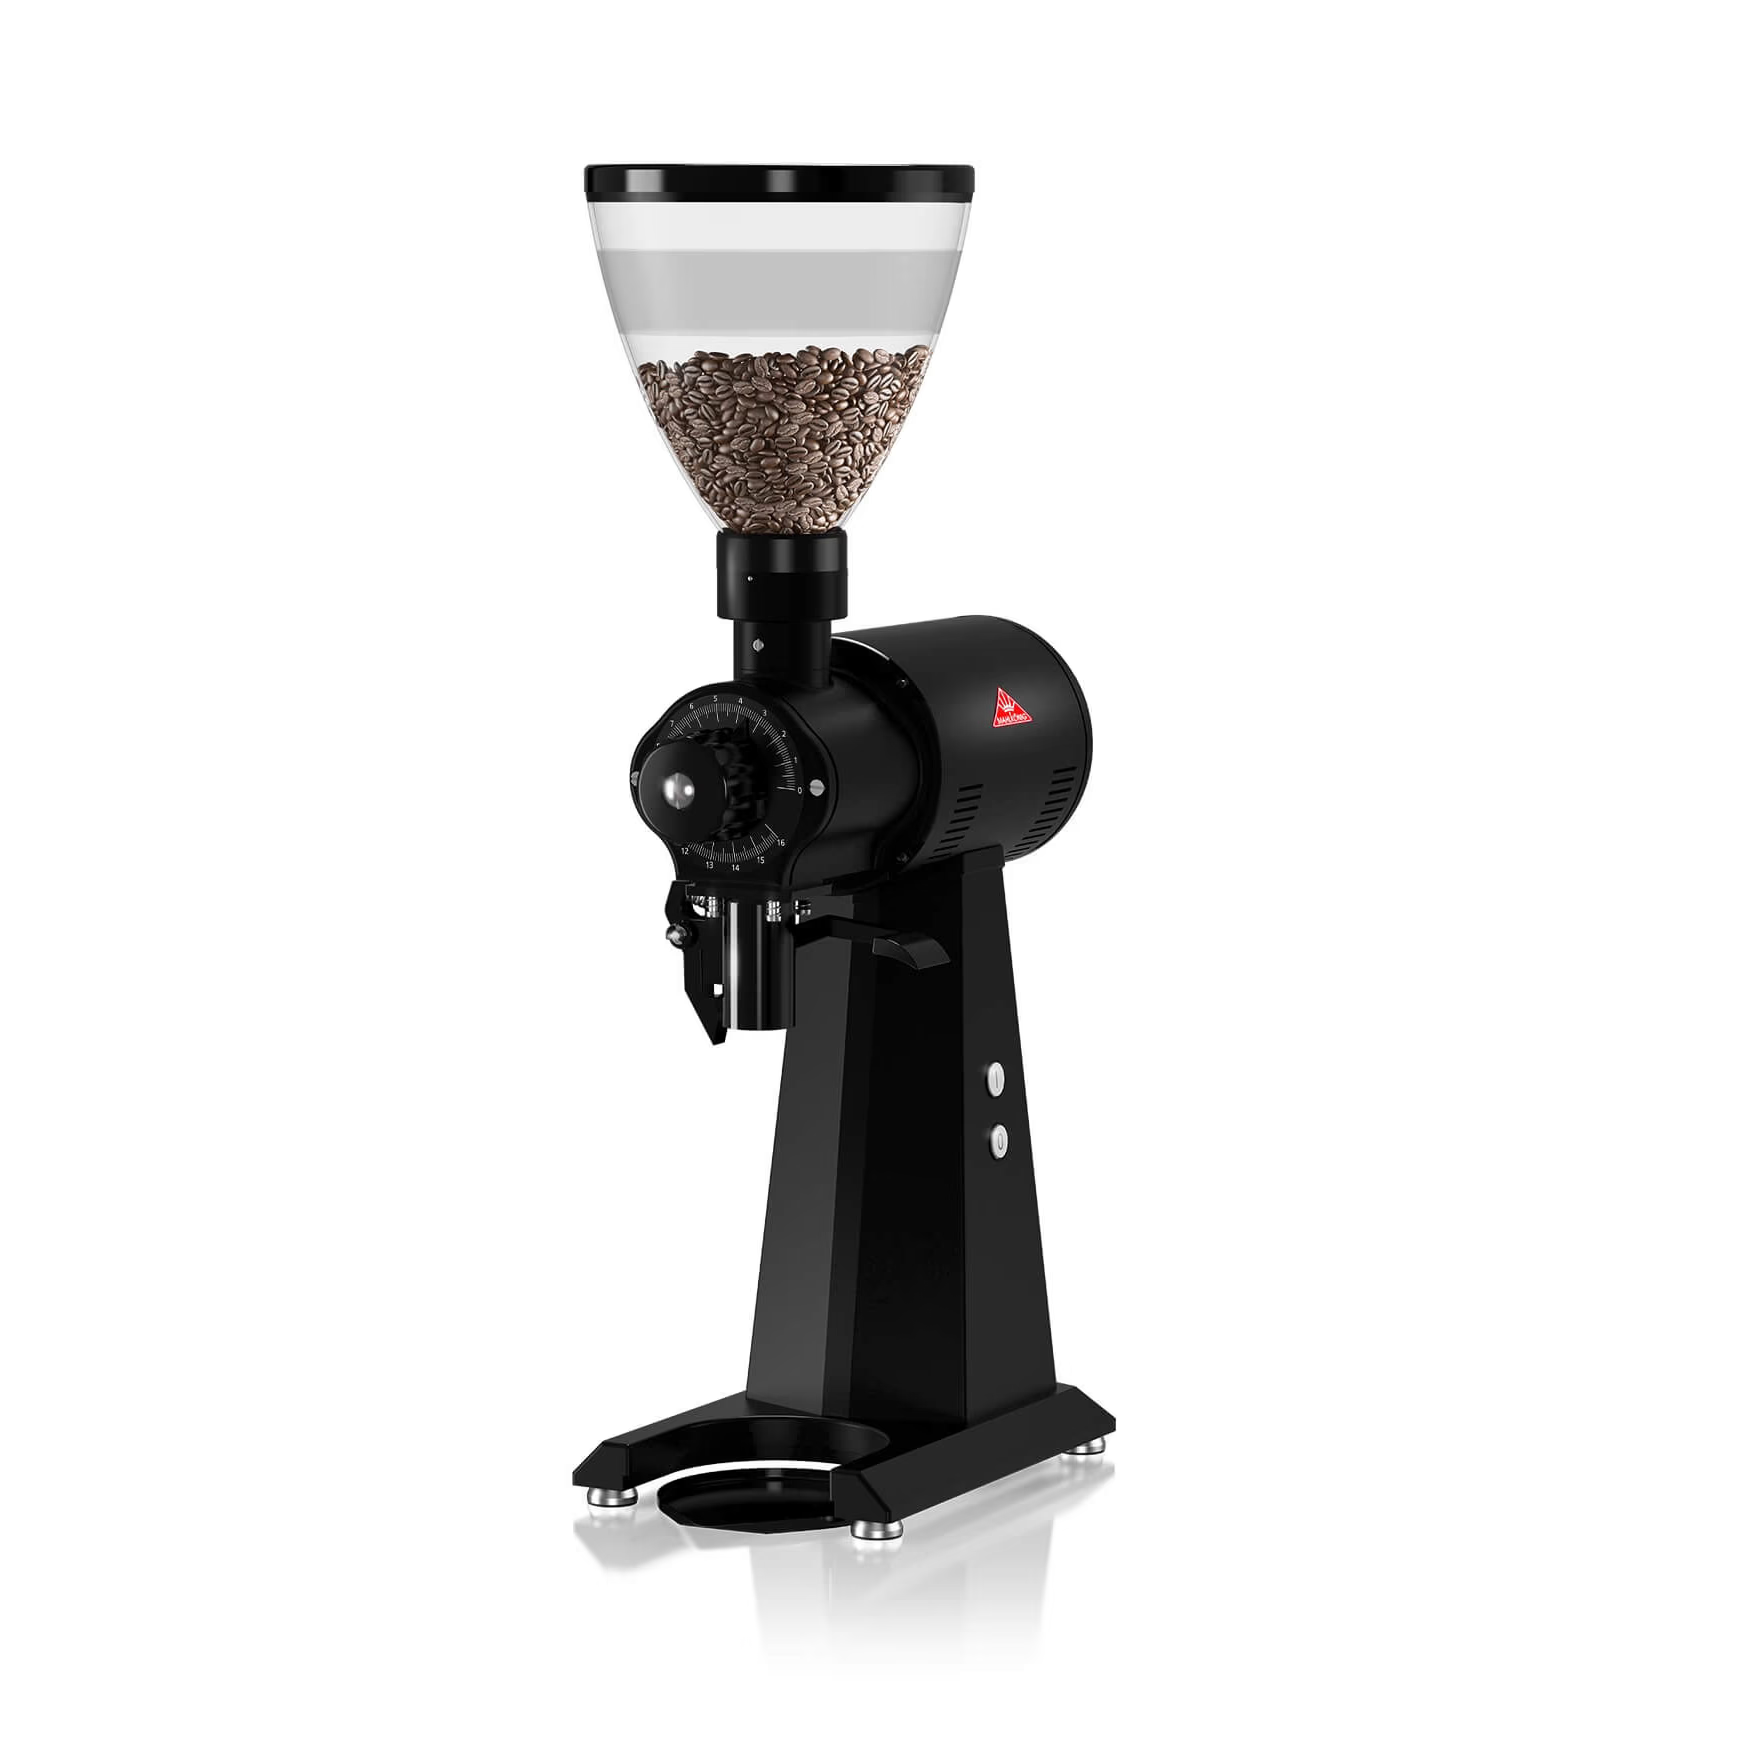
A burr grinder produces uniform particle size. A blade grinder chops randomly, producing a powder-to-pebble distribution that brews unevenly. Even an entry-level burr grinder (Baratza Encore at ~$170, Hario Skerton hand grinder at ~$50) will produce dramatically better results than a blade grinder at any price.
The key distinction is between flat burr and conical burr geometry:
- Flat burr grinders use two parallel rings with serrated edges. They produce very consistent particle distribution and are favored for espresso. They tend to run warmer and louder.
- Conical burr grinders use a cone-shaped inner burr inside a ring burr. They run cooler, quieter, and with less static. They are more forgiving across brew methods.
For a home coffee bar focused on filter brewing, a conical burr electric grinder or a quality hand grinder is ideal. For espresso, you need either a dedicated espresso grinder or one of the few versatile flat-burr models that handles both ranges well.
Step 3: Water Temperature and the Kettle
Water temperature affects extraction rate directly. The SCA recommends 91–96°C for most hot brewing methods. Water below 88°C under-extracts, producing sour, thin cups. Water above 97°C over-extracts, producing bitter, hollow cups.
For pour-over, a gooseneck kettle is practically mandatory—the narrow spout gives you precise pour control for spiral pours and bloom management. The Fellow Stagg EKG ($165) and Brewista Artisan ($80) both offer variable temperature control. Budget options include the simple Hario V60 Drip Kettle (~$50) without temperature control, which requires a separate thermometer clip.
Water chemistry matters more than most home brewers realize. If your tap water is very soft (low mineral content), consider using Third Wave Water mineral packets, which are calibrated specifically for coffee extraction. Soft water under-extracts even at correct temperatures because calcium and magnesium ions are the primary solvent carriers for coffee's aromatic compounds. Very hard water can scale your equipment and produce flat, chalky cups. A basic filter removes the worst municipal water problems and is a practical minimum for any serious home setup.
Step 4: The Scale
A digital scale with 0.1g precision transforms inconsistent guesswork into repeatable recipes. Coffee-to-water ratios are the single most controllable variable in home brewing. The standard starting ratio is 1:15 to 1:17 by weight. Without a scale, you are adjusting by feel and achieving accidental results.
Dedicated coffee scales (Acaia Pearl at ~$150, Hario V60 Drip Scale at ~$50) include built-in timers, useful for pour-over where timing of each pour matters. A basic kitchen scale accurate to 1g is sufficient for French press and cold brew; for pour-over, 0.1g precision gives you more meaningful feedback on small adjustments.
Step 5: Fresh Beans — The Variable That Outweighs Equipment
No equipment upgrade compensates for stale beans. Coffee's most volatile aromatic compounds, produced during roasting through the Maillard reaction and caramelization, oxidize and degas within weeks of roasting. After 4–6 weeks post-roast, even excellent specialty beans taste flat.
What to look for on a specialty coffee bag:
- Roast date: Not a "best by" date. Look for a roast date within 2–4 weeks for optimal freshness.
- Origin details: Country, region, farm or cooperative name. These are traceability markers, not pretension.
- Processing method: Washed, natural, or honey. Each produces distinct flavor profiles regardless of origin.
- Variety: Bourbon, Typica, Gesha, SL-28. Variety influences flavor ceiling the same way grape variety influences wine.
Beans should be stored in an opaque, airtight container at room temperature. The fridge introduces moisture condensation; the freezer works for long-term portioned storage but not for beans you open daily. An Airscape or Fellow Atmos canister keeps beans fresh for 2–3 weeks once opened.
Step 6: Supporting Accessories
Once you have a grinder, brewer, kettle, scale, and fresh beans, everything else is supporting cast. These items improve consistency or convenience rather than fundamentally changing cup quality.
| Accessory | Use Case | Entry Option | Premium Option |
|---|---|---|---|
| Paper filters | Pour-over, AeroPress | Hario V60 papers | Chemex bonded filters |
| Milk frother | Lattes, cappuccinos | Handheld frother $10 | Breville Milk Cafe $80 |
| WDT distribution tool | Espresso puck prep | Handmade $15 | Nucleus Cyclops $65 |
| Knock box | Espresso puck disposal | Simple knock box $25 | Breville knock box $30 |
| Cleaning supplies | All equipment | Cafiza tablets, brush | Dedicated per-equipment kits |
| Bean storage | All brewing | Airscape canister $30 | Fellow Atmos $55 |
Setting Up the Physical Space
Location matters for workflow and for protecting equipment. The ideal coffee bar spot shares several characteristics that are easy to overlook during initial setup.
Proximity to a water source is the most important consideration. Filling your kettle, rinsing your brewer, and cleaning your portafilter all happen multiple times per brew session. A coffee bar more than six feet from a sink becomes a minor annoyance that compounds over thousands of brewing sessions.
Counter depth and width determine what fits. A grinder plus a brewer plus a scale plus a kettle requires roughly 90cm of linear counter space at minimum. If your setup is crowded, you will knock things over and eventually break them.
Electrical access is underestimated. Running a kettle and a grinder simultaneously requires two circuits or one circuit with sufficient amperage. Espresso machines pull 1,200–1,500 watts on their own. Check your kitchen circuit capacity before planning an espresso machine installation.
Light exposure affects beans. Even indirect light through a window accelerates aromatic compound degradation in stored coffee. Keep beans in an opaque cabinet rather than on display in glass jars if you are not buying and using within a week.
Open shelving above the bar works well for mugs, spare filters, and equipment that you want within easy reach without cluttering the counter surface.
Frequently Asked Questions
How much should I budget for a functional home coffee bar?
A functional entry-level setup—burr grinder, pour-over dripper, gooseneck kettle, and scale—runs $200–$350 total. This produces results that rival most coffee shops for filter coffee. Espresso adds $400–$1,200 depending on machine tier. The single best allocation within a limited budget is always the grinder first.
Do I need an espresso machine for a home coffee bar?
No. An AeroPress, Moka pot, or high-quality pour-over produces excellent coffee without espresso machinery. Espresso machines significantly expand what you can make (lattes, cappuccinos, cortados) but add complexity, cost, and maintenance. Start without espresso if you are uncertain; add it later when you know you want it.
How do I maintain my equipment without spending hours on it?
Establish a post-session routine: rinse the brewer, wipe down the grinder exit chute with a dry brush, and empty used grounds. Weekly: a proper water rinse through the dripper. Monthly: descale the kettle if you are in a hard-water area, and run grinder-cleaning tablets through the burrs. The daily routine takes under two minutes.
Are expensive specialty beans worth it compared to supermarket brands?
Yes, with the caveat that freshness matters more than price. A $15 per 250g bag of freshly roasted specialty beans from a local roaster will outperform a $30 per 250g bag of stale grocery store coffee. The value in specialty beans is the combination of quality and freshness, not the price tag alone.
Conclusion
A well-built home coffee bar starts with a grinder, continues with a primary brew method and water temperature control, and adds supporting accessories as your palate develops and preferences clarify. The sequence matters: grinder before brewer, fresh beans before accessories, organization before aesthetics. Every step in this checklist builds on the previous one, and each investment pays dividends in every cup you brew.
Browse our specialty roasted coffee for fresh single-origin beans delivered from recent roasts—the raw material that makes the equipment investment worthwhile. Check our coffee equipment selection if you are still deciding on your primary brewer or grinder tier.