Cold Brew vs. Iced Coffee: One Distinction Worth Making
Before the recipe, one clarification that saves a lot of bad batches: cold brew is not iced coffee. Iced coffee is hot-brewed coffee poured over ice — quick to make, sharp in flavor, and prone to dilution as the ice melts. Cold brew is made by steeping coarsely ground coffee in cold water for 12–24 hours with no heat involved at any point.
The absence of heat changes what gets extracted. Hot water pulls bitter chlorogenic acids and harsh tannic compounds very efficiently. Cold water extracts them far more slowly and incompletely, producing a smoother, rounder result. The difference in pH between hot-brew and cold brew is modest — roughly 0.1 to 0.3 pH units — but the compounds extracted are structurally different, and the cup tastes noticeably less sharp.
This recipe uses a 1:8 coffee-to-water ratio by weight (roughly 1:8 by volume if you don't own a scale). The result is ready to drink over ice — no dilution required. If you want a concentrate you can extend with water or milk, see the companion article on cold brew concentrate, which uses a 1:4 ratio and walks through dilution math.
What You Need
Equipment
- 1-quart (950 ml) mason jar — a standard wide-mouth canning jar. A large glass pitcher works too.
- Cheesecloth or fine-mesh strainer — for filtering out grounds after steeping. A paper coffee filter also works but is slower.
- Coffee grinder — burr grinder preferred for consistent coarse grind. A blade grinder can work if you pulse cautiously.
- Kitchen scale (optional but recommended) — makes repeatable results easy.
- Long spoon — for ensuring full saturation of grounds.
Coffee
Use whole beans and grind them coarse — the consistency of raw cane sugar or coarse sea salt, not the dusty powder appropriate for espresso. A coarse grind matters for two reasons: it allows water to circulate through the grounds without restriction during the long steep, and it filters cleanly through cheesecloth without clogging.
For a 1-quart jar at 1:8 ratio, you need approximately 118 g (4 oz or roughly ¾ cup) of ground coffee to 950 ml (32 oz) of water.
Which beans work best for cold brew?
Medium to dark roasts are the most forgiving for cold brew. Their lower residual acidity and well-developed Maillard compounds — caramel, chocolate, and nut notes — extract cleanly into cold water. Light roasts work but require longer steeping (toward the 24-hour end of the range) and can taste thin or grassy if under-steeped.
| Roast Level | Cold Brew Character | Steep Time | Notes |
|---|---|---|---|
| Light roast | Fruity, tea-like, bright | 20–24 hrs | Risk of grassy notes if under-steeped |
| Medium roast | Balanced, caramel, mild sweet | 16–20 hrs | Most forgiving; good starting point |
| Medium-dark roast | Chocolate, walnut, smooth body | 12–18 hrs | Classic cold brew flavor profile |
| Dark roast | Bold, roasted, low acidity | 12–14 hrs | Can turn bitter if steeped beyond 16 hrs |
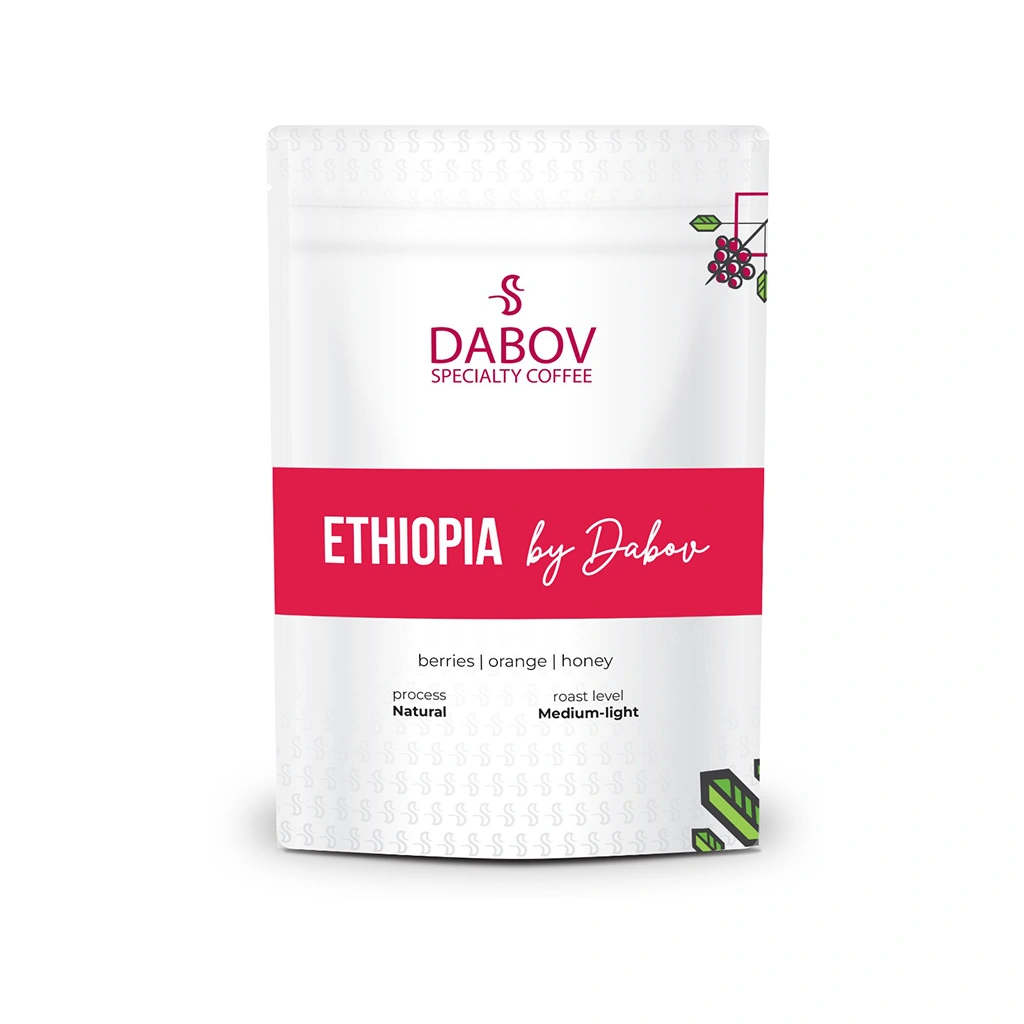
For your first batch, start with a medium-dark roast. You can experiment with lighter, fruitier origins (Ethiopian natural or Colombian washed) once you understand how timing and grind affect the result.
The Recipe: 1-Quart Ready-to-Drink Cold Brew
Ingredients
- 118 g (about ¾ cup) coarsely ground coffee
- 950 ml (32 oz / 4 cups) filtered cold water
Step 1: Grind and measure
Grind your coffee to a coarse, uniform grind. If using a blade grinder, pulse in short bursts (3 seconds on, 3 seconds off) and shake the grinder between pulses to avoid over-processing. Total volume will be roughly ¾ cup of ground coffee for this batch size.
Step 2: Combine coffee and water
Add the ground coffee to the mason jar first, then pour cold filtered water over it. Stir with a long spoon to saturate all the grounds — dry pockets in the upper layer will under-extract and contribute grassy notes. The jar should be nearly full.
Step 3: Cover and steep
Cover the jar (screw the lid on loosely, or place a paper towel over the top secured with a rubber band). Steep in the refrigerator. Steeping at refrigerator temperature (4°C / 40°F) takes 16–24 hours; steeping at room temperature (18–22°C / 65–72°F) takes 12–16 hours.
Refrigerator steeping is recommended for beginners. Room-temperature steeping is faster but less forgiving on timing — an extra hour at 68°F matters more than an extra hour at 40°F. Refrigerator steeping is almost impossible to over-extract.
Step 4: Strain
Line a fine-mesh strainer with a double layer of cheesecloth and set it over a clean bowl or pitcher. Pour the cold brew through the strainer slowly. Let gravity do the work — do not press or squeeze the grounds, which forces fine particles and bitter compounds through the filter.
Alternatively, if you have a large Chemex or a pour-over cone, use a paper filter: slower but cleaner result with almost no sediment.
You should end up with approximately 900 ml of finished cold brew (roughly 10% is absorbed by the grounds).
Step 5: Serve
Transfer the strained cold brew to a clean, sealed container and refrigerate. Serve over ice as-is. No dilution needed at 1:8 ratio — the brew is already at drinking strength.
Shelf life: up to 14 days refrigerated in a sealed container. Flavor peaks in the first 7 days before gradual oxidation starts softening the character.
Reading Your Results
If it tastes weak or watery
- Grind was too coarse (under-extraction)
- Steep time was too short
- Coffee-to-water ratio was off (too much water)
- Solution: grind slightly finer, steep 2–4 hours longer next batch, or reduce water by 15%
If it tastes bitter or harsh
- Grind was too fine (over-extraction)
- Steep time was too long, especially at room temperature
- Dark roast left too long (beyond 14 hours)
- Solution: grind coarser, reduce steep time, or switch to a medium roast
If it tastes grassy or vegetal
- Under-extracted light roast
- Stale beans (more than 6 weeks post-roast)
- Solution: use fresher beans, steep 2–4 hours longer, or switch to a medium-dark roast
If it's gritty or cloudy
- Insufficient filtration — fine particles passed through
- Solution: double-layer cheesecloth, or follow-up filter through a paper coffee filter
Scaling the Recipe
Once you understand the 1:8 ratio, scaling up is straightforward arithmetic.
| Batch Size | Ground Coffee | Water | Jar/Vessel |
|---|---|---|---|
| 1 cup finished | 30 g (~3 tbsp) | 240 ml | 500 ml mason jar |
| 1 quart finished | 118 g (~¾ cup) | 950 ml | 1-quart mason jar |
| Half gallon | 236 g (~1.5 cups) | 1.9 L | 2-quart pitcher |
| Full gallon | 472 g (~3 cups) | 3.8 L | Large stock pot + separate storage |
For gallon batches, steep in a food-safe bucket with a lid and strain into bottles for storage. The ratio never changes.
Beyond the Basic Recipe
Once you have reliable plain cold brew, small additions during the steep can shift the flavor profile:
- 1 vanilla bean, split — steep alongside the grounds for a subtle vanilla note without added sugar
- 1 cinnamon stick — adds a warm spice layer compatible with medium-dark roasts
- Pinch of salt (0.5 g per quart) — reduces perceived bitterness; works on very dark roasts that risk tasting flat
- Orange zest (a few strips) — brightens a darker roast; strip the peel without the pith
Serving Ideas for Ready-to-Drink Cold Brew
At 1:8 strength, your cold brew is already calibrated for drinking. Here are the most common ways to serve it:
Black over ice — the cleanest way to taste the coffee's character. Use a large ice cube or a sphere that melts slowly to avoid dilution.
With oat milk — oat milk's neutral sweetness and creamy body pair exceptionally well with cold brew's lower acidity. Start with a 3:1 cold brew to oat milk ratio and adjust.
Sweet cream float — lightly whip 60 ml heavy cream with a pinch of salt and a few drops of vanilla extract until just thickened (not stiff). Pour cold brew over ice, then spoon the cream gently over the top so it floats.
Coffee tonic — combine equal parts cold brew and high-quality tonic water in a glass with ice and an expressed orange peel. The tonic's carbonation and quinine bitterness complement the cold brew without sweetening it.
Frequently Asked Questions
Do I have to use filtered water?
Filtered water removes chlorine and off-mineral flavors that would otherwise be concentrated by the long steep. Tap water is acceptable if your local water tastes neutral, but soft filtered water (50–150 ppm total dissolved solids) produces a cleaner, brighter cold brew. Hard water with high calcium can create a flat or chalky mouthfeel.
Can I steep cold brew at room temperature?
Yes. Room-temperature steeping (around 68°F / 20°C) extracts faster and sometimes produces a slightly more aromatic result. The risk is that timing becomes more critical — a 20-hour room-temperature steep on a dark roast can tip into over-extraction. If you steep at room temperature, check at 12 hours and taste every 2 hours after that.
Why is my cold brew not as strong as the coffee shop version?
Coffee shops frequently serve cold brew concentrate diluted 1:1, which means their base cold brew is brewed at a 1:4 ratio — twice as strong as this recipe's 1:8. If you want a stronger result without switching to a concentrate recipe, reduce your water to 700 ml per 118 g of coffee (roughly a 1:6 ratio) and drink it with ice, which will melt and bring it back toward a pleasant strength.
Can I reuse the coffee grounds for a second batch?
No. Cold brew extracts most available soluble compounds in the first steep. A second batch from the same grounds will be weak, flat, and predominantly bitter from over-extracted tannins.
Is cold brew safe to drink after 2 weeks?
In most cases yes, if it has been sealed and refrigerated continuously. After 14 days, quality deteriorates — flavor flattens and off-notes from oxidation develop — but it is not unsafe unless there is visible mold or the smell is clearly off. When in doubt, discard and brew fresh.
Conclusion
The mason jar cold brew method asks almost nothing of you beyond patience. A 1:8 ratio, a coarse grind, 16 hours in the refrigerator, and a pass through cheesecloth produces a smooth, balanced coffee that costs a fraction of what cafés charge. The variables are few and the errors are correctable: too weak, steep longer; too bitter, grind coarser; too gritty, filter more carefully.
Once this becomes routine, you can explore the fuller landscape of cold brew: concentrate for cocktails and lattes, French press as a brewing vessel, or nitrogen infusion for a café-grade cascade effect. But the pitcher method is the foundation that makes all of those variations make sense.
Browse our coffee beans for medium-dark and single-origin options well-suited to cold extraction.